by Marcela M. | Apr 23, 2014 | Blog, Breads, Gluten Free, Gluten free and Vegan, Recipe Box, Recipes, Vegan & Raw
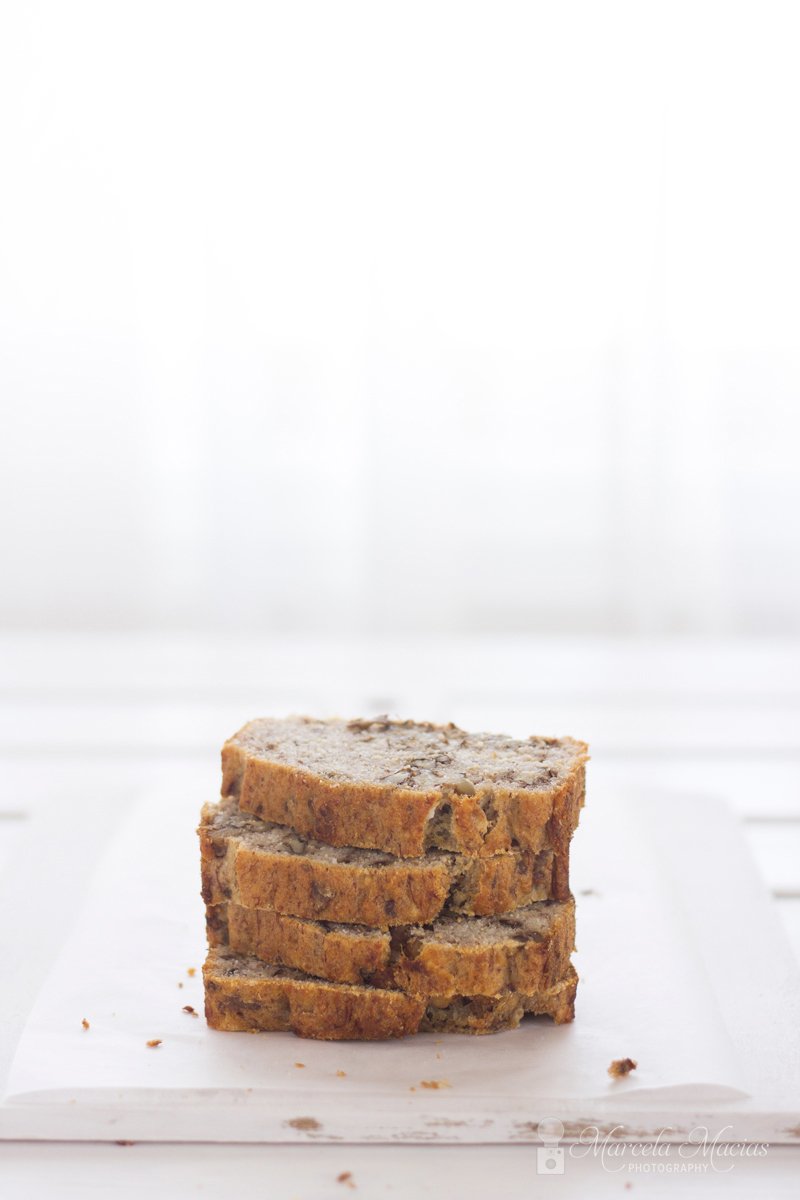
Today was a crazy day.
You know, those days when you plan to do this one thing and be finished by 10 am and then life gets in the way and suddenly it’s 10 pm and the one little thing is still lingering in your to do list and you could almost swear that it’s giving you the look and saying ” Hey, weren’t you supposed to take care of me 12 hours ago?”
Today was one of those days and this blog post is that one little thing.
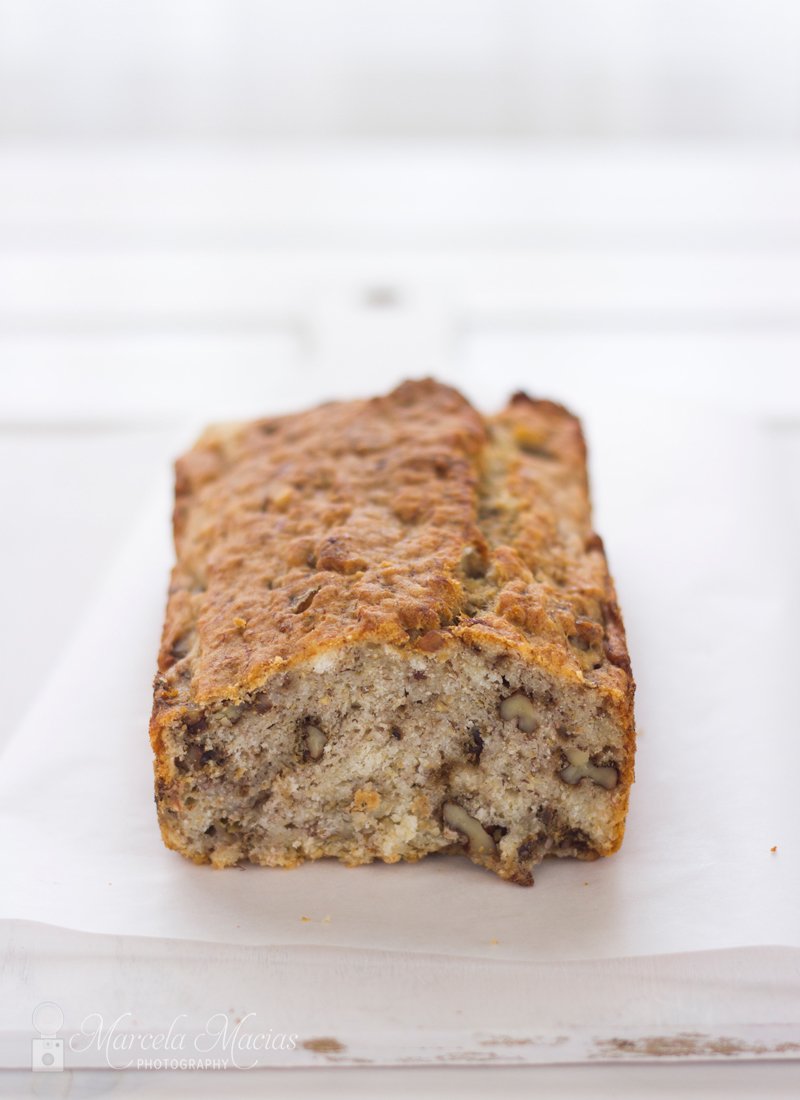
I had baked this banana bread early in the morning, and let it to cool down while I prepared my studio. I don’t know whether I had mentioned this before, but I have a mobile studio, that, due to lack of space, I set up here and there so it takes a while and a few trips back and forth to the kitchen until everything is quite like I like it. So today, I followed my routine and when I was just getting ready to start shooting, the phone started ringing, someone knocked at the door, the cat jumped on the table, the kids had a fight…and a 15 minutes photo shoot took 2 hours.
It’s life, it happens.
I took the pictures. I downloaded them to my computer.I edited them.
And then my website crashed.
I called the host, I tried to access it a million times, I wrote the post in word, I checked again and again and again and nothing. Until 9pm.
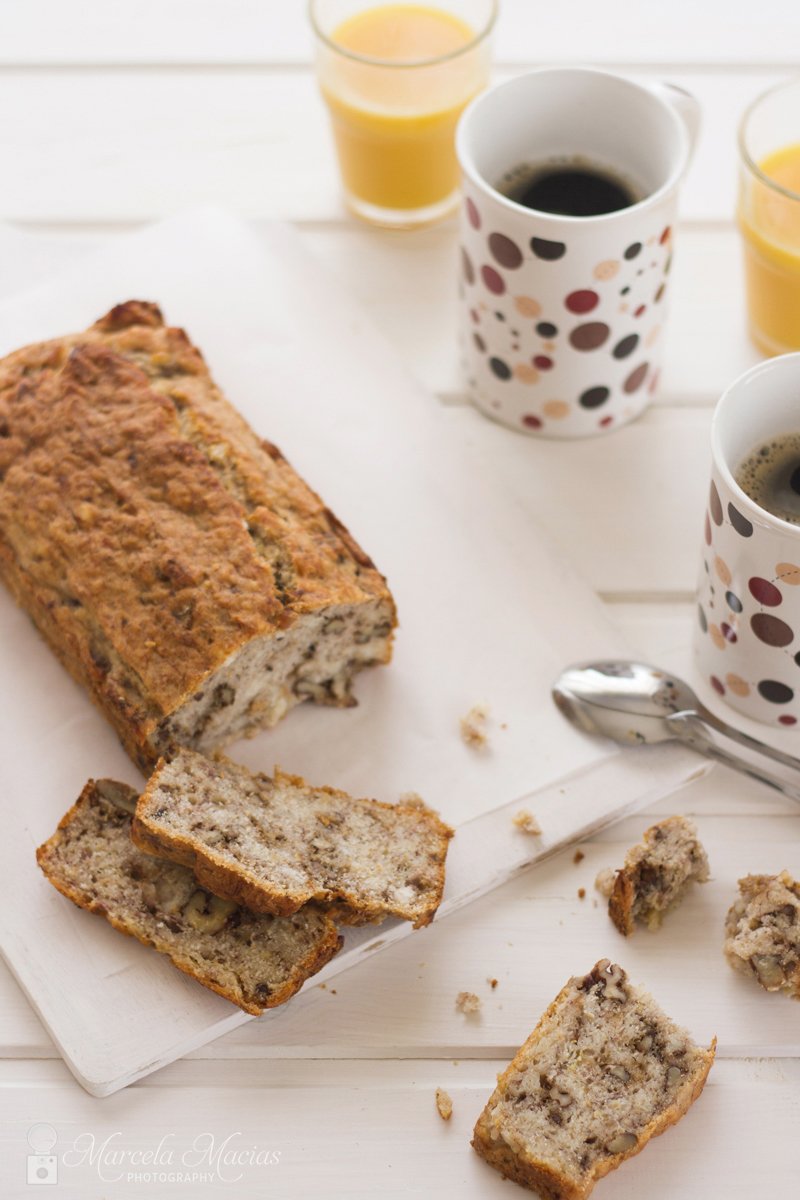
So, with a little bit of delay, and the patience to accept that which I cannot control, here’s the recipe!
Banana walnut bread
Ingredients: 3 tablespoons ground flax seeds, 9 tablespoons of water, 1/2 cup coconut oil, 1/4 cup vegetable milk (soy, almond, rice, oat-whichever is your favorite), 1/2 cup barley flour (or other gluten free flour), 1 tablespoon baking powder, 3 ripe bananas, 3/4 cup walnuts (coarsely chopped).
Preparation:
1)Pre-heat the oven to 180C-375 F. Grease a loaf pan and set aside.
2) Mix ground flaxseeds with water and set aside for a few minutes, to let them integrate
3) Mix seeds, oil and milk and whisk until smooth.
4) Sift flour and baking powder and add to the liquid ingredients.
5) Mash the bananas and add them to the rest of the preparation, together with the walnuts
6) Pour the dough into the loaf pan, smoothing the top with the back of a spoon, and place it in the oven for about 45 minutes (or until a stick comes out clean when inserted in the middle)
7) Remove the loaf from the oven, let it cool for 10 minutes, then invert into a wire rack for it to cool down completely.
Have you had crazy days like this? Let me know in the comments below!
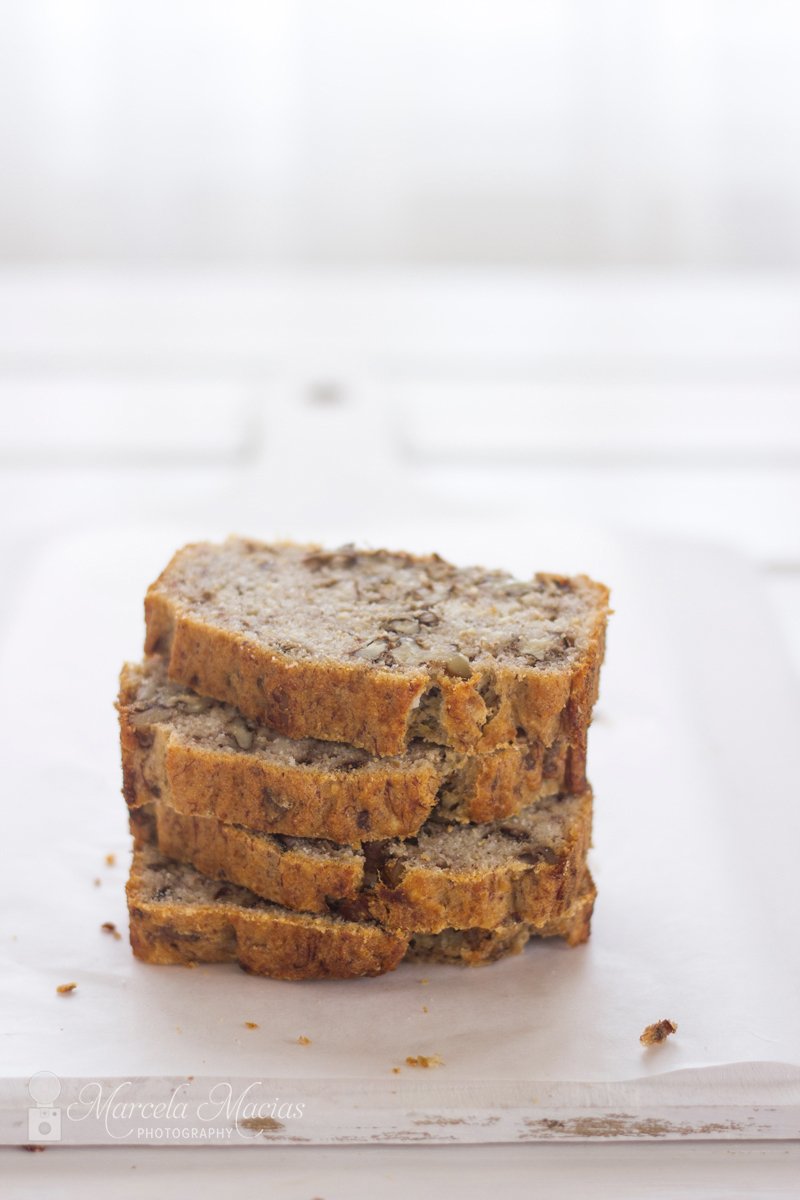
One more important thing before you go!
My friend Denise Duffield-Thomas of Lucky Bitch has just released a crazy mega bundle of her newest manifesting tools.
Denise is a money coach, and she is amazing. I bought her book, Get Rich Lucky Bitch last January and I had so many A-HA moments while reading it that I enrolled in her bootcamp too.
Her new bundle of products is absolutely great- and you know by now that I never recommend anything that I don’t absolutely love because I value your trust more than anything.
So, if you are interested, check the bundle out HERE * (Update: the bundle is not longer being offered, but you can still get these resources HERE, as well as her Lucky Bitch Money Bootcamp)
But hurry up because the sale ends midnight EST on Friday. Denise won’t be repeating this, so it’s a great chance to get a bargain!
PS: Denise also has some amazing FREE resources that you can check out first:
The free resources require subscription (it’s totally worth it!). You can also check
Denise’s blog HERE.____________________
*Yes, it’s an affiliate link
by Marcela M. | Jul 11, 2013 | Blog, Cooking basics and tutorials, Gluten Free, Recipe Box, Recipes, Uncategorized, Vegan & Raw
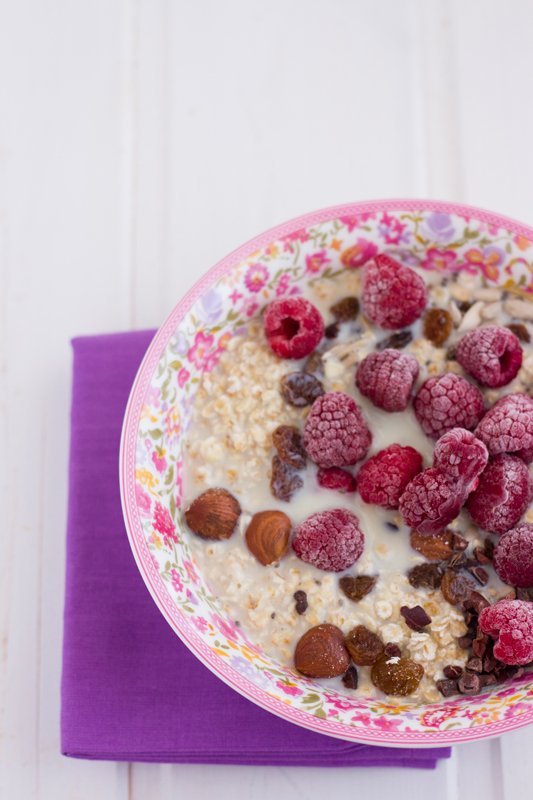
Last Monday, after I finished writing the last post and started taking notes on the one I had planned for today, I realized that it had been over a month since the last time I had posted a recipe! A month?! How could this be?!
It’s true that the ebook of vegetarian, detox friendly, gluten free, sugar free, dairy free and egg free summer recipes had been released in the meantime, but still…unacceptable! 😉
So I decided to remedy this and, for this reason, I am bringing you today my favorite homemade muesli recipe, and adding possible variations to suit you in case you have any food allergies or intolerances- on in case you just don’t like some of the ingredients.
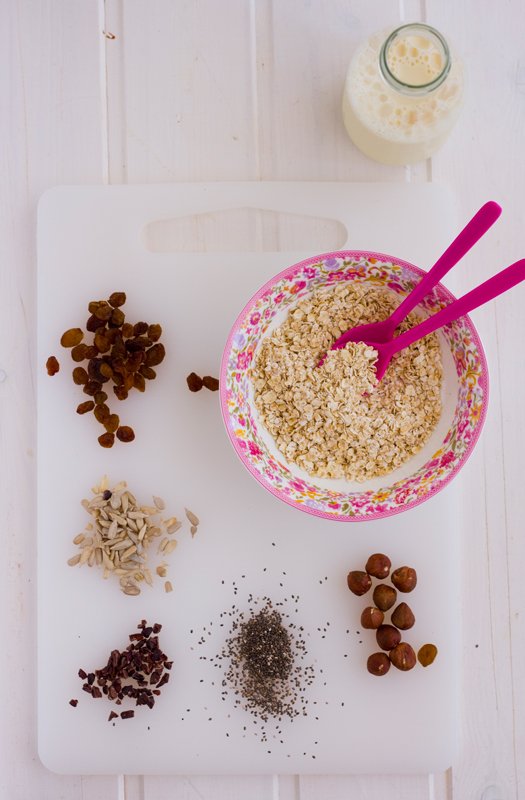
This muesli, together with granola, is one of my favorite breakfast options. It is, not only lush, but also really healthy and it gives me long lasting energy. During school times, when I know I will be in a rush, I make big batches of it and store them in glass jars, so that i just need to put a few spoons in a bowl, pour some vegetable milk over it, let it sit for a few minutes while I prepare my children’s breakfast or boil the water for chamomille tea, and it’s ready!
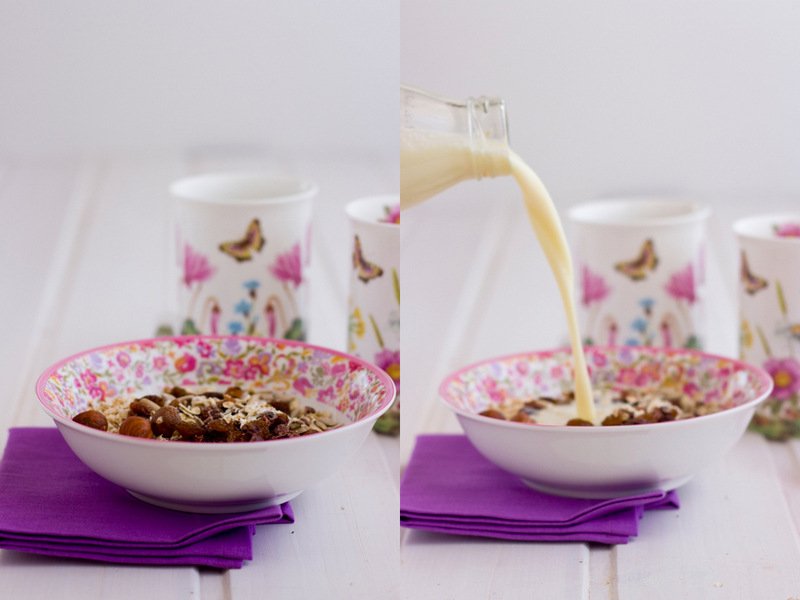
Ready to try it? Here it goes
HOMEMADE MUESLI RECIPE
Ingredients: 3 tablespoons oats, 1 teaspoon chia seeds, 1 teaspoon raw cocoa nibs, 1 tablespoon hazelnuts, 1 teaspoon sunflower seeds, 1 cup vegetable milk, 1 tablespoon raisins, 1/2 cup fresh fruits to top it all.
Preparation: Put the oats in a bowl, add the seeds and nuts and pour the milk over them. Let it sit for a few minutes (or overnight, covered, in the refrigerator if you like the oats to be really soft), add the raisins and fresh fruits and enjoy!
Variations:
1) You may replace hazelnuts for any other nut (almonds, walnuts, pecans, brazil, whichever you prefer)
2) If you can’t eat nuts, add another seed (such as pumpkin seeds, for example)
3) If you can’t eat oats, you may replace them by millet, rice or quinoa flakes.
4) If you have a gluten allergy or intolerance, use gluten free oats or make the replacements above
5) You can replace raisins by any dried fruits, such as dried cranberries, goji berries, or dried apricots, for example.
6) You may omit the raw cocoa nibs- I love their crunchy bitterness but this is a matter of taste, of course.
7) In Summer I like to use frozen fruits to top the muesli, because it adds freshness to it-hence the frost present in the picture’s raspberries. This is a matter of choice. Chose whatever you prefer, or have on hand!
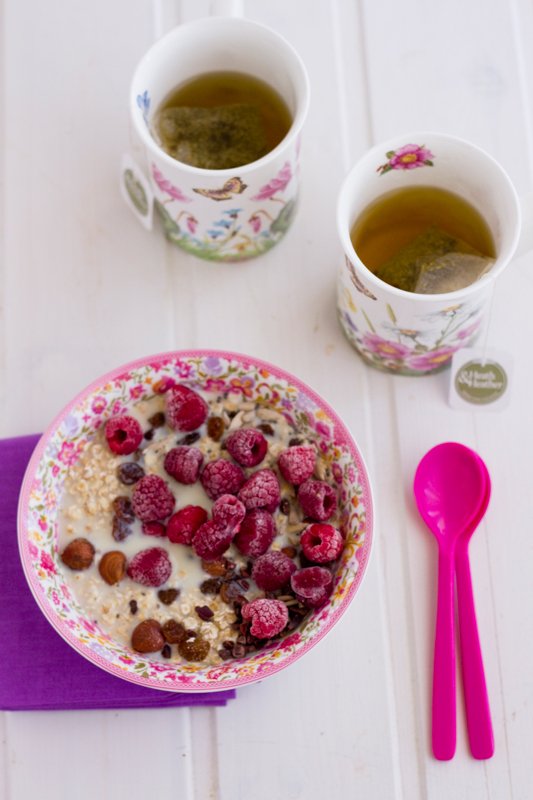
Now it’s your turn: what do you generally have for breakfast? have you ever made muesli before? Please share in the comments below!
by Marcela M. | May 30, 2013 | Gluten Free, Mousses and ice cream, Recipe Box, Recipes, Sweets, Vegan & Raw

Summer is for ice cream, don’t you think? And how about ice cream sandwiches, aren’t they yumminess to the chore? Don’t they bring memories of childhood, leisurely days , friends and bikes, and ice creams trucks in the park? I thought so too, and this is why I decided to bring you a delicious ice cream sandwich recipe, that is also gluten free and dairy free, for you to enjoy like you used to when you were a child.
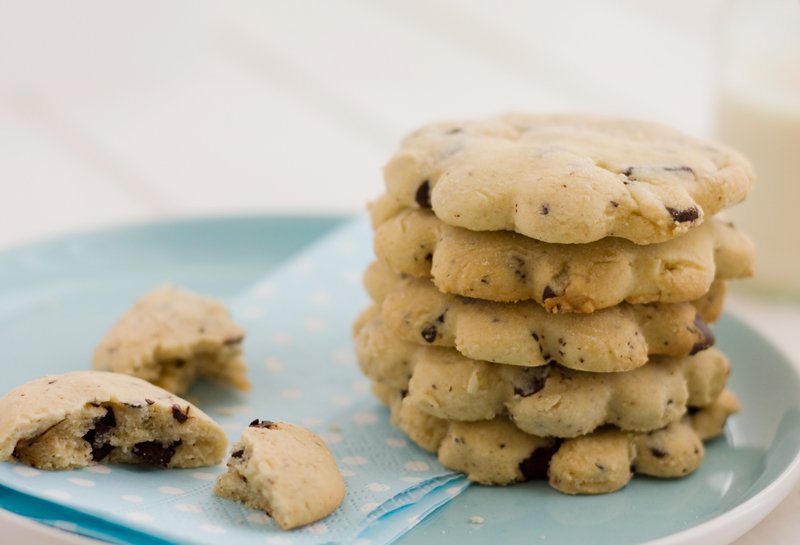
These ice cream sandwiches are made of delicious gluten free and dairy free chocolate chip cookiesand vegan chocolate ice cream (dairy free and egg free) because I believe that food allergies shouldn’t stop us from eating tasty treats.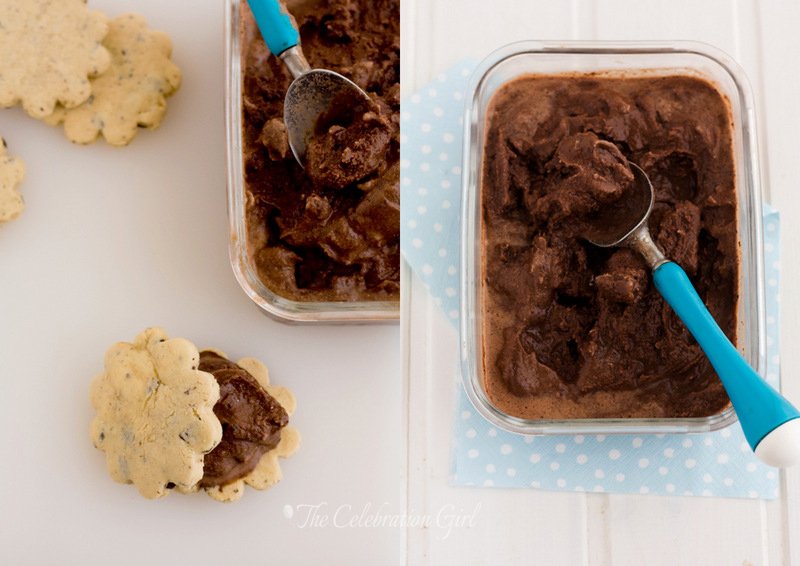
The cookies were adapted from a shortbread cookie recipe by Aran Goyoaga that appears in her book Small Plates and Sweet Treats. I modified the flour combination that she uses because I didn’t have the same ones, and I added big chunks of chocolate that add a little crunchiness to the sandwiches.

Do you want the recipe? Here it is:
Gluten free and dairy free ice cream sandwich recipe
1) Make the Gluten free & Dairy Free chocolate chunks cookies
Ingredients: 110 grs of vegan margarine, 1 cup/200 grs caster sugar, 2 teaspoons vanilla extract, 1 medium size egg, 1/2 cup cornstarch, 1 cup/115 grs almond flour (I used processed almonds), 1 1/4 cup/ 175 grs rice flour (plus a little bit more to dust the counter), 1/2 teaspoon salt, 100 grs chocolate (70%), cut in chunks, or chocolate chip cookies.
Preparation:
1) Beat margarine and sugar for 2 minutes. It is very important not to overbeat margarine or the cookies will turn out oily, so just incorporate both ingredients well and make sure the resulting cream has some fluffiness but don’t continue further than that.
2) Scrape the sides of the bowl, add vanilla and eggs and beat well, until fully incorporated.
3) In a different bowl, mix the dry ingredients and add them to the margarine cream in three times, mixing well and scraping the sides of the bowl after every addition. Again, don’t over mix or the dough will be too soft. Add the chocolate chunks or chips and incorporate them into the dough.
4) Wrap the foil in plastic and put it in the refrigerator for one hour. These cookies freeze very well, so if you can make the dough ahead of time, freeze it and bake the cookies at a later date.
5) Dust the counter with rice flour, remove the dough from the refrigerator, extend it with a rolling pin and cut the cookies with the desired shape. I made medium size flowers, but you could also try with a simple circle or square cookie cutter.
6) Place the cookies on a baking tray lined with baking paper and bake for 10-15 minutes, until barely golden on top. Remove from the oven and let them cool down.

2) Make the Chocolate coconut ice cream
Ingredients: 2 cans of 400 ml of coconut milk, 1 cup sugar, 1/2 cup cocoa
Preparation:
1) Put all the ingredients in a saucepan, and bring to the heat, stirring all the time with a wooden spoon until it slightly thickens (very slightly). This will help dissolve well all pieces of coconut and cocoa and ensure that the ice cream turns out smooth.
2) Place the chocolate coconut milk in a container with a lid and put it in the refrigerator for at least 8 hours
3) Remove the milk from the refrigerator, and churn it in your ice cream maker according to the manufacturer’s instructions. I use the KitchenAid ice cream attachment, with which it takes 15/20 minutes for the ice cream to be ready.
4) Once the ice cream is ready, place it in the freezer for 2 hours for it to reach scoop consistency.
3) Assemble the ice cream sandwiches
1) Put a scoop of ice cream between two cookies, and place the sandwiches on a tray
2) Place the tray in the freezer until the ice cream hardens (or it will melt too soon!).
3) Serve, or store in the freezer in an airtight container.
Did you like this recipe?
If you did, share it with your friends using the social media buttons below and subscribe to my newsletter for more yumminess delivered right into your inbox!
by Marcela M. | Apr 18, 2013 | Gluten Free, Mousses and ice cream, Recipe Box, Recipes, Sweets, Vegan & Raw
Good morning dear friends!
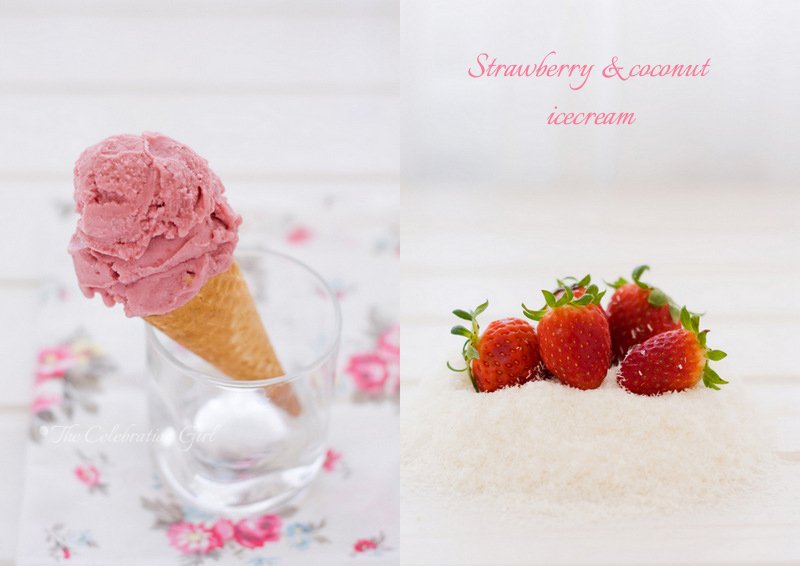
Today’s recipe was my monthly contribution to the Spanish website Petit-On. As I have mentioned before, each month I contribute a recipe based on an ingredient chosen by one of the blog’s contributors. To my utter delight, the ingredient for April was strawberries!
I love strawberries and, each year, I wait anxiously for April to arrive because I know that it’s strawberry season. I love their fragrant smell, their sweetness that goes so well with slightly tangy flavors, and the deep red of their skins. They are delicious and beautiful, a real feast for all senses. The funny thing is that I hated them when I was a child…but fortunately I have come to my senses since then!
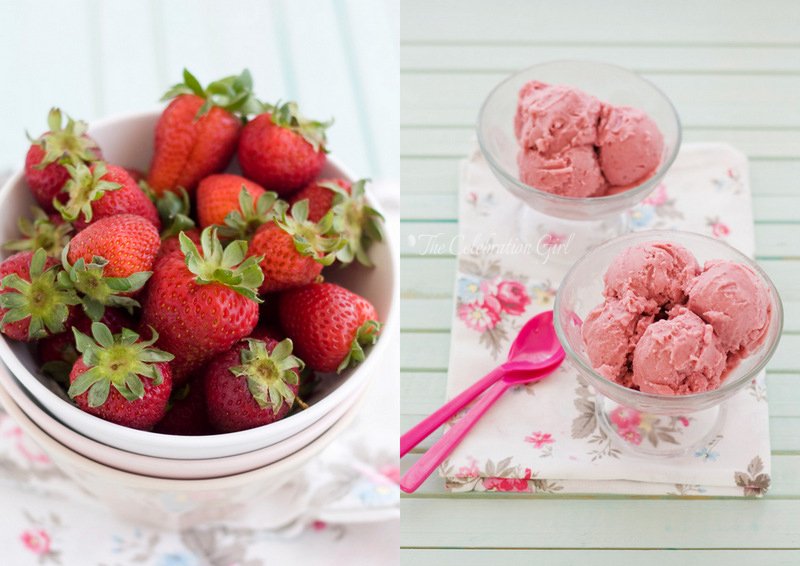
Loving strawberries as I do, it took me a while to chose a recipe, but I finally decided to make this one, because what better way to greet the warmer weather and celebrate Spring than with a delicious ice cream?
As you will soon see, an added beauty of this recipe is that it takes very few ingredients: coconut milk, fresh strawberries, sugar and a splash of good vanilla, to enhance the strawberries natural flavor (I use vanilla bean paste but you may use vanilla extract if you want, or a vanilla pod). Yes, no milk, no cream and no eggs, which also means no need to make a custard, beat ingredients or anything like that. I warm up the milk with the sugar for a little while, so that the sugar cristals dissolve but you can also make it raw and just out all ingredients in a blender or food processor at the same time, process and refrigerate for a couple of hours before churning in an ice cream maker.
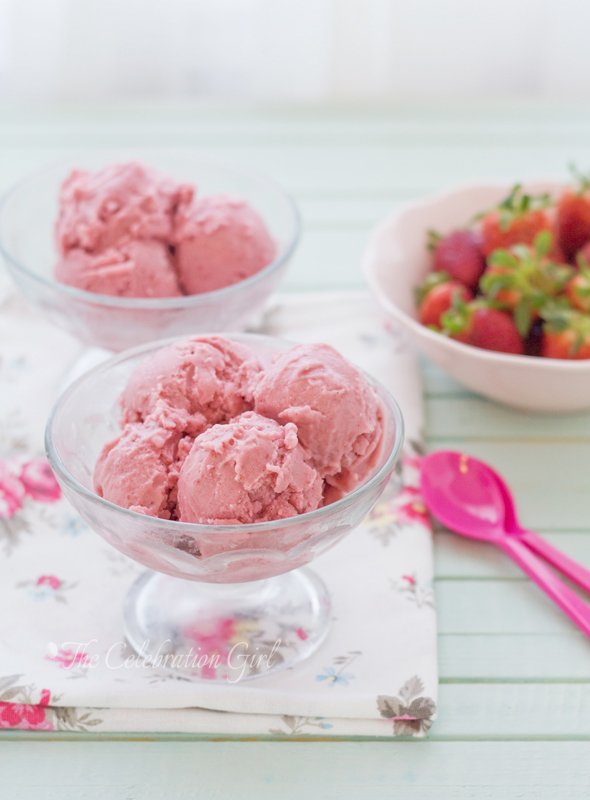
Here is the recipe:
Strawberry and coconut ice cream
Ingredients: 2 1/2 cup of strawberries , 1 can of coconut milk, 1/2 cup of sugar, 1 teaspoon of vanilla bean paste/the seeds of 1 vanilla pod or 2 teaspoons of vanilla extract.
Preparation:
1) Wash the strawberries, remove the leaves, cut them in half and put them in the bowl of a food processor or blender. Process and blend until they transform into a purée. Reserve.
2) Put coconut milk and sugar in a saucepan and bring to moderate heat for about 5 minutes, so that the sugar crystals dissolve. Remove from the heat, let cool down for a while and add vanilla.
3) Pour the sugared milk in the food processor/blender, together with the strawberry purée and pulse a few times to to integrate well.
4) Pour the preparation in a tall glass/bowl, cover with foil and refrigerate for at least 4 hours before churning.
5) Remove the preparation from the refrigerator and churn in your ice cream maker according to the manufacturer’s instructions. I use the KitchenAid ice cream attachment, with which it takes 15-20 minutes for the ice cream to reach soft consistency.
6) Remove the ice cream from the machine, put it in an airtight container and place it in the freezer for a couple of hours so that it reaches scoop consistency.
If you don’t have an ice cream machine, you can still make this recipe. In that case, instead of refrigerating the preparation as is required before churning, put it directly in the freezer, and remove it every 30 minutes during 2 hours, beating it vigorously every time, so as to break the ice crystals. You may also use it to make ice lollies, if you have the molds. They will be delicious either way!
Do you like to make ice cream at home? Do you have any food allergies that prevent you from eating ice cream at a shop? Let me know in the comments below and I promise I’ll do my best to come up with a recipe you can eat!
by Marcela M. | Apr 11, 2013 | Blog, Cooking basics and tutorials, Drinks, Gluten Free, Recipe Box, Recipes, Vegan & Raw
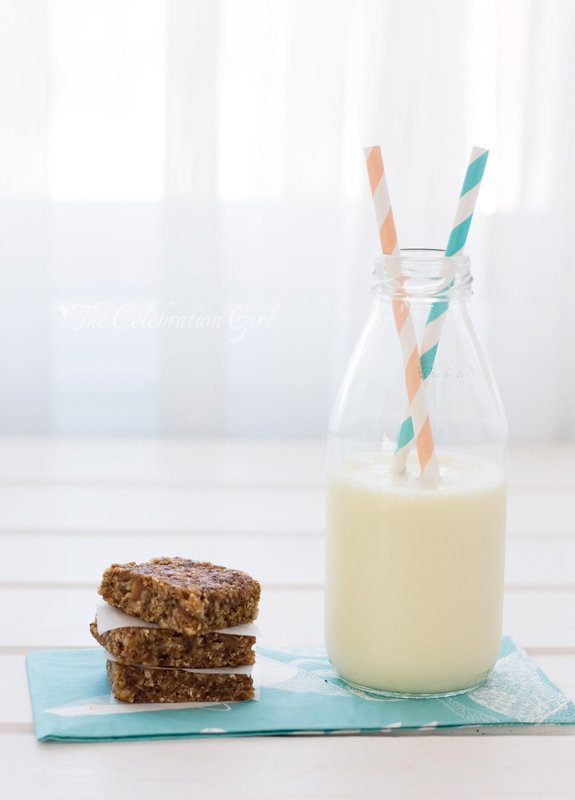
One of the questions that I get asked the most whenever someone finds out that I don’t eat dairy is: “what do you drink with your coffee?”. When I reply saying that I can chose between soy, nut, oats or even date milk, people normally mention how expensive these are.
And it is true, store-bought vegetable milks are expensive. But the good news is that they are also very easy to make at home!
I made this batch of almond milk a week ago, when I was preparing for my detox and it took me no longer than 15 minutes. When I was making it, I thought that some of you may like to learn how I do it, so I decided to write this DIY. In this occasion I made 100% almond milk, but you can replace almonds with hazelnuts, cashews, pistachios, walnuts…any nut! And the beauty of it is that the proportions remain the same. You can even mix different nuts (almond and hazelnut milk is delicious) to experiment and add variety. Oh! And there’s an added bonus: nut flour! The traces of nut that remain after straining the milk can be dried in the oven and used as nut flour in baking! Isn’t that great?
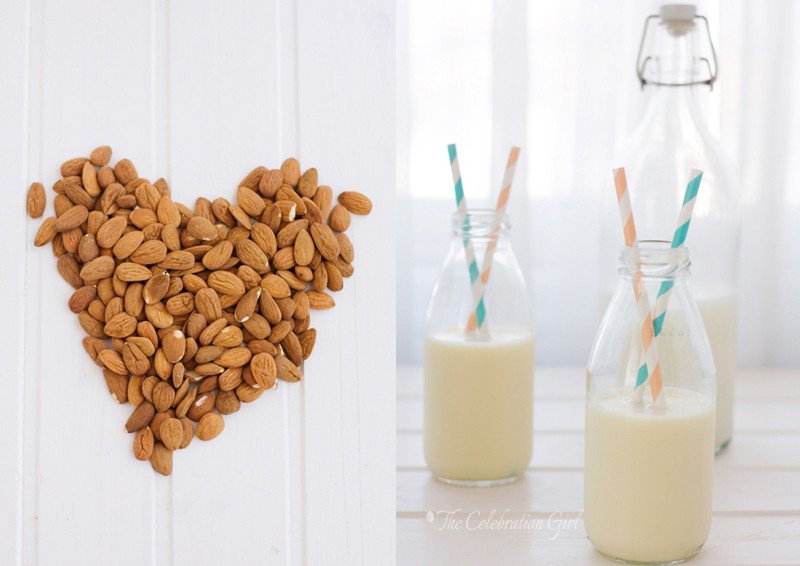
So, what do you need to make nut milk? well, nuts of course, water, a blender and a cheesecloth. If you have a mesh strainer, so much the better but if you don’t, that’s ok too.
Ready to get started? Here’s the recipe:
Almond Milk (makes 1 litre)
Ingredients: 1 cup almonds, 4 cups water.Optional: 1 tablespoon of honey/agave or other sweetener.
Preparation:
1) Soak the almonds in water for at least 4 hours (I leave them overnight)
2) Drain the almonds and put them in a small bowl. Pour boiling water over them and let them rest for 5 minutes. This will allow the peel to come off easily, just by rubbing it off the almonds.
3) Put the blanched almonds in a blender and add 4 cups of water. Blend until the almonds are not visible anymore.
4) Put a cheesecloth over a bowl and pour the milk on it. The cheesecloth will capture the pieces of nut that are too big.
5) Pour the milk in a bottle and store in the refrigerator for up to a week.
6) Put the nut pieces on a baking tray and place it in the oven at 115C until they are dry (it can take a while, just be careful not to let them brown). Store in an airtight container and use in baking!
Did you like this recipe? Had you even make nut milk at home before? Please, share in the comments below!
Con sabor latino…
Una de las preguntas que más recibo, cada vez que menciono que no consumo lacteos, es “¿con qué tomas el café?”. Y cuando respondo que hay muchas leches vegetales diferentes, como la de soja, avena, nueces y hasta dátiles, la gente suele comentar cuan caras son las mismas.
Y es cierto, las leches vegetables que venden en el supermercado son caras. Pero la buena noticia es que también son facilísimas de hacer en casa! Esta tanda de leche de almendras, por ejemplo, la hice cuando estaba preparandome para el detox de comienzos de mes y me llevó no más de 15 minutos. Mientras la hacía, se me ocurrió que a algunos de ustedes podría resultarle util esta receta, y por eso decidí escribir este post.
En esta ocasión, hice leche 100% de almendras, pero con la misma receta pueden hacer leche de avellanas, de pistachios, de nueces pacanas, de nueces comunes (walnuts), de castañas de cajú (anacardos)…cualquier nuez, la que tengan en casa y les resulte más barata! Tambien pueden incluso mezclarlas (la leche de almendras y avellanas es deliciosa) para experimentar y agregar variedad. Y ¿saben qué es lo mejor? Cuando terminen, tambien habrán hecho harina de nuez, porque los restos que quedan en en liencillo pueden secarse en el horno a temperatura baja y utilizarse luego como harina, al hornear. ¿ No es maravilloso?
Qué necesitamos para hacer leche de nuez? Nueces, claro, agua, una licuadora, un bowl y liencillo (la tela finita que se usa para hacer queso). Si tienen un colador grande, de esos que se usan para cernir, suele venir bien para sostener el lienzo, pero si no tienen no se hagan problemas!
Listos para comenzar? Aquí está la receta
Leche de almendras (rinde 1 litro)
Ingredientes: 1 taza de leche de almendras, 4 tazas de agua. Opcional: 1 cucharada de miel/agave u otro endulzante.
Preparación:
1) Coloque las almendras en un bowl, cubra con agua y deje reposar por al menos 4 horas (yo las dejo toda la noche, pero es más por costumbre que otra cosa)
2) Seque las almendras, coloquelas en un bowl seco y vierta encima de las mismas agua caliente (hirviendo). Deje reposar 5 minutos. Esto hará que sea facil pelar las almendras, verán como la piel sale entera con solo frotarlas con las manos.
3) Coloque las almendras peladas en la licuadora. Agregue 4 tazas de agua y licue todo hasta que las almendras se pulvericen.
4) Coloque liencillo sobre un bowl, dejando que sobre a los costados. Vierta la leche de almendras sobre el mismo. El liencillo atrapará los pedacitos de almendra que sean demasiado grandes.
5) Retire el liencillo y vierta la leche de almendras en una botella (yo prefiero de vidrio). Guarde en la heladera (refrigerador) hasta una semana.
6) Coloque los restos de almendras en una placa para horno(los que quedaron atrapados en el liencillo), y lleve a horno suave (115C) hasta que se sequen, teniendo cuidado que no se tornen marrones. Una vez seca la harina de almendras, guardela en un recipiente hermético y utilicela al hornear!
Les gustó esta receta? Alguna vez hicieron leche de nuez? Cuentenme en los comentarios!
by Marcela M. | Apr 8, 2013 | Blog, Gluten Free, Main courses, Recipe Box, Recipes, Savories
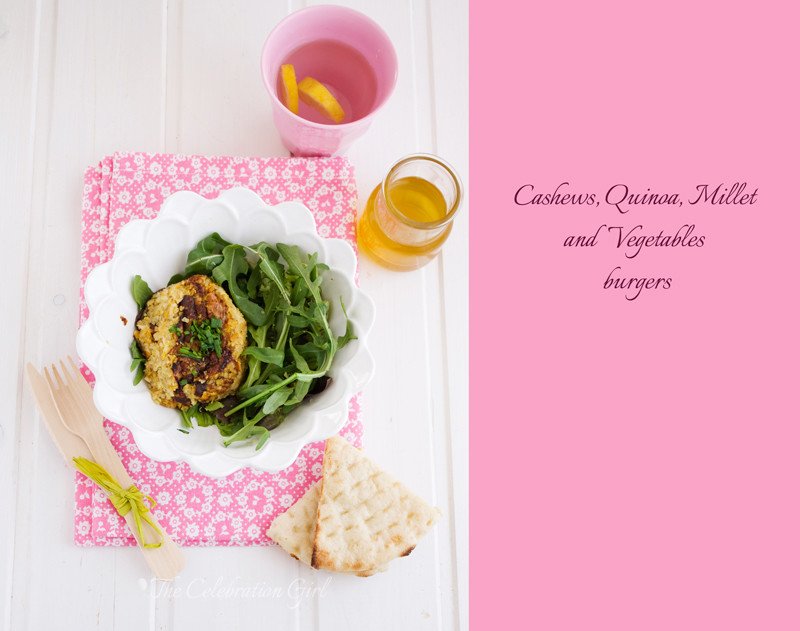
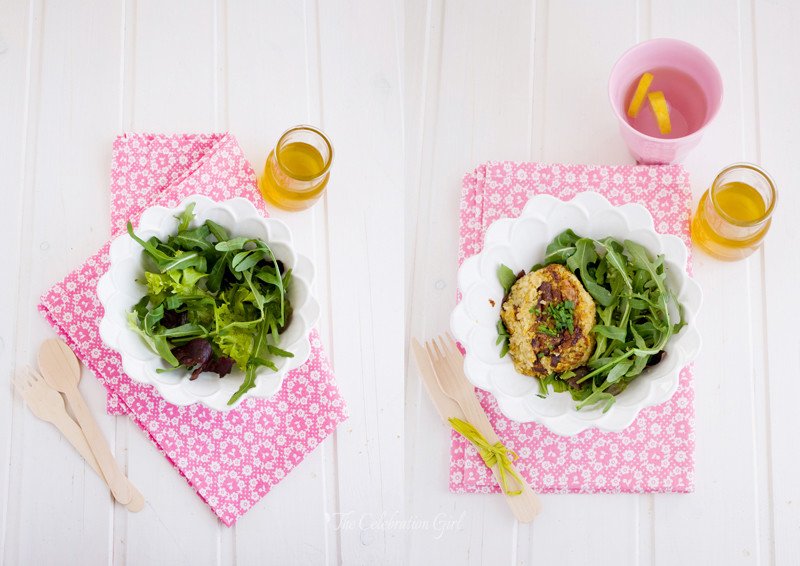
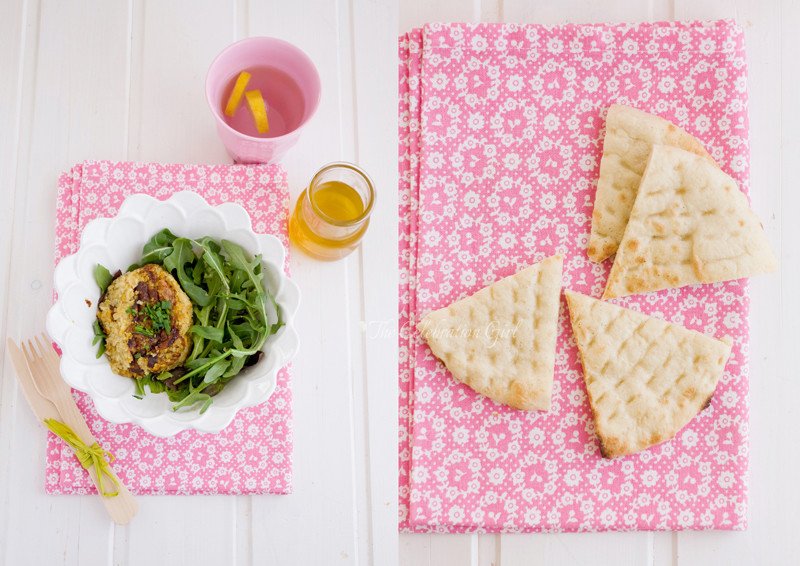
Ever since I stopped eating meat*, about 12 years ago, I had been looking for a delicious veggie burger recipe, one that I would actually crave and not just eat because I had made a whole batch. Early on, I adapted my mum’s recipe for soy burgers and that became my go-to recipe, but I wanted one that would use more vegetables and different grains, to add variety.
A few months ago, when browsing recipe books, I came across a couple of recipes that seemed interesting but they each had ingredients that either I don’t like or can’t eat (such as cheese). So I decided to do some mix and match and came up with this recipe after a couple of tries.
As you can see from the ingredient list below, these burgers don’t take any eggs, cheese, or dairy. To bind the ingredients, I used chia seeds hydrated 2 tablespoons of water for a few minutes, before adding them to the preparation. You will probably also notice that I didn’t use any breadcrumbs or flour to shape them which is why they are not the traditionally perfectly round burgers that you may be used to seeing. If you prefer perfectly shaped burgers, add a little of the flour of your choice.
One word of caution regarding this recipe: even though it doesn’t use flours, this is not a recipe that is 100% safe for people with celiac disease, because it uses onions and garlic, to which many celiac people have intolerance to. So, if you are making this for a friend with celiac disease, make sure that you omit those ingredients!
Here is the recipe:
Cashew, quinoa, millet and vegetables burgers
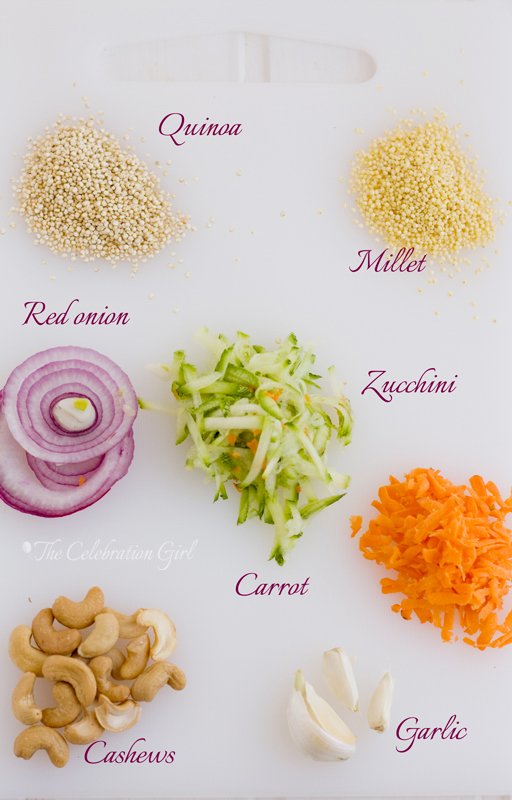
Ingredients: 1 big zucchini, 1 big carrot, 1 big red onion, 1 garlic clove, 50 grs quinoa, 50 grs millet, 2 tablespoons chia seeds, 2 tablespoons water, 50 grs toasted cashews.
Preparation:
1) Fill a saucepan with water and bring it to the boil. Add the quinoa and millet and cook until ready (you can see a video from Sarah Britton, on how to cook quinoa HERE). Strain and reserve.
2) Slice the onion, chop the garlic, shred the carrot and zucchini. Put a tablespoon of oil in a skillet or frying pan and stir-fry the onion and garlic until transparent, then add the rest of the vegetables and let them cook for a few minutes, until tender.
3) Process the cashew nuts until finely chopped (but don’t turn them into flour!).
4) Add the cashews to the vegetables and stir-fry them together for a couple of minutes. Remove from the heat.
5) Add the strained quinoa and millet, as well as the chia seeds, salt and pepper, and mix well.
6) Take the mixture using a spoon and press them to shape them. Refrigerate the burgers until time cook them.
7) Heat a tablespoon of oil in a frying pan and cook them for about 15 minutes, watching them carefully and turning them halfway through the cooking time.
I hope you like this recipe!
Do you like veggie burgers? If you do, do you have a favorite recipe that you would like to share with us in the comments?
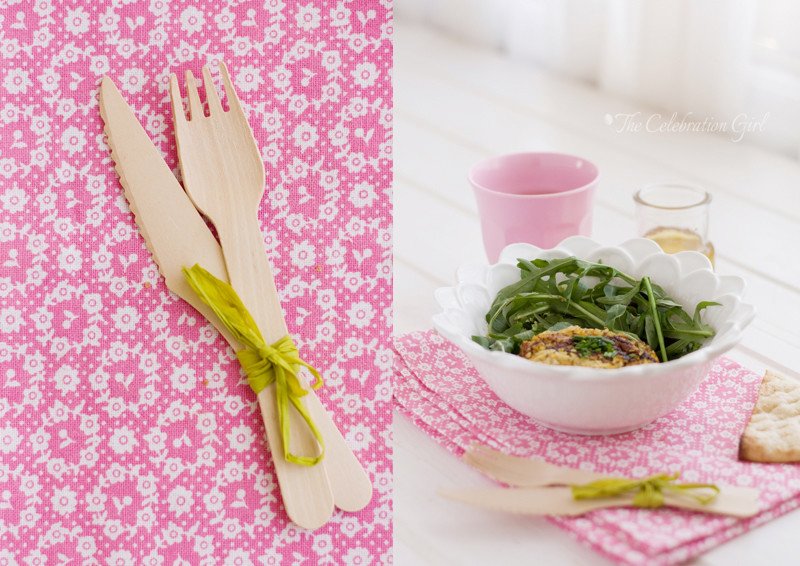
Con sabor latino….
Desde que dejé de comer carne, hace ya 12 años, había estado buscando una receta de hamburguesas vegetales que me encantara, una receta tan deliciosa que me diera antojo comerla. Tenía en mi repertorio una receta de hamburguesas de soja, adaptada de la de mi mamá, pero quería incorporar a mi repertorio una versión que utilizara más vegetales y granos diferentes, para así poder aportar variedad a mi dieta.
Hace unos meses, mirando libros de recetas que tengo en casa, encontré un par que me parecieron interesantes, pero todas tenían ya sea algo que no me gustaba o algo que no puedo comer (como el queso). Así que decidí experimentar por mi cuenta y terminé con esta receta que hoy les traigo, y que me encanta.
Como pueden ver en la lista de ingredientes de más abajo, esta versión de hamburguesitas vegetales no usa huevos, ni leche, ni queso. Para ligarlas, utilicé semillas de chia hidratadas en dos cucharadas soperas de agua durante un par de minutos. Si se fijan en los ingredientes, tambien notarán que tampoco utilicé harina ni pan rallado, motivo por el cual no tienen la forma redondita de las hamburguesas comerciales. Si ustedes prefieren que las suyas tengan una forma perfecta, agreguen un poquito de su harina preferida.
Antes de dejarlos con la receta, les hago una pequeña advertencia: a pesar que estas hamburguesas no utilizan harina, no son aptas para celíacos porque utilizan cebolla y ajo, dos ingredientes a los que muchos celíacos presentan intolerancia. Por ello, si van a realizarlas para un amigo que tengan esta condición, omitan estos ingredientes de la preparación!
Aquí está la receta:
Hamburguesas vegetales con castañas de cajú, quinoa y mijo
Ingredientes: 50 grs de quinoa, 50 grs de mijo, 1 zucchini grande, 1 zanahoria grande, 1 cebolla colorada grande, 1 diente de ajo, 50 grs de castañas de cajú tostadas, 2 cucharadas de semillas de chia, 2 cucharadas de agua.
Preparación:
1) Colocar agua en una olla, y llevar a ebullición. Agregar la quinoa y el mijo y cocinar a fuego lento. (AQUI tienen un video que enseña a cocinar quinoa). Colar y reservar.
2) Cortar la cebolla, picar el ajo, rallar la zanahoria y el zucchini. Colocar una cucharada de aceite en una sartén y, cuando esté caliente, saltar la cebolla y el ajo en el mismo hasta que queden transparentes. Agregar el resto de las verduras y cocinar hasta que estén tiernas (tardará solo unos minutos porque están ralladas)
3) Procesar las castañas de cajú en trocitos pequeños, pero con cuidado de no transformarlas en harina.
4) Agregar las castañas a los vegetales y saltarlas en las sarten junto con los mismos, un par de minutos. Retirar la sarten del fuego.
5) Agregar la quinoa, el mijo, las semillas de chía, sal y pimienta a gusto y mezclar bien.
6) Con la ayuda de una cuchara, formar bolitas y aplastarlas para que tomen forma de hamburguesas. Reservar en la heladera hasta que vayan a ser cocinadas.
7) Calentar una cucharadas de aceite en una sarten, y dorar las hamburguesas en la misma, por alrededor de quince minutos cuidando que no se quemen, y dándolas vuelta a la mitad de la cocción.
Espero que les guste esta receta!
Cuentenme: ¿Les gustan las hamburguesas vegetales? ¿Tienen una receta favorita que les gustaría compartir con nosotros en los comentarios?
* I normally eat meat about three times a year, to accompany my husband.


