by Marcela M. | Apr 16, 2014 | Blog, Gluten free and Vegan, Mousses and ice cream, Recipe Box, Recipes, Sweets, Vegan & Raw
My husband and I joke that we are pretty much like the couple in Tina Fey’s movie, Date Night.If you have seen the movie (which is hilarious and I totally recommend), you know that Claire and her husband Phil like routine and go every week to the same local restaurant for a date. Then, one day, they decide to spice it up and go to a posh Manhattan restaurant (without reservation), take someone else’s table and then the movie turns into a funny thriller.In our case, the action part came a few years ago, when we both worked in peacekeeping, and now we have more or less settled into a routine that we love.
Where we are 100% like the Fosters is in our restaurant routine: once we find one that we love, we rarely change, we become regulars and end up knowing the waiter’s names. Every city we go to, we fall in love with a couple of places and become loyal customers. Back in Abidjan, our hearts belonged to Nuit de Saigon (Vietnamese cuisine), Maroush (Lebanese cuisine), and Restaurant de la Paix (also Lebanese cuisine), in Belgrade we chose Kosava and Tribecca, in Florence, Ristorante Pinolo and Open View (overlooking the Arno) in Barcelona, Ugarit (Sirian cuisine), and here in Cyprus, we love Karvounomageiremata, Sitio and the Syrian-Arab Friendship club. I’m sure there are plenty of other great places, but these are the ones we adore.
Did you notice a trend in the list above?
Yes, we love Middle Eastern cuisine and we always find a middle eastern restaurant wherever we go. Hoummous, tabbouleh, fatayer, fattoush, falafel…you name it, we have probably tried and most certainly loved it. But for some reason, before coming to live in Nicosia I had never tried Middle Eastern desserts (except Baklava, of course). Then one night, we were given a complimentary Machalebi with our mint tea and I was smitten. The texture was so soft it almost melted in my mouth, and its sweet, rose flavour was utterly delicious.
The problem was that it was made with milk and cream- and as you know, I don’t eat dairy. So I came up with my own version.
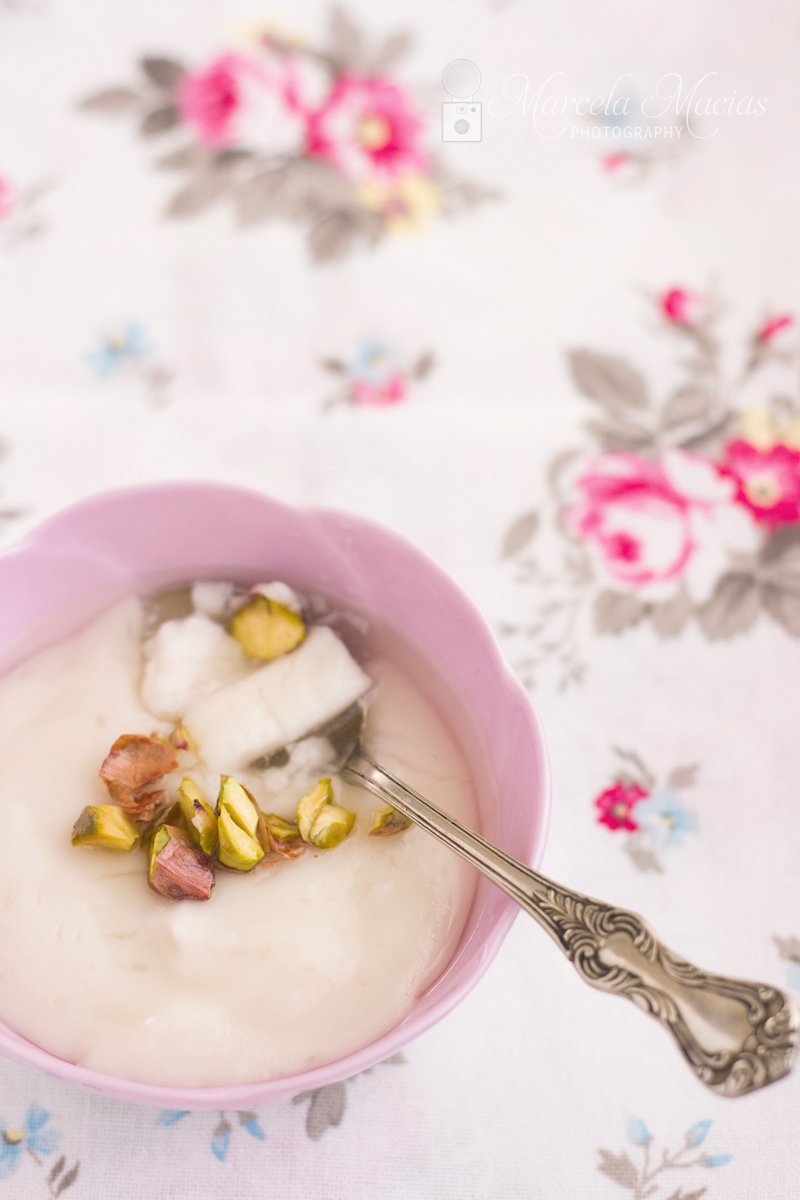
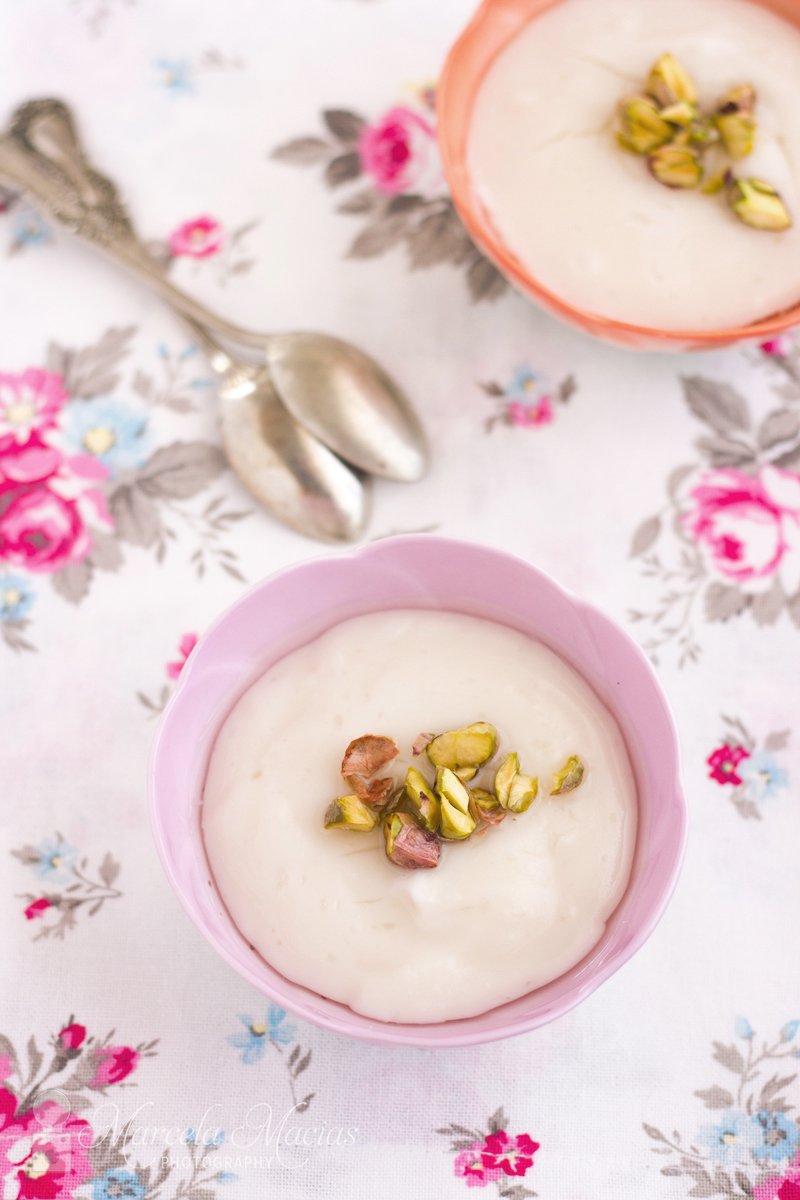
I checked a couple of recipes, changed this, removed that, and ended up with this recipe: My coconut machalebi, made with equal parts coconut milk and coconut cream, lots of rose water and a little bit of sugar.
And the best part? It takes about 15 minutes to make so it’s ideal for those times when we don’t have loads of time, yet want to impress our guests with an unusual, exquisite dessert. It is also pretty allergy friendly because it doesn’t have dairy, eggs or wheat.
I chose coconut milk and cream because of their luscious texture, but if they are hard to find where you leave, just replace them by other non-dairy versions. In this occasion I used caster sugar so as not to affect the pearly white texture of the dessert, but if you prefer not to use refined sugar, you can use coconut sugar for a change. It will then be brownish in color, but still yummy.
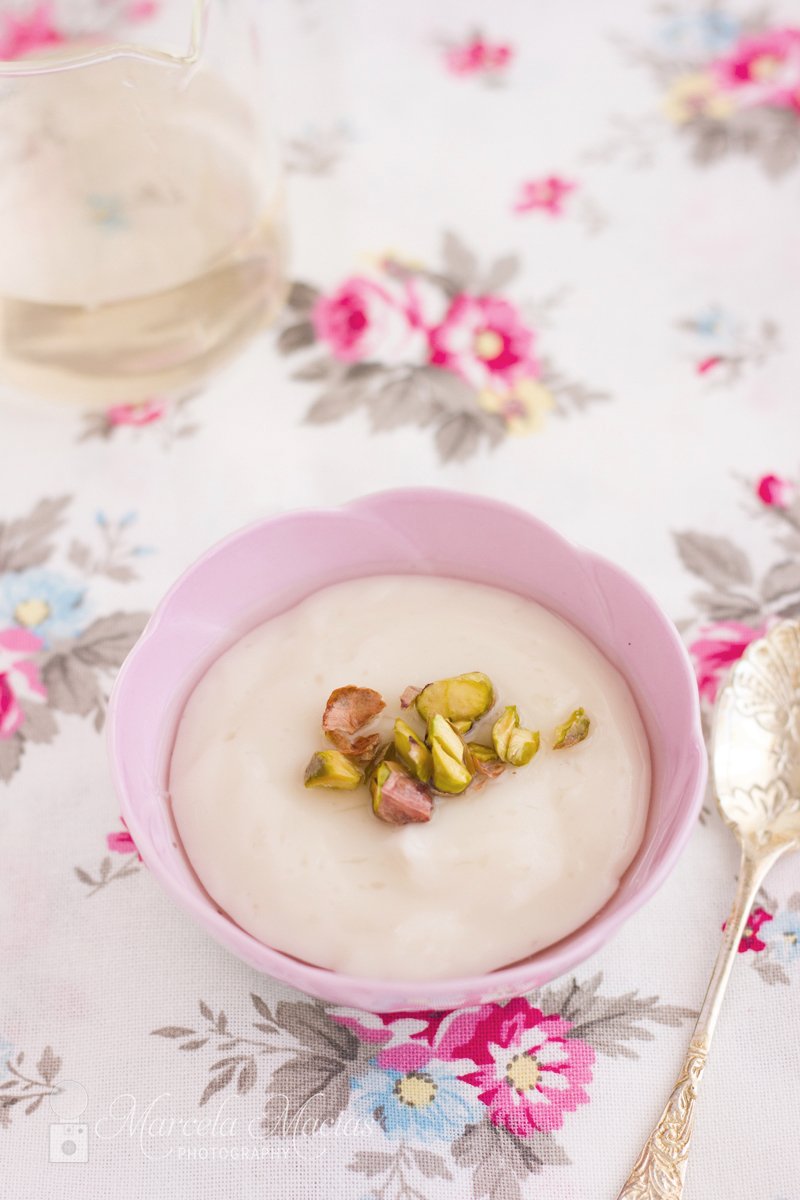
Here’s the recipe:
Coconut Machalebi (serves 6)
Ingredients: 1 can (400 ml) coconut milk, 1 can (400 ml) coconut cream, 3/4 cup cornstarch, 1/3 cup caster sugar, 2 tablespoons rose water 4 tablespoons of pistachios, roughly chopped. For the rose syrup: 1/2 cup water, 1/2 cup caster sugar, 2 tablespoons of rose water.
Preparation:
1) In a bowl, mix coconut milk and cornstarch until the latter dissolves. Set apart.
2) Put the coconut cream and sugar in a saucepan and bring it to the boil, then reduce heat to minimum and let it simmer until the sugar is completely dissolved, stirring constantly to prevent the sugar from caramelizing at the bottom.
3) Once the sugar has dissolved, add the coconut milk and cornstarch, and the rose water and let the preparation simmer until it starts to thicken, stirring with a whisk.
4) Once the preparation starts to thicken, remove from the heat and whisk vigorously to ensure a smooth, silky texture.This will also allow the preparation to cool down a little bit.
5) Pour the preparation into ramequins or small bowls, add a teaspoon of chopped pistachios, cover with foil and let chill in the refrigerator while you prepare the rose syrup.
6) Prepare the syrup: Put water and sugar in a saucepan and bring it to the boil, then reduce the heat and let it simmer for 5 minutes. Remove from heat, add the rose water and let the syrup cool.
7) Remove the machalebi from the refrigerator, add 2 or 3 tablespoons of rose syrup to each ramequin and serve.

Do you have a favorite cuisine? Let me know in the comments below!
by Marcela M. | Dec 2, 2013 | Children, homeschooling, Pies, Recipe Box, Recipes, Sweets, Vegan & Raw
Good evening dear friends!
It’s been such a long, long time since I last visited this, my happy place, since I last talked to you, my dear friends. Summer came and went and so did most of Autumn (my favorite season!), and it is only now that the advent is almost upon us that our lives have regained some sort of normality, of calm and that I begin to find the way back to the words I have been wanting to write for a while.
So here I am, listening to The Piano, which is the soundtrack with which I have written every post of this blog, and thinking about the roller coaster of emotions that have been the last few months (pardon the cliché).
You see, On the 1st week of October: 1) We pulled Luka and Zoe out of their new school, worried about the high levels of stress that they were enduring and, advised by a psychologist, decided to home school them (insert worry, doubts and sadness), 2) We lost our babysitter ( a big deal for expats like us, trust me) and 3) I started working, from home, on the most amazing project I could have ever dreamed (insert jumps of joy and huge smiles). Our daily lives, and the plans we had for the immediate future, as you can imagine, changed pretty much overnight, and it has taken a while for all of us to re adjust and find the calm and quiet of a new normal.
During all this time there were many occasions in which I sat at the computer with the intention to type a new blog post, only to be met by the most atrocious writer’s block. It seemed as though I had run out of words or, rather, as if I had too many words waiting to be said, too many raw emotions inside of me battling to be put on paper first. Should I talk to you about the sadness and worry for our children’s well being that had haunted us during September, or should I talk about the relief we found when, unexpectedly and surprisingly, we decided to home school them? And how to discuss the joy, hope and personal fulfillment that the new project I am working on had brought into my life? How could I piece those feelings together, in a blog post, or two, or three, when I was still dazed myself by all that had occurred?
I couldn’t.
And the more I thought about it, the more daunting the task seemed. As days and then weeks passed by, this first blog post acquired mythical proportions and it became more and more difficult to write.
Until this week, when I realized I didn’t have to do any of this: that I can take my time to write about it all in greater detail when the words come to me in their own time, and that I could just come back here being me, the confused, worried, joyful, warm and simply happy me that I have always been. And that I could just say hello to you again, bring you a piece of pie, and ask you (like old friends do):
How have you been, my dears, during all this time?
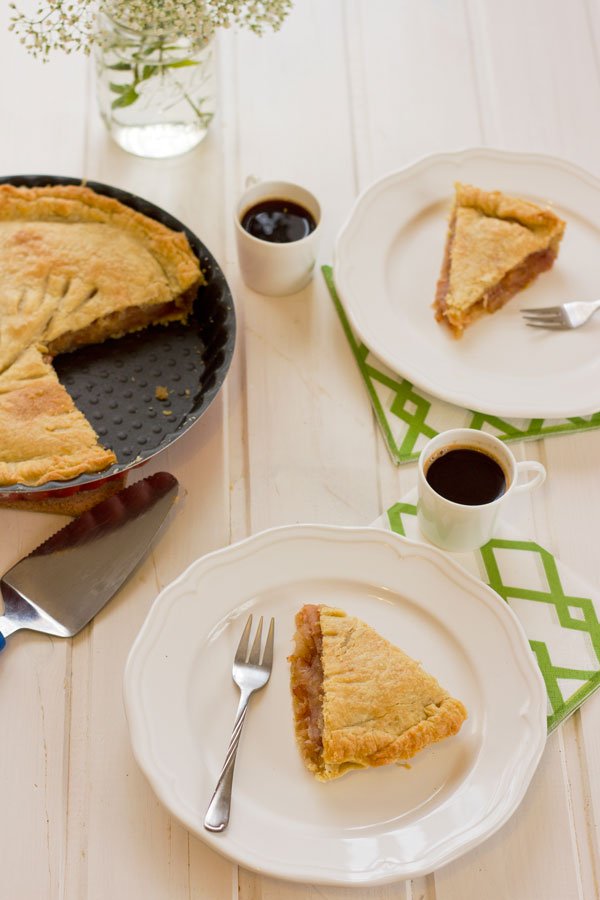
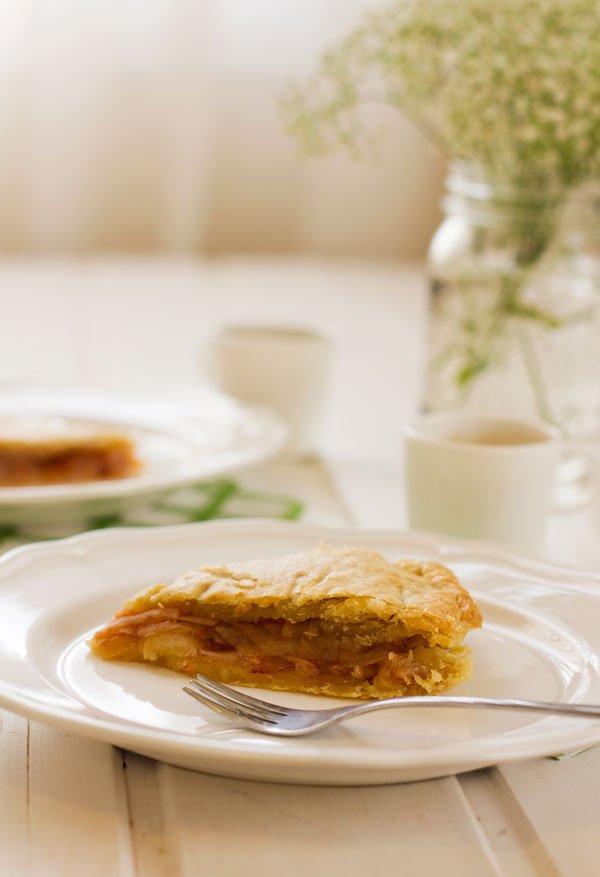
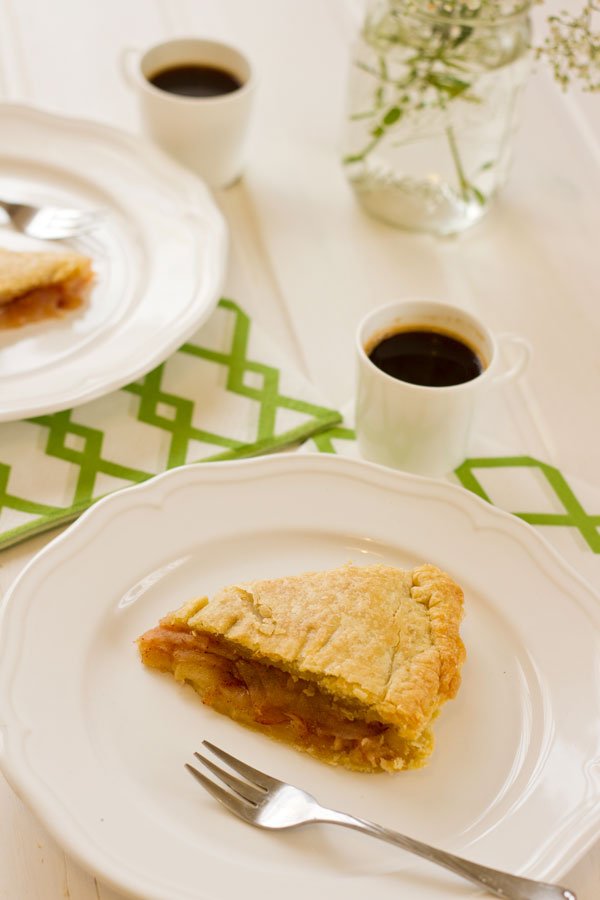
And speaking of pie, here’s the recipe I promised:
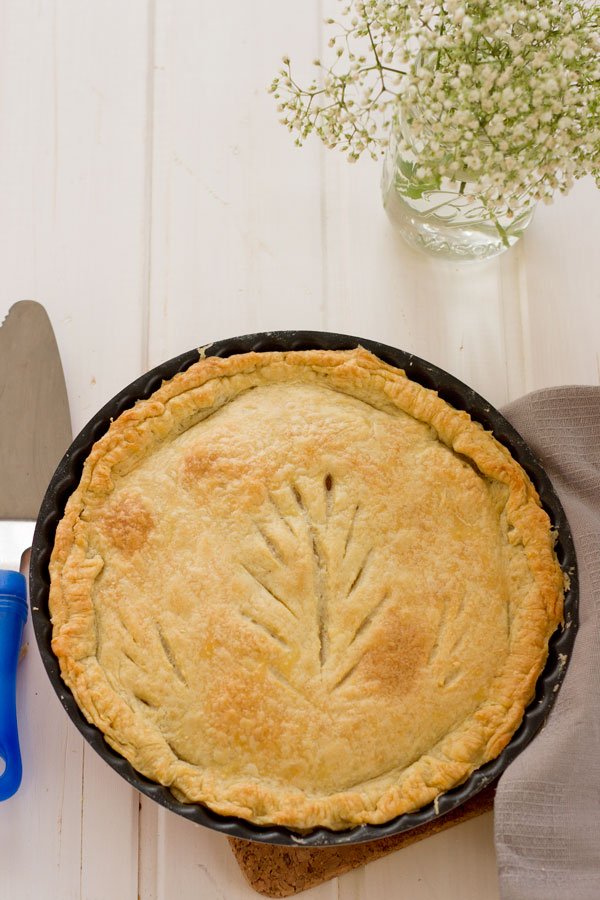
Vegan & refined sugar free apple pie
Ingredients: For the crust:400 grs all purpose flour, 200 grs margarine, cold (the best quality you can find, preferably from the health food store), 2 tablespoons coconut palm sugar, 1/4 cup very cold water. For the filling: 2 big Granny Smith apples, 3 tablespoons cornstarch, dissolved in cold water, 7 tablespoons coconut palm sugar, 2 tablespoons ground cinnamon.
Preparation:
1) Make the crust: Put flour, sugar and margarine in the food processor. Pulse until the flour reaches a sand-like consistency. Add water while the processor runs, until the dough separates from the bowl. Wrap the dough in foil and let it rest in the refrigerator for one hour. Note: If you don’t have a food processor, use two knives to incorporate flour, sugar and margarine.
2) After one hour, pre heat the oven to 180 C/ 350 F. Remove the dough from the refrigerator and divide it in two. Roll one half and cover the botton of a pie dish with it.
3) Prepare the filling: Peel and finely slice the apples and put them in the pie dish. Mix the dissolved cornstarch, coconut sugar and cinnamon and pour it evenly over the apples, to coat. Cover the dish with the other half of dough and bring it to the oven. Bake until the crust is golden. Serve warm and, if you are feeling decadent, accompanied by a scoop of good quality vanilla bean ice cream.
by Marcela M. | Jun 3, 2013 | Cakes, Recipe Box, Recipes, Sweets

Last Wednesday, May 29th, was my 37th birthday and the blog’s second and we celebrated both with nugaton.
Nugaton is, for those who know me from my days in Argentina, my most iconic dessert. This is the one dessert that was never missing in our birthdays and the only cake my brother still wants for his. Nugaton is the dessert I am always asked to prepare when I’m invited to a party back home, and the one that my friends most looked forward to eating whenever I entertained.
It is not, however, a family recipe. Truth be told, the original recipe appeared in a box of Quaker Oats in Argentina, in the ’70s. It quickly popularized because it was ideal for making in a whim, and kids loved it. The original recipe, however, has been modified countless times, as it normally happens in family kitchens, where ingredients and proportions are altered depending on what the person cooking has on hand, or to each family’s taste.
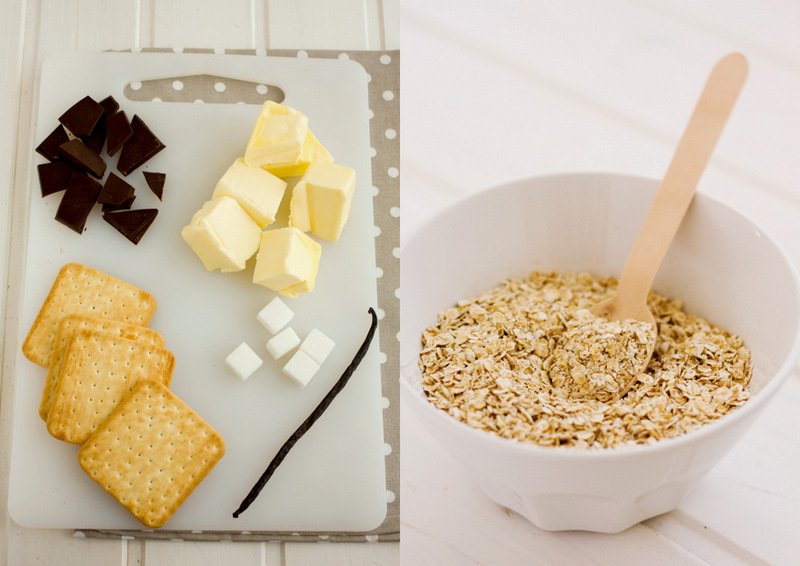
The beauty of Nugaton is not only that it is very simple to make, doesn’t require an oven and can be shaped in any way one wants, but also that the ingredients are few and, generally speaking, easy to find. Because of this, I have been able to make it pretty much everywhere I have lived. Those who know me from Córdoba, New York, Québec, Fuerteventura, Belgrade, Daoukro and Abidjan have all had a taste of this childhood classic and have all loved it.
Now it’s your turn to do it and to let me know how you like it!
The most important part of making nugaton is to get the chocolate oat paste right. For many years, I was unable to get consistent results because, ahem, I had never measured the ingredients (you can see the original page of my recipe notebook HERE and laugh at the lack of precision). I knew how nugaton was supposed to turn out and I just kept adding this and that, and maybe a little more of that other thing until I reached the desired result. This was fine for me, but it made it impossible to share the recipe with anyone else, as you can imagine!
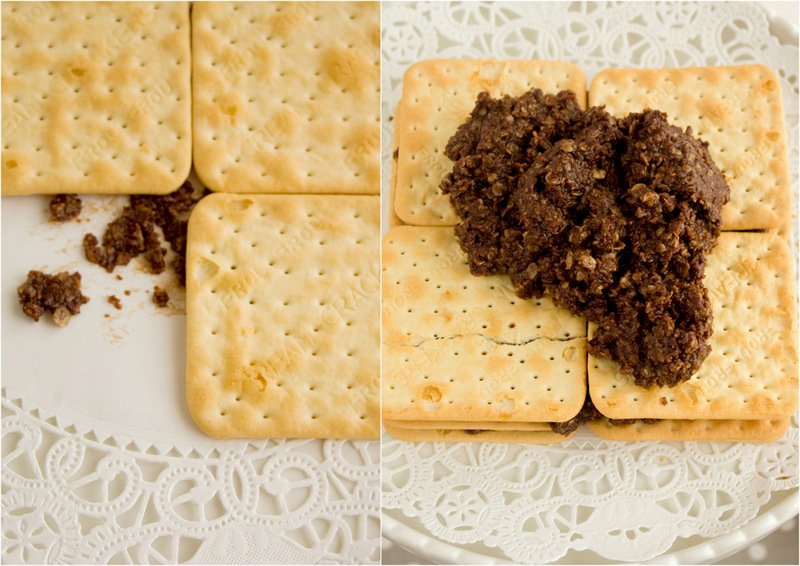
This time, because I was going to share the recipe with you, I wanted it to be precised, so I measured everything and I am confident that you will be able to enjoy a delicious home made nugaton, that will look and taste the same as mine does- or even better!
Now, just one important recommendation before I leave you with the recipe: try to use ingredients that are the best quality possible. When a recipe uses very few ingredients, as in this case, each of them affects the final taste, so the better the quality, the better the results. And even though I don’t normally make specific brand recommendations, in this case I will because, in my experience, it makes a difference. So there it goes: use Quaker oats when making it. Trust me on this one!
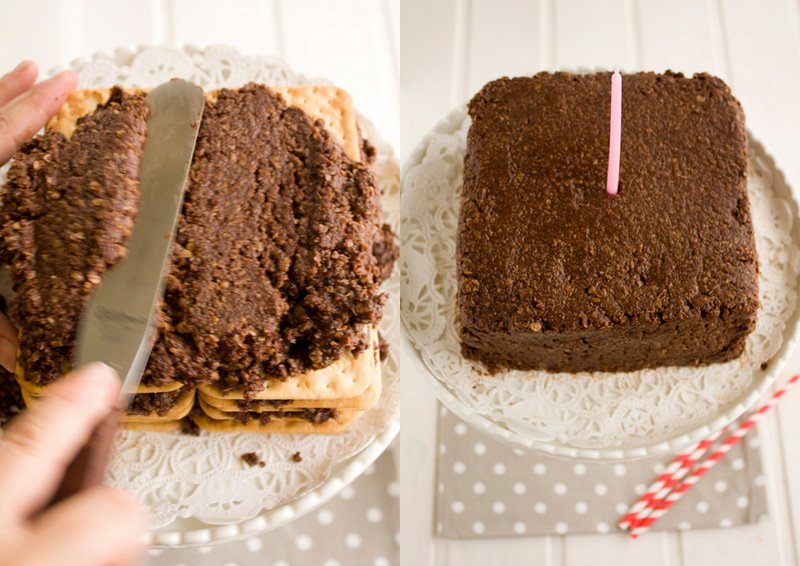
You will notice that, in this recipe, I use 70% chocolate and may wonder if it can be made with cocoa, and the answer is yes, it can. In fact, my mum makes it cocoa most of the time, and I will give you the quantities for it too. You can also use half chocolate and half cocoa. And even though the original recipe uses butter, if you, like me, cannot eat dairy, it can be replaced by dairy-free margarine. The same goes for milk: the original recipe calls for cow’s milk, but I normally replace by oat, almond or hazelnut ones that go really great with this dessert.
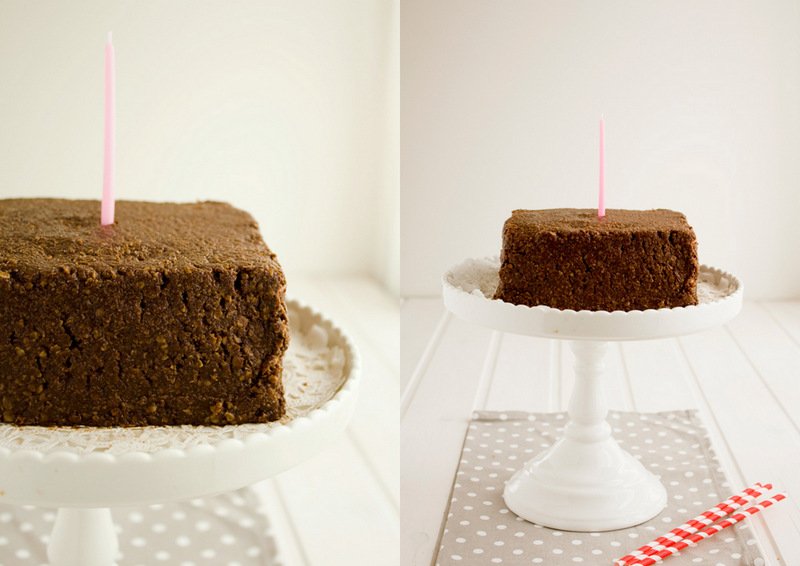
Here is the recipe:
Nugaton
Ingredients: 300 grs butter or dairy-free margarine , 350 grs dark chocolate (70%) or 100 grs dark chocolate + 3/4 cup cocoa, 1 teaspoon vanilla extract, 350 grs sugar, 500 grs oats, 200 ml milk (I use oat, almond or hazelnut milk), two packs of cream crackers.
Preparation:
1) Melt butter/margarine and chocolate together in a saucepan
2) Put the oats and sugar in a big saucepan and mix well.
3) Pour the margarine/chocolate sauce over the oats and mix well. At this time, you will notice that it feels like the sauce is not enough to coat the oats. Don’t worry, keep mixing.
4) Bring the mixture to slow heat and continue stirring all the time. Add milk in small doses, mixing very well after each addition. After a few minutes, you will notice that the oats start to cook,and the paste becomes easier to work with. When this happens, mix one more time, remove from the heat and continue stirring for a couple of minutes.
5) Put a little bit of paste at the base of the plate where you will present your nugaton, so that the crackers stay in place. Add one layer of crackers and then put a couple of tablespoons of nugaton paste on top. Spread the paste well all over the top, using a spatula.
6) Continue layering crackers and paste until you have approximately 6 tablespoons of paste left. When this happens, put the last layer of crackers and then pour all the remaining paste on top. Working with a spatula, spread and smooth the paste all along the top and sides of the cake, as you would with any frosting. Decorate as desired and put it in the refrigerator until one hour before serving.
What is your most iconic dessert, the one that people always ask you to do over and over again?
Please, share with me in the comments below!
by Marcela M. | May 30, 2013 | Gluten Free, Mousses and ice cream, Recipe Box, Recipes, Sweets, Vegan & Raw
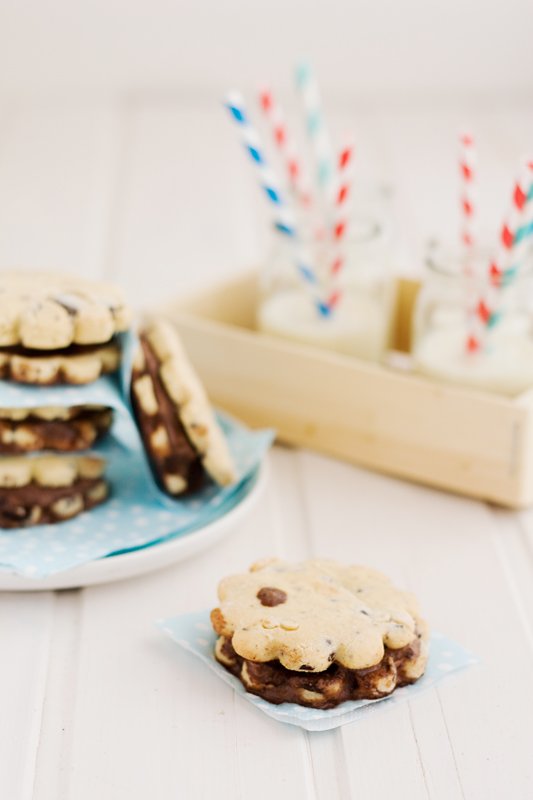
Summer is for ice cream, don’t you think? And how about ice cream sandwiches, aren’t they yumminess to the chore? Don’t they bring memories of childhood, leisurely days , friends and bikes, and ice creams trucks in the park? I thought so too, and this is why I decided to bring you a delicious ice cream sandwich recipe, that is also gluten free and dairy free, for you to enjoy like you used to when you were a child.
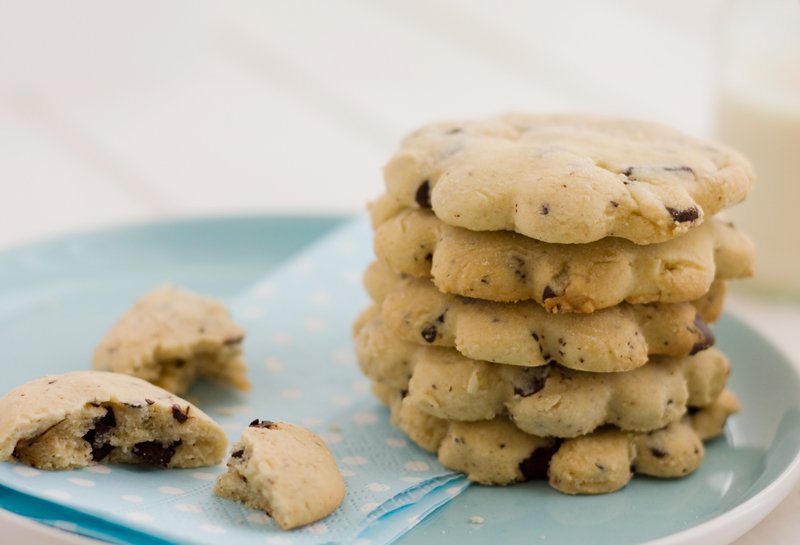
These ice cream sandwiches are made of delicious gluten free and dairy free chocolate chip cookiesand vegan chocolate ice cream (dairy free and egg free) because I believe that food allergies shouldn’t stop us from eating tasty treats.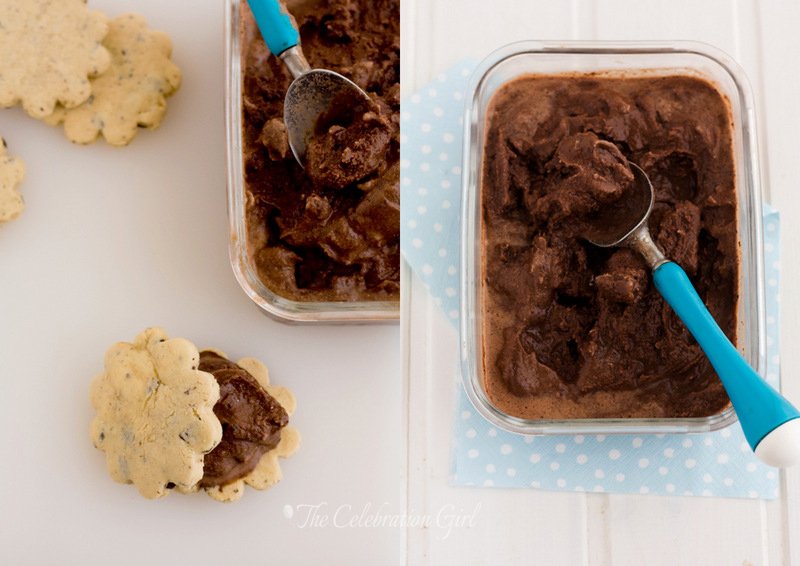
The cookies were adapted from a shortbread cookie recipe by Aran Goyoaga that appears in her book Small Plates and Sweet Treats. I modified the flour combination that she uses because I didn’t have the same ones, and I added big chunks of chocolate that add a little crunchiness to the sandwiches.

Do you want the recipe? Here it is:
Gluten free and dairy free ice cream sandwich recipe
1) Make the Gluten free & Dairy Free chocolate chunks cookies
Ingredients: 110 grs of vegan margarine, 1 cup/200 grs caster sugar, 2 teaspoons vanilla extract, 1 medium size egg, 1/2 cup cornstarch, 1 cup/115 grs almond flour (I used processed almonds), 1 1/4 cup/ 175 grs rice flour (plus a little bit more to dust the counter), 1/2 teaspoon salt, 100 grs chocolate (70%), cut in chunks, or chocolate chip cookies.
Preparation:
1) Beat margarine and sugar for 2 minutes. It is very important not to overbeat margarine or the cookies will turn out oily, so just incorporate both ingredients well and make sure the resulting cream has some fluffiness but don’t continue further than that.
2) Scrape the sides of the bowl, add vanilla and eggs and beat well, until fully incorporated.
3) In a different bowl, mix the dry ingredients and add them to the margarine cream in three times, mixing well and scraping the sides of the bowl after every addition. Again, don’t over mix or the dough will be too soft. Add the chocolate chunks or chips and incorporate them into the dough.
4) Wrap the foil in plastic and put it in the refrigerator for one hour. These cookies freeze very well, so if you can make the dough ahead of time, freeze it and bake the cookies at a later date.
5) Dust the counter with rice flour, remove the dough from the refrigerator, extend it with a rolling pin and cut the cookies with the desired shape. I made medium size flowers, but you could also try with a simple circle or square cookie cutter.
6) Place the cookies on a baking tray lined with baking paper and bake for 10-15 minutes, until barely golden on top. Remove from the oven and let them cool down.

2) Make the Chocolate coconut ice cream
Ingredients: 2 cans of 400 ml of coconut milk, 1 cup sugar, 1/2 cup cocoa
Preparation:
1) Put all the ingredients in a saucepan, and bring to the heat, stirring all the time with a wooden spoon until it slightly thickens (very slightly). This will help dissolve well all pieces of coconut and cocoa and ensure that the ice cream turns out smooth.
2) Place the chocolate coconut milk in a container with a lid and put it in the refrigerator for at least 8 hours
3) Remove the milk from the refrigerator, and churn it in your ice cream maker according to the manufacturer’s instructions. I use the KitchenAid ice cream attachment, with which it takes 15/20 minutes for the ice cream to be ready.
4) Once the ice cream is ready, place it in the freezer for 2 hours for it to reach scoop consistency.
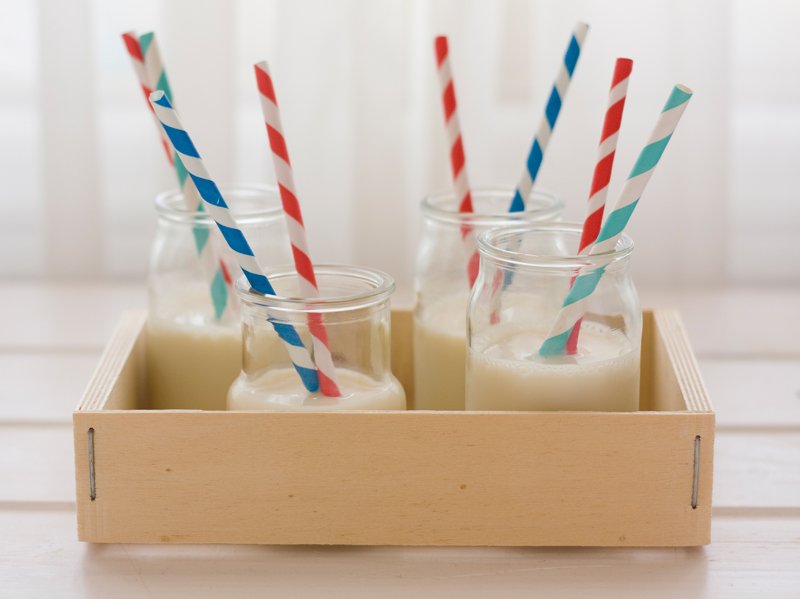
3) Assemble the ice cream sandwiches
1) Put a scoop of ice cream between two cookies, and place the sandwiches on a tray
2) Place the tray in the freezer until the ice cream hardens (or it will melt too soon!).
3) Serve, or store in the freezer in an airtight container.
Did you like this recipe?
If you did, share it with your friends using the social media buttons below and subscribe to my newsletter for more yumminess delivered right into your inbox!
by Marcela M. | May 13, 2013 | Cakes, Recipe Box, Recipes, Sweets, Vegan & Raw
Good morning dear friends!
We are still in Belgrade, enjoying the beautiful Spring days with our family and taking daily strolls with Luka and Zoe around the city.
Everything has been very quiet around here these past days because of the extended holiday of Labor Day and the Orthodox Easter, so the city, which is normally booming with energy, has had a lovely calm, leisure-like feeling, pretty much like the one you get on a vacation resort by sea. Really, really nice and relaxing 🙂
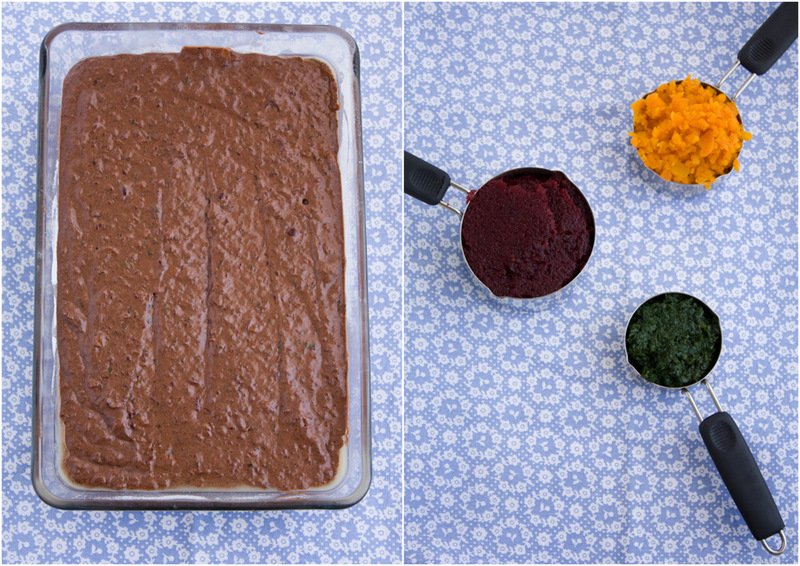
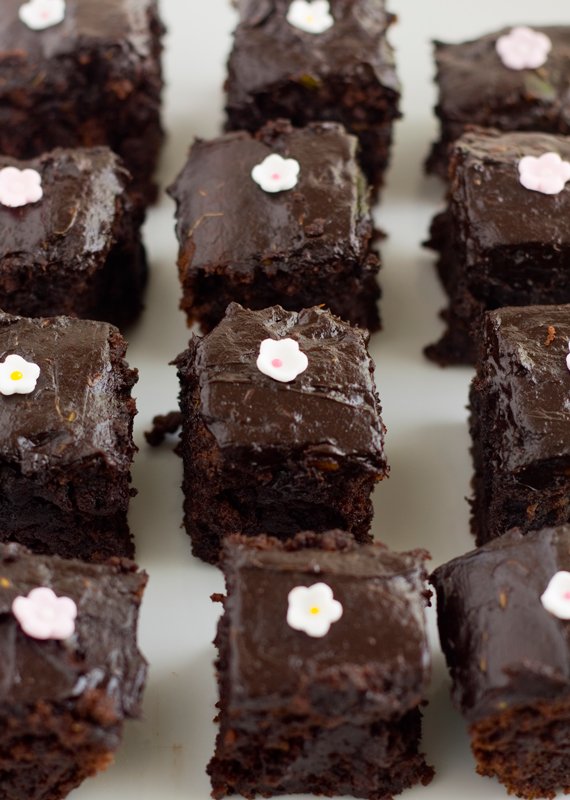
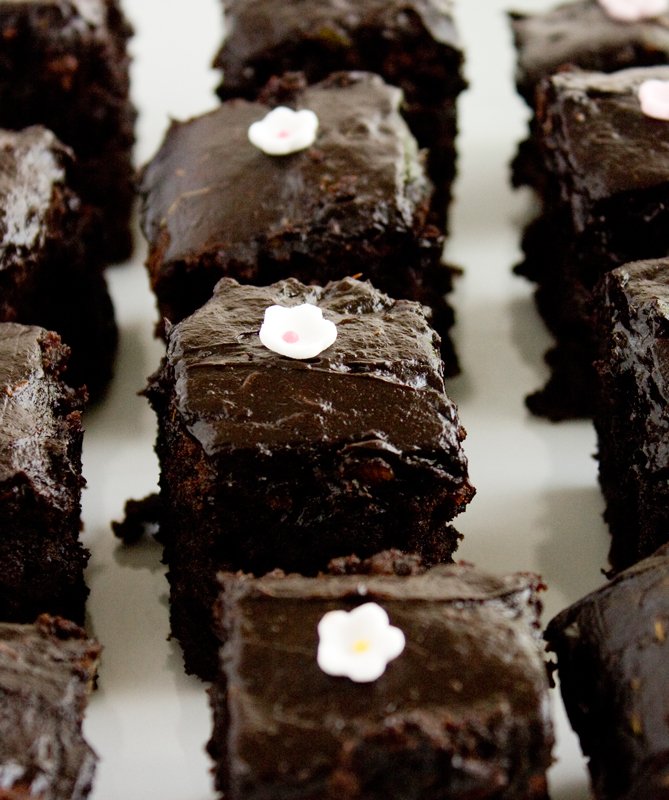
Today’s post, however, is not about Belgrade. It is a recipe I came up with in my quest to get my children to eat vegetables! I had seen online and read about different cakes and brownies made with veggies inside, but all the recipes I could find used dairy which, as you know, is an ingredient that Luka and I shouldn’t eat. So I decided to experiment a bit, and, after a few trials, I came up with this recipe. To make it even yummier, I also made a frosting that, instead of butter and tons of sugar, uses avocado and honey. And the best part? It tastes delicious!
I like to make this cake in a sheet cake or brownie pan because it’s ideal for cutting into small bites. One word of caution, though: The addition of the veggies makes this cake EXTREMELY moist, so make sure that it’s cold when you cut it. It is actually a good idea to put it in the fridge for 20 minutes before doing so, and to use a sharp knife dipped in hot water to do so.
And don’t worry: this cake does not taste like salad! If you let it cool down appropriately, you won’t be able to tell there are veggies inside. I advise you, though, to make it with your children because I think it is a good idea for them to get used to the idea that vegetables can be part of the food they like. The more they get used to you making vegetables a part of their diet, the more normal they will seem to them and, hopefully, they will be willing to try them in other ways as well.
Here is the recipe:
Chocolate sheet cake and frosting, with hidden veggies (dairy free, egg free)
Ingredients: 100 grs dark chocolate (70%), 1 cup vegetable milk, 1 teaspoon apple cider vinegar, 1/3 cup oil, 1 cup sugar, 2 teaspoons vanilla extract, 1 cup beet puree, 1/2 cup carrot puree, 1/4 cup spinach puree, 1 1/2 cups flour, 1/2 cup cocoa, 3/4 teaspoon baking soda, 1/2 teaspoon baking powder, 1/4 teaspoon salt. For the frosting: 1 avocado, 1/2 cup honey (or agave), 2 tablespoons cocoa
Preparation:
1) Put the chocolate in a bowl, then place the bowl over a pot of boiling water and let it melt. Once it has melted, set aside and let it cool.
2) Put the milk in a bowl and add the vinegar. Wait a few minutes, until it curdles.
3) Add oil, sugar and vanilla and beat until incorporated.
4) Sift flour, cocoa, salt, baking powder and baking soda.
5) Add 1/2 the flour mixture to the liquid ingredients and mix well.
6) Add the vegetables to the batter. Mix well.
7) Add the rest of the flour. Mix well to incorporate fully.
8) Add the melted chocolate and mix very well for a few minutes.
9) Grease a pan and dust it with cocoa. Pour the batter in it, tap it against the counter to divide it evenly and remove any air bubbles, and place it in the oven, pre heat at 175 degrees celsius, for about 1 hour, or until a knife stuck in the middle comes out clean.
10)Once fully cooked, remove the cake from the oven and let it cool.
11) Make the frosting: Peel the avocado, remove the flesh and mash it with a fork. Add honey and cocoa and beat until light and fluffy. You may use an electric mixer if you have one.
12) Once the cake has cooled down, add the frosting on top. Place it in the refrigerator for 20 minutes, cut into small square bites and enjoy!
Do you hide vegetables in desserts? Which is your favorite recipe? Please share in the comments!
by Marcela M. | May 2, 2013 | cookies, Recipe Box, Recipes, Sweets

Good evening dear friends!
I am writing today’s post from Belgrade, Serbia, where we are currently visiting my husband’s family. Cyprus follows the Orthodox calendar, according to which Easter falls on May 5th this year, so we are taking advantage of Luka and Zoe’s brief break from school for a short family trip. I will tell you all about it when I get back home!
These truffles, which are ridiculously easy to make and are full of food that is good for our bodies, were made before I left and devoured by my family. If you read the two last posts, you already know that my children are picky eaters and that I keep looking for ideas to get them to eat food that tastes delicious but that also provides them with the nutrients they need in order to grow up healthy, food that helps them thrive.
These little balls of goodness may do just that. I came up with them while playing in the kitchen, trying to recreate my favorite store-bought nut bars (which are way too expensive for me to buy them too often). I looked at the list of ingredients in the package, figured out the percentages that seemed more accurate to me, added a few super foods and decided to try the method that I detail below. I
considered for a while whether it would be better to soak nuts and dates before hand, but didn’t, even though I will probably try that method in the future as well, at least to compare which one I like best.

These truffles are ideal to make with kids, because of their simplicity. If you don’t like any of the ingredients, feel free to replace it for something similar (I do that all the time). And did I mention that they have no added sugar?
Do you want to try them now?
Here is the recipe:
Raw vegan truffles with dates, nuts and berries (makes around 40)
Ingredients: 250 grs dates, 160 grs cashews, 100 grs currants or raisins, 15 grs goji berries, 15 grs dried cranberries, 1 tablespoon chia seeds, 3 tablespoons water,shredded coconut for rolling the truffles in it (optional)
Preparation.
1) Put the cashews in the bowl of a food processor and pulse until they turn into flour.
2) Add the pitted dates, currants or raisins, berries, chia seeds and water. Process until you get a dough that separates from the sides of the bowl.
3) Put the dough in an airtight container and put it in the refrigerator for 1/2 hour.
4) Remove from the refrigerator. Take small pieces of dough with a teaspoon and form them into balls. You may then roll the balls on shredded coconut, as in the pictures, or leave them without. It’s your choice.
5) Keep stored in an airtight container, in the refrigerator, for up to a week.
Have you ever made raw truffles or cookies before? Please share in the comments below!


