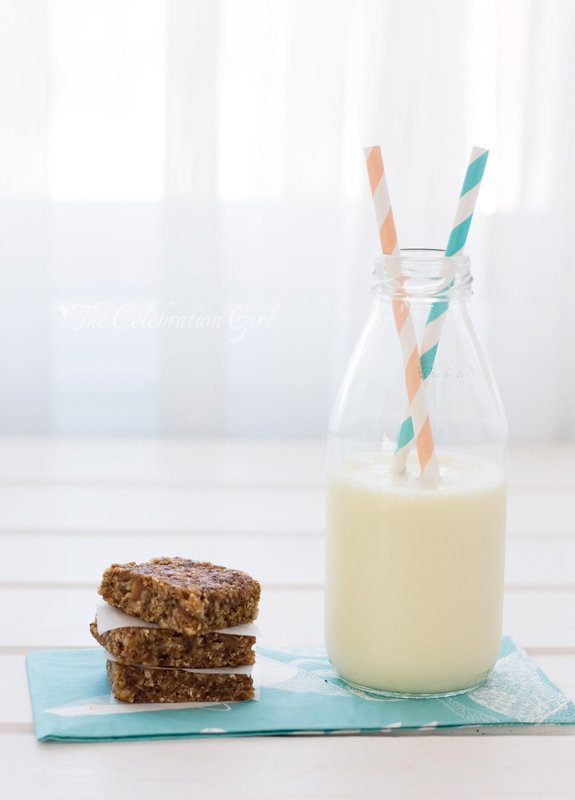
One of the questions that I get asked the most whenever someone finds out that I don’t eat dairy is: “what do you drink with your coffee?”. When I reply saying that I can chose between soy, nut, oats or even date milk, people normally mention how expensive these are.
And it is true, store-bought vegetable milks are expensive. But the good news is that they are also very easy to make at home!
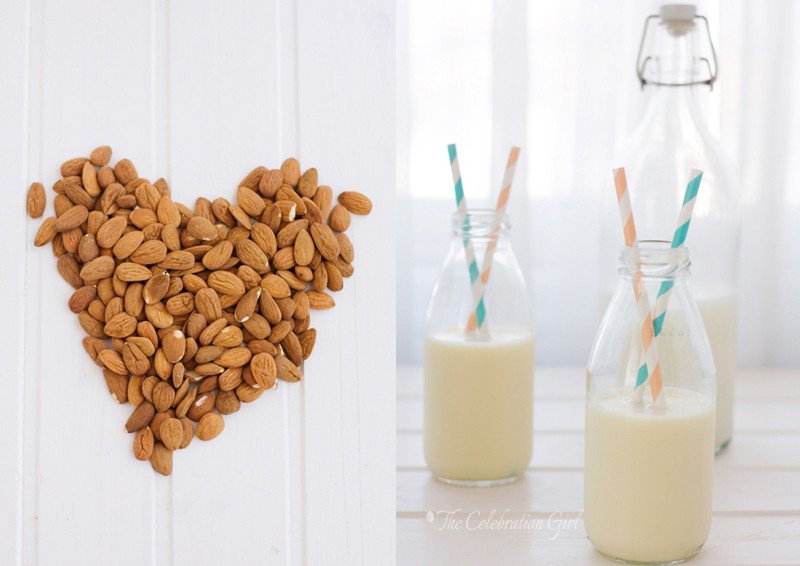
I made this batch of almond milk a week ago, when I was preparing for my detox and it took me no longer than 15 minutes. When I was making it, I thought that some of you may like to learn how I do it, so I decided to write this DIY. In this occasion I made 100% almond milk, but you can replace almonds with hazelnuts, cashews, pistachios, walnuts…any nut! And the beauty of it is that the proportions remain the same. You can even mix different nuts (almond and hazelnut milk is delicious) to experiment and add variety. Oh! And there’s an added bonus: nut flour! The traces of nut that remain after straining the milk can be dried in the oven and used as nut flour in baking! Isn’t that great?
So, what do you need to make nut milk? well, nuts of course, water, a blender and a cheesecloth. If you have a mesh strainer, so much the better but if you don’t, that’s ok too.
Ready to get started? Here’s the recipe:
Almond Milk (makes 1 litre)
Ingredients: 1 cup almonds, 4 cups water.Optional: 1 tablespoon of honey/agave or other sweetener.
Preparation:
1) Soak the almonds in water for at least 4 hours (I leave them overnight)
2) Drain the almonds and put them in a small bowl. Pour boiling water over them and let them rest for 5 minutes. This will allow the peel to come off easily, just by rubbing it off the almonds.
3) Put the blanched almonds in a blender and add 4 cups of water. Blend until the almonds are not visible anymore.
4) Put a cheesecloth over a bowl and pour the milk on it. The cheesecloth will capture the pieces of nut that are too big.
5) Pour the milk in a bottle and store in the refrigerator for up to a week.
6) Put the nut pieces on a baking tray and place it in the oven at 115C until they are dry (it can take a while, just be careful not to let them brown). Store in an airtight container and use in baking!
Did you like this recipe? Had you even make nut milk at home before? Please, share in the comments below!
Con sabor latino…
Una de las preguntas que más recibo, cada vez que menciono que no consumo lacteos, es “¿con qué tomas el café?”. Y cuando respondo que hay muchas leches vegetales diferentes, como la de soja, avena, nueces y hasta dátiles, la gente suele comentar cuan caras son las mismas.
Y es cierto, las leches vegetables que venden en el supermercado son caras. Pero la buena noticia es que también son facilísimas de hacer en casa! Esta tanda de leche de almendras, por ejemplo, la hice cuando estaba preparandome para el detox de comienzos de mes y me llevó no más de 15 minutos. Mientras la hacía, se me ocurrió que a algunos de ustedes podría resultarle util esta receta, y por eso decidí escribir este post.
En esta ocasión, hice leche 100% de almendras, pero con la misma receta pueden hacer leche de avellanas, de pistachios, de nueces pacanas, de nueces comunes (walnuts), de castañas de cajú (anacardos)…cualquier nuez, la que tengan en casa y les resulte más barata! Tambien pueden incluso mezclarlas (la leche de almendras y avellanas es deliciosa) para experimentar y agregar variedad. Y ¿saben qué es lo mejor? Cuando terminen, tambien habrán hecho harina de nuez, porque los restos que quedan en en liencillo pueden secarse en el horno a temperatura baja y utilizarse luego como harina, al hornear. ¿ No es maravilloso?
Qué necesitamos para hacer leche de nuez? Nueces, claro, agua, una licuadora, un bowl y liencillo (la tela finita que se usa para hacer queso). Si tienen un colador grande, de esos que se usan para cernir, suele venir bien para sostener el lienzo, pero si no tienen no se hagan problemas!
Listos para comenzar? Aquí está la receta
Leche de almendras (rinde 1 litro)
Ingredientes: 1 taza de leche de almendras, 4 tazas de agua. Opcional: 1 cucharada de miel/agave u otro endulzante.
Preparación:
1) Coloque las almendras en un bowl, cubra con agua y deje reposar por al menos 4 horas (yo las dejo toda la noche, pero es más por costumbre que otra cosa)
2) Seque las almendras, coloquelas en un bowl seco y vierta encima de las mismas agua caliente (hirviendo). Deje reposar 5 minutos. Esto hará que sea facil pelar las almendras, verán como la piel sale entera con solo frotarlas con las manos.
3) Coloque las almendras peladas en la licuadora. Agregue 4 tazas de agua y licue todo hasta que las almendras se pulvericen.
4) Coloque liencillo sobre un bowl, dejando que sobre a los costados. Vierta la leche de almendras sobre el mismo. El liencillo atrapará los pedacitos de almendra que sean demasiado grandes.
5) Retire el liencillo y vierta la leche de almendras en una botella (yo prefiero de vidrio). Guarde en la heladera (refrigerador) hasta una semana.
6) Coloque los restos de almendras en una placa para horno(los que quedaron atrapados en el liencillo), y lleve a horno suave (115C) hasta que se sequen, teniendo cuidado que no se tornen marrones. Una vez seca la harina de almendras, guardela en un recipiente hermético y utilicela al hornear!
Les gustó esta receta? Alguna vez hicieron leche de nuez? Cuentenme en los comentarios!


Hi Marcela,
I will do it this weekend. Almonds will be recycled as granola.
Great recipe, thanks!
Bisous.
I’m so happy you like it! Let me know how it goes!
Tengo que probarla porque la comprada me sabe muy mal.
La cosa es que soy fan de las almendras, todo lo que tiene almendras me fascina, pero la leche me sabe a diablos!
Solo tomo leche de soya ahora, pero voy a hacer la de almendra a ver si casera me gusta.
Yo hice el otro día. Me encanta la idea de secar los restos y hacer harinas. Yo lo que hice fue seguir la idea de Sarah Britton (My new roots) y preparé un hummus. Quedó muy bien (simplemente procesas garbanzos, con limón, sal, ajo, aceite de oliva y los restos de nueces. Si es necesario puedes añadir un poco de agua segun la textura, y sazonar con sal, pimienta y cayena).
La leche de avena es mi favorita. La de arroz no la he probado pero debe estar bien.
La idea de mezclar nueces es muy buena!
Que interesante. Yo hago hoummous casero pero sin las almendras. La proxima probare!
yum! I’ll be doing this over the coming weekend. PS – I love the photo of your almonds in a heart shape. very sweet.
Your blog is delicious!! The ideas, the recipes, the photographs…look so incredible! Congratulations!!
Cuantos gramos son una taza de almendras? y cuantos ml de agua?
Has probado otras leches ademas de las de soja y almendras?
Thank you so much!