by Marcela M. | Apr 18, 2013 | Gluten Free, Mousses and ice cream, Recipe Box, Recipes, Sweets, Vegan & Raw
Good morning dear friends!
Today’s recipe was my monthly contribution to the Spanish website Petit-On. As I have mentioned before, each month I contribute a recipe based on an ingredient chosen by one of the blog’s contributors. To my utter delight, the ingredient for April was strawberries!
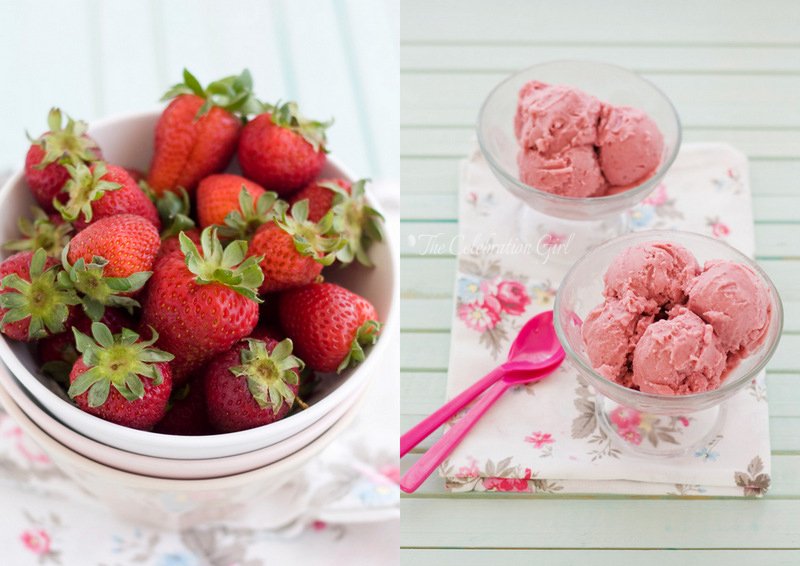
I love strawberries and, each year, I wait anxiously for April to arrive because I know that it’s strawberry season. I love their fragrant smell, their sweetness that goes so well with slightly tangy flavors, and the deep red of their skins. They are delicious and beautiful, a real feast for all senses. The funny thing is that I hated them when I was a child…but fortunately I have come to my senses since then!
Loving strawberries as I do, it took me a while to chose a recipe, but I finally decided to make this one, because what better way to greet the warmer weather and celebrate Spring than with a delicious ice cream?
As you will soon see, an added beauty of this recipe is that it takes very few ingredients: coconut milk, fresh strawberries, sugar and a splash of good vanilla, to enhance the strawberries natural flavor (I use vanilla bean paste but you may use vanilla extract if you want, or a vanilla pod). Yes, no milk, no cream and no eggs, which also means no need to make a custard, beat ingredients or anything like that. I warm up the milk with the sugar for a little while, so that the sugar cristals dissolve but you can also make it raw and just out all ingredients in a blender or food processor at the same time, process and refrigerate for a couple of hours before churning in an ice cream maker.
Here is the recipe:
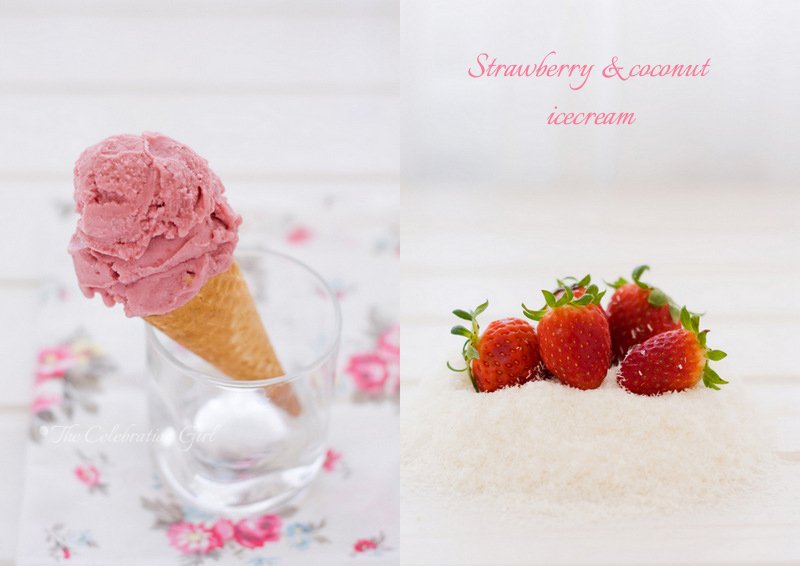
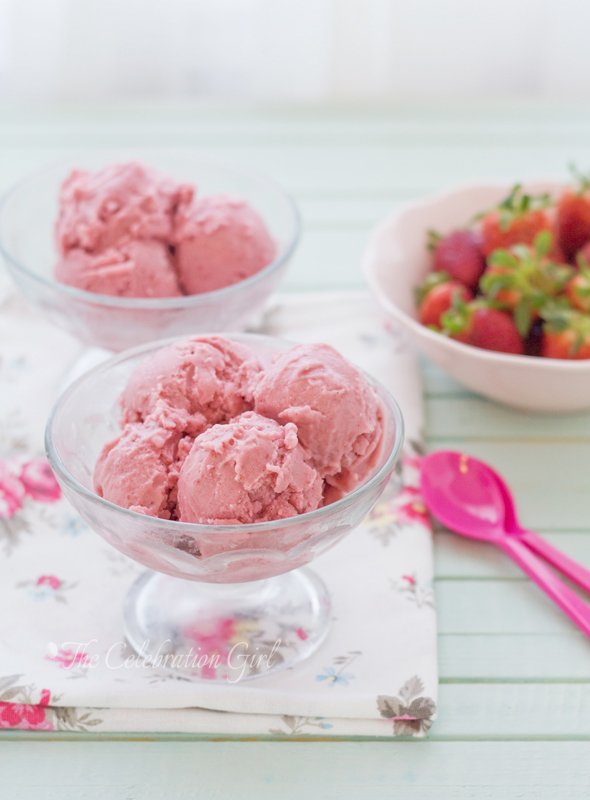
Strawberry and coconut ice cream
Ingredients: 2 1/2 cup of strawberries , 1 can of coconut milk, 1/2 cup of sugar, 1 teaspoon of vanilla bean paste/the seeds of 1 vanilla pod or 2 teaspoons of vanilla extract.
Preparation:
1) Wash the strawberries, remove the leaves, cut them in half and put them in the bowl of a food processor or blender. Process and blend until they transform into a purée. Reserve.
2) Put coconut milk and sugar in a saucepan and bring to moderate heat for about 5 minutes, so that the sugar crystals dissolve. Remove from the heat, let cool down for a while and add vanilla.
3) Pour the sugared milk in the food processor/blender, together with the strawberry purée and pulse a few times to to integrate well.
4) Pour the preparation in a tall glass/bowl, cover with foil and refrigerate for at least 4 hours before churning.
5) Remove the preparation from the refrigerator and churn in your ice cream maker according to the manufacturer’s instructions. I use the KitchenAid ice cream attachment, with which it takes 15-20 minutes for the ice cream to reach soft consistency.
6) Remove the ice cream from the machine, put it in an airtight container and place it in the freezer for a couple of hours so that it reaches scoop consistency.
If you don’t have an ice cream machine, you can still make this recipe. In that case, instead of refrigerating the preparation as is required before churning, put it directly in the freezer, and remove it every 30 minutes during 2 hours, beating it vigorously every time, so as to break the ice crystals. You may also use it to make ice lollies, if you have the molds. They will be delicious either way!
Do you like to make ice cream at home? Do you have any food allergies that prevent you from eating ice cream at a shop? Let me know in the comments below and I promise I’ll do my best to come up with a recipe you can eat!
by Marcela M. | Apr 11, 2013 | Blog, Cooking basics and tutorials, Drinks, Gluten Free, Recipe Box, Recipes, Vegan & Raw
One of the questions that I get asked the most whenever someone finds out that I don’t eat dairy is: “what do you drink with your coffee?”. When I reply saying that I can chose between soy, nut, oats or even date milk, people normally mention how expensive these are.
And it is true, store-bought vegetable milks are expensive. But the good news is that they are also very easy to make at home!
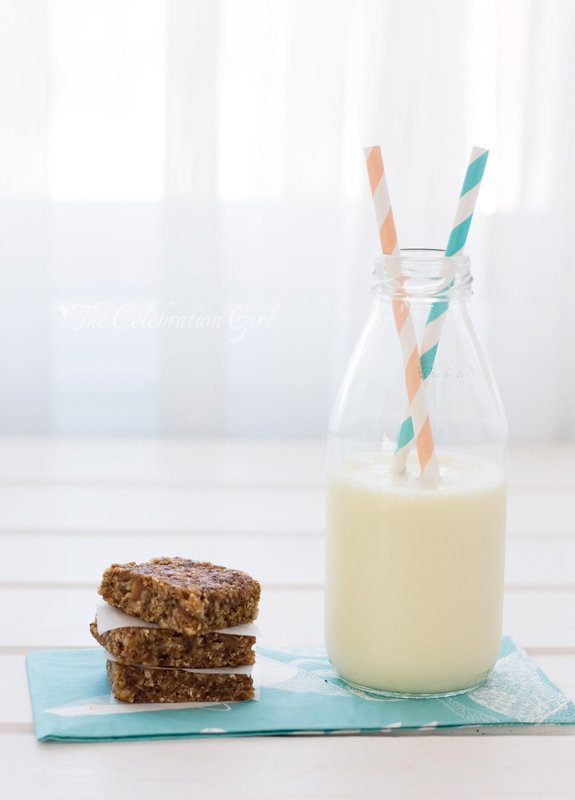
I made this batch of almond milk a week ago, when I was preparing for my detox and it took me no longer than 15 minutes. When I was making it, I thought that some of you may like to learn how I do it, so I decided to write this DIY. In this occasion I made 100% almond milk, but you can replace almonds with hazelnuts, cashews, pistachios, walnuts…any nut! And the beauty of it is that the proportions remain the same. You can even mix different nuts (almond and hazelnut milk is delicious) to experiment and add variety. Oh! And there’s an added bonus: nut flour! The traces of nut that remain after straining the milk can be dried in the oven and used as nut flour in baking! Isn’t that great?
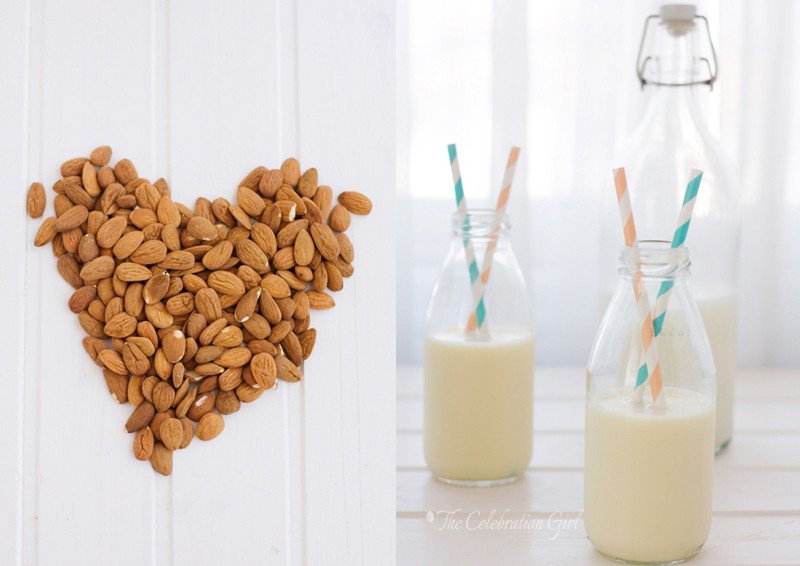
So, what do you need to make nut milk? well, nuts of course, water, a blender and a cheesecloth. If you have a mesh strainer, so much the better but if you don’t, that’s ok too.
Ready to get started? Here’s the recipe:
Almond Milk (makes 1 litre)
Ingredients: 1 cup almonds, 4 cups water.Optional: 1 tablespoon of honey/agave or other sweetener.
Preparation:
1) Soak the almonds in water for at least 4 hours (I leave them overnight)
2) Drain the almonds and put them in a small bowl. Pour boiling water over them and let them rest for 5 minutes. This will allow the peel to come off easily, just by rubbing it off the almonds.
3) Put the blanched almonds in a blender and add 4 cups of water. Blend until the almonds are not visible anymore.
4) Put a cheesecloth over a bowl and pour the milk on it. The cheesecloth will capture the pieces of nut that are too big.
5) Pour the milk in a bottle and store in the refrigerator for up to a week.
6) Put the nut pieces on a baking tray and place it in the oven at 115C until they are dry (it can take a while, just be careful not to let them brown). Store in an airtight container and use in baking!
Did you like this recipe? Had you even make nut milk at home before? Please, share in the comments below!
Con sabor latino…
Una de las preguntas que más recibo, cada vez que menciono que no consumo lacteos, es “¿con qué tomas el café?”. Y cuando respondo que hay muchas leches vegetales diferentes, como la de soja, avena, nueces y hasta dátiles, la gente suele comentar cuan caras son las mismas.
Y es cierto, las leches vegetables que venden en el supermercado son caras. Pero la buena noticia es que también son facilísimas de hacer en casa! Esta tanda de leche de almendras, por ejemplo, la hice cuando estaba preparandome para el detox de comienzos de mes y me llevó no más de 15 minutos. Mientras la hacía, se me ocurrió que a algunos de ustedes podría resultarle util esta receta, y por eso decidí escribir este post.
En esta ocasión, hice leche 100% de almendras, pero con la misma receta pueden hacer leche de avellanas, de pistachios, de nueces pacanas, de nueces comunes (walnuts), de castañas de cajú (anacardos)…cualquier nuez, la que tengan en casa y les resulte más barata! Tambien pueden incluso mezclarlas (la leche de almendras y avellanas es deliciosa) para experimentar y agregar variedad. Y ¿saben qué es lo mejor? Cuando terminen, tambien habrán hecho harina de nuez, porque los restos que quedan en en liencillo pueden secarse en el horno a temperatura baja y utilizarse luego como harina, al hornear. ¿ No es maravilloso?
Qué necesitamos para hacer leche de nuez? Nueces, claro, agua, una licuadora, un bowl y liencillo (la tela finita que se usa para hacer queso). Si tienen un colador grande, de esos que se usan para cernir, suele venir bien para sostener el lienzo, pero si no tienen no se hagan problemas!
Listos para comenzar? Aquí está la receta
Leche de almendras (rinde 1 litro)
Ingredientes: 1 taza de leche de almendras, 4 tazas de agua. Opcional: 1 cucharada de miel/agave u otro endulzante.
Preparación:
1) Coloque las almendras en un bowl, cubra con agua y deje reposar por al menos 4 horas (yo las dejo toda la noche, pero es más por costumbre que otra cosa)
2) Seque las almendras, coloquelas en un bowl seco y vierta encima de las mismas agua caliente (hirviendo). Deje reposar 5 minutos. Esto hará que sea facil pelar las almendras, verán como la piel sale entera con solo frotarlas con las manos.
3) Coloque las almendras peladas en la licuadora. Agregue 4 tazas de agua y licue todo hasta que las almendras se pulvericen.
4) Coloque liencillo sobre un bowl, dejando que sobre a los costados. Vierta la leche de almendras sobre el mismo. El liencillo atrapará los pedacitos de almendra que sean demasiado grandes.
5) Retire el liencillo y vierta la leche de almendras en una botella (yo prefiero de vidrio). Guarde en la heladera (refrigerador) hasta una semana.
6) Coloque los restos de almendras en una placa para horno(los que quedaron atrapados en el liencillo), y lleve a horno suave (115C) hasta que se sequen, teniendo cuidado que no se tornen marrones. Una vez seca la harina de almendras, guardela en un recipiente hermético y utilicela al hornear!
Les gustó esta receta? Alguna vez hicieron leche de nuez? Cuentenme en los comentarios!
by Marcela M. | Feb 14, 2013 | Blog, Cakes, Gluten Free, Holidays, Recipe Box, Recipes, Sweets, Valentine's day, Vegan & Raw
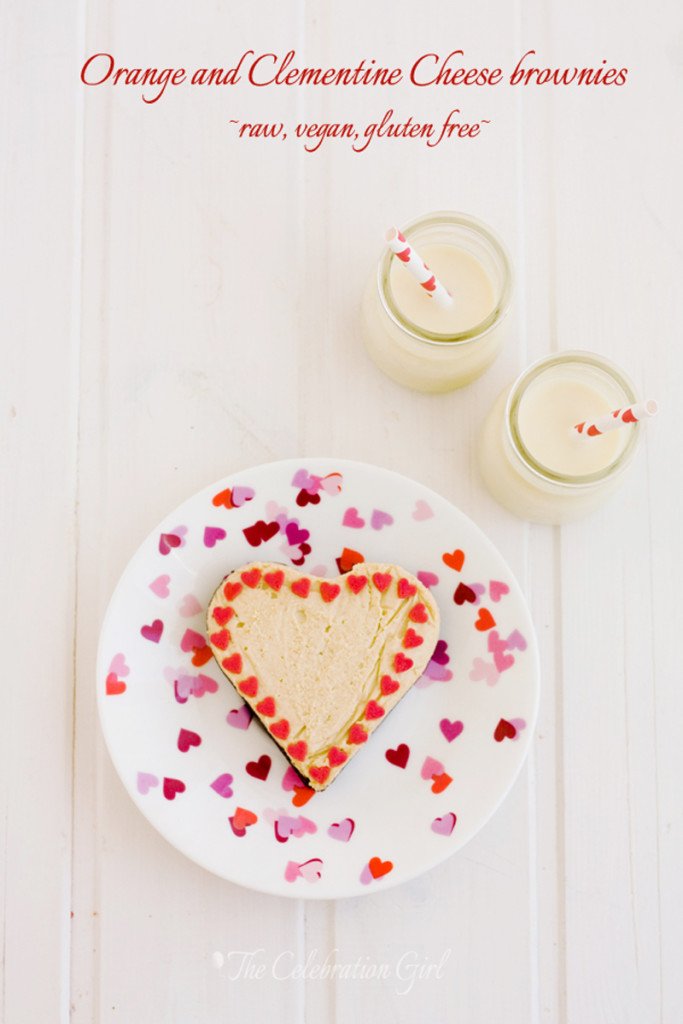
Good morning dear friends! Happy Valentine’s day!
Do you celebrate this holiday or it is not a tradition where you live? As an Argentinian, I didn’t grow up with Valentine’s day and learn’t about it from movies and American TV shows. It was only in the late ’90s that it became more common to celebrate it, but that was only for those who had someone to celebrate it with and, until I met my husband, many years after that and in a different country, I didn’t. Most years, I would get together with my best friend (also single at the time) , cook together and watch movies that had nothing to do with romance, like the Lord of the Rings trilogy-extended edition. It was awesome. Rom-Coms could be watched any other day. We were not against the holiday, we were not a Valentine’s Grinch, we just felt that it was not for us. Like “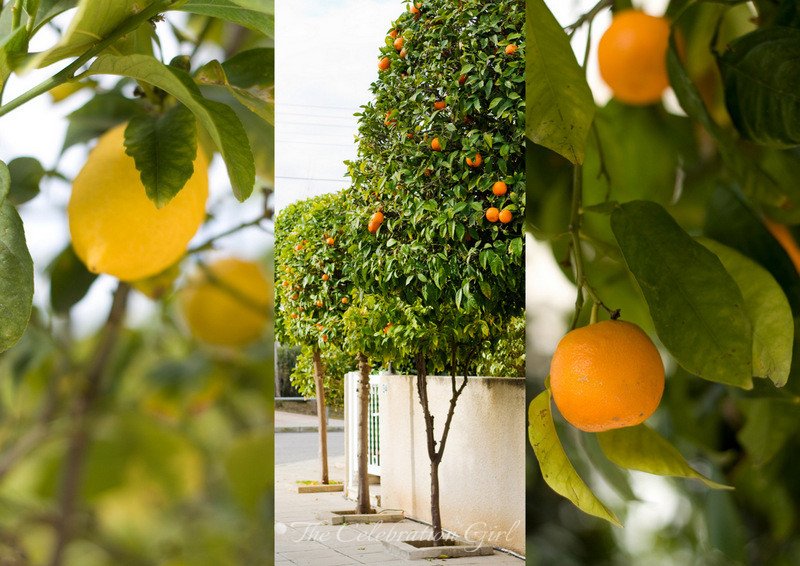
The day of the secretary” is not for you unless you are a secretary and you don’t expect your life to be different just because someone else is celebrating, I didn’t expect anything from Valentine’s day. But since everything seemed to be taken over by teddy bears and pink hearts, we made it ours by creating our own traditions.
The first Valentine’s day after I met my husband, which happened 3 weeks after we got married, we spent it apart. We were living in Ivory Coast at the moment, and had left to get married in Italy during our vacation time. But the day after we left there were riots that led to the evacuation of all non-essential staff of the organization where we worked and we got married on the day when our colleagues were being transported to Gambia. Then the call came: My husband had to go back, he was essential staff. I was not, so I had to stay behind. Argentina was too far away so, a mere two weeks after the wedding, we traveled to Belgrade (where my husband’s family lives) and I stayed with them for 3 weeks. My husband’s ethnic group has a tradition (no longer being followed anymore, from what I’m told) of bringing the bride back to her family a few weeks after the wedding, to give her the opportunity to change her mind, so we used to joke that he didn’t want to risk it, so he was leaving me with his family instead 😉
So Valentine’s day went by, uncelebrated, and maybe because of that, we never made a big deal about it. But we always have some treat, even if it’s just a block of dark chocolate, to mark the day, just because we take every opportunity to celebrate all that is good in our life.
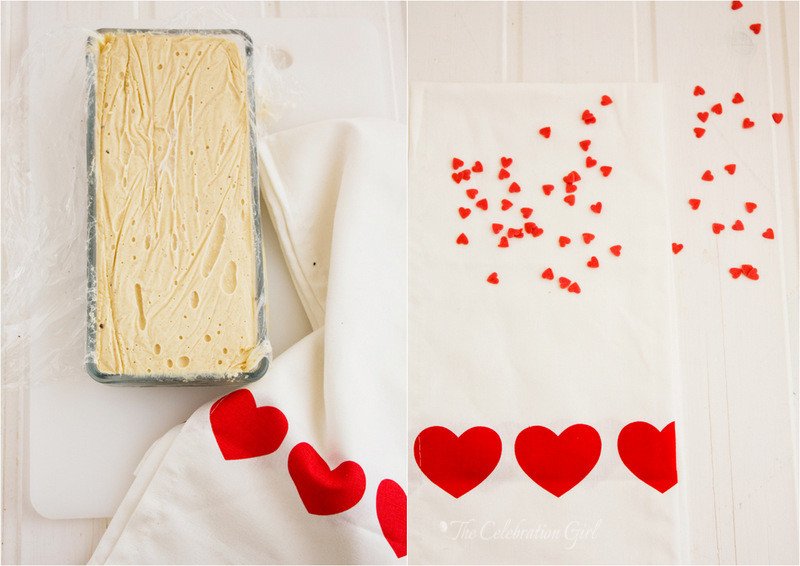
Today’s recipe is the one I prepared for my monthly contribution to Petit-On. The ingredient selected for February was cheese, which presented a problem for me, so I checked with Raquel to see if I could use substitutions, and she encouraged me to write this recipe.
If you are reading these words and have been reading this blog for a while, you are probably wondering why is cheese a problem for me. I have, after all, a recipe for the best cheesecake ever, which is also one of the most visited blog posts. The reason is that I can’t eat dairy without feeling pain in my breasts due to a condition called cystic fibrosis. We discovered it two years ago when I ran in panic to the doctor after finding a lump the size of a marble in my right breast. The doctor ordered a breast ultrasound and we found out that I have cysts in my breasts, which are not dangerous but fill with liquid during ovulation, which causes pain. Milk makes the pain bad, but cheese, cream and yogurt make it unbearable and, when I do eat them, I know it’s at my own risk and regret it later. Since then 95% of my diet is vegan (I didn’t eat meat or eggs from before discovering this condition) and I have been working on finding substitutions for my favorite treats (You may have noticed that I normally list ” butter or margarine”in the ingredients, and that is because I used to make it with butter but now use vegan margarine and know it can be done). Now let’s be honest: vegan cheese is not brie or camembert, but when the choice is feeling enormous pain and freaking out when doing my breast exam, vegan cheese does the trick.

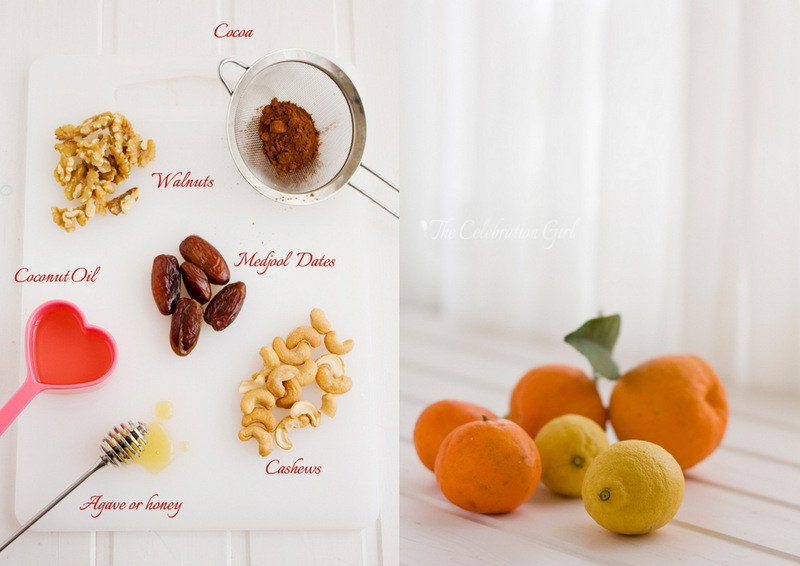
This recipe was created by adapting and modifying two recipes from Sara Britton, of the blog My New Roots. I had been wanting to try them for a while and found this to be the perfect opportunity to do so. And I love the result! It is called cheese brownie, because it has a raw brownie base,made only with walnuts, cocoa, dates and cocoa nibs for added crispiness. As Sara advises, Medjool dates are better because they are sweeter, but if you cannot find them or they are too expensive, simply add more quantity. Also, if you can, use good quality cocoa because it does make a difference.
The cream cheese filling is made with cashews, that were soaked overnight, agave nectar (or honey, if you are not vegan), coconut oil (which hardens at room temperature, so you will need to submerge the closed bottle in warm water for 10 minutes before using it), lemon juice (to give it the slightly bitter, characteristic “cheese”flavor) and orange and clementine juice and zest. I chose these flavors instead of the more traditional vanilla/fruits of the forest because citrus are in season and the trees that line my street are ripe with fruits. They also combine beautifully with the depth of dark chocolate.
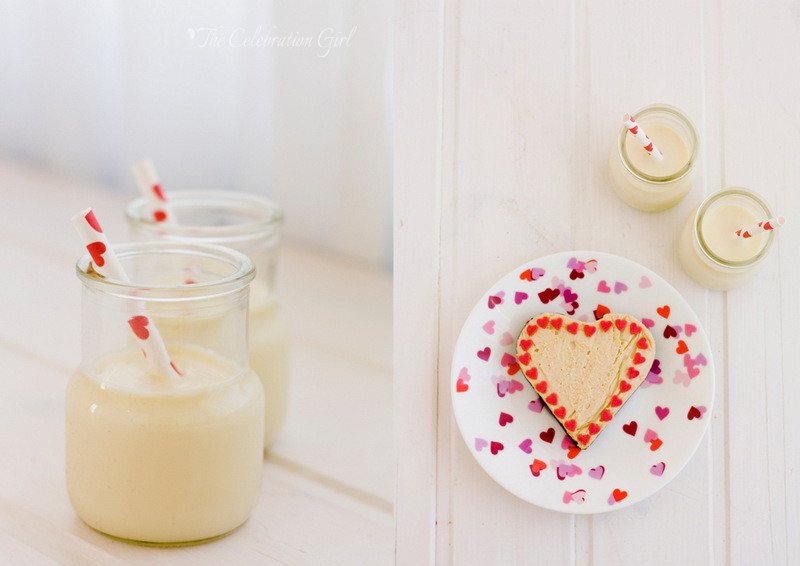
As you will see, the recipe is very, very easy and it only requires a food processor or blender to do all the work. Furthermore, because of its characteristics, it is very versatile, and can be shaped in any form you like and even cut using a cookie cutter. I made little hearts using small heart shaped pans for my children, and a bigger, rectangular one, which I then cut in small squares to eat as “cheese brownie bites”. Since today is Valentine’s day, I placed a few bites in a home made origami box lined with mini cupcake cases, to give as a small present. Do you like them?
Here is the recipe:
Orange and Clementine Cheese brownies (adapted and modified from My New Roots)
Ingredients:
For the crust: 1 cup walnuts, 1 1/2 cup dates (Medjool are best), unpitted and soaked in warm water for 10 minutes, 1/2 cup cocoa powder, 2 teaspoons cocoa nibs
For the filling: 2 1/2 cups raw cashews, soaked overnight, 2/3 cup coconut oil, 2/3 cup agave or honey, 1/2 cup lemon juice, 1/2 cup orange juice, juice of 1 clementine, zest of 1 orange and 1 clementine. NOTE: If you like sweeter desserts, reduce lemon juice to 1/3 cup and replace by orange juice.
Preparation:
1. Cover the pan you will use with foil, making sure to leave plenty at the sides. This will help you unmold the cake without needing to invert it (just pull the excess foil and lift, carefully, and it will come up.
2. Place walnuts in the bowl of the food processor and process until they turn into powder. Add cocoa and process 30 seconds to integrate (or pulse). Turn the processor on and start adding the dates, one at a time, until getting a sand-like dough that compacts when pressed between your fingers.
3. Pour the dough in the pan, extend it evenly and press with your fingers to shape it. Set aside.
4. Wash and dry the Food processor’s bowl and fill it with all the ingredients necessary for the filling. Just dump them all at once. Turn the food processor on, and let it work until the ingredients morph into a smooth cream. How smooth the filling will be depends greatly on how powerful is your food processor, so I joke that if it becomes very smooth, I made a vegan philly cheesecake and, if it’s a bit crumbly, I made a ricotta cake instead 😉
5. Pour the filling over the crust and smooth using a spatula.
6. Wrap the cake in the excess foil and place it in the fridge for at least 6 hours.
7. Take out of the freezer 30 minutes before serving. Cut with a warm sharp knife while still cold.

Amigos hispanoparlantes: La receta en castellano está en Petit-On! Pueden verla haciendo click AQUI.


