by Marcela M. | Apr 11, 2013 | Blog, Cooking basics and tutorials, Drinks, Gluten Free, Recipe Box, Recipes, Vegan & Raw
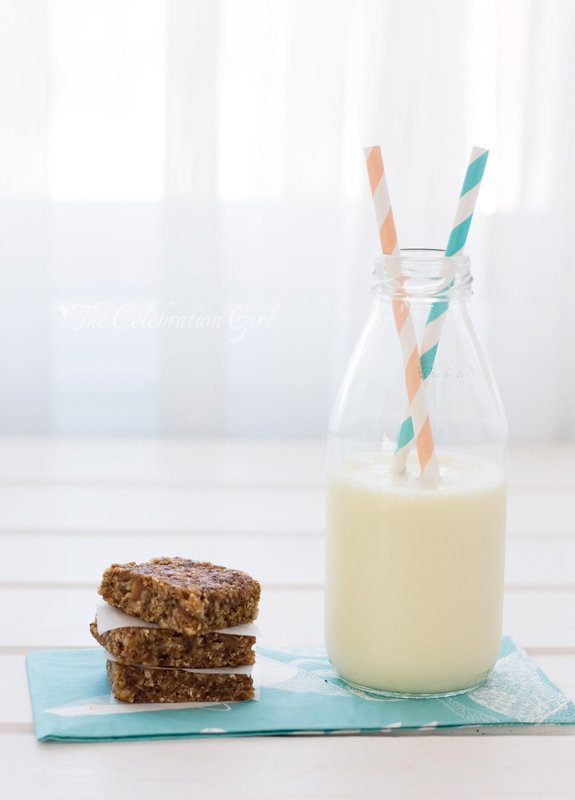
One of the questions that I get asked the most whenever someone finds out that I don’t eat dairy is: “what do you drink with your coffee?”. When I reply saying that I can chose between soy, nut, oats or even date milk, people normally mention how expensive these are.
And it is true, store-bought vegetable milks are expensive. But the good news is that they are also very easy to make at home!
I made this batch of almond milk a week ago, when I was preparing for my detox and it took me no longer than 15 minutes. When I was making it, I thought that some of you may like to learn how I do it, so I decided to write this DIY. In this occasion I made 100% almond milk, but you can replace almonds with hazelnuts, cashews, pistachios, walnuts…any nut! And the beauty of it is that the proportions remain the same. You can even mix different nuts (almond and hazelnut milk is delicious) to experiment and add variety. Oh! And there’s an added bonus: nut flour! The traces of nut that remain after straining the milk can be dried in the oven and used as nut flour in baking! Isn’t that great?
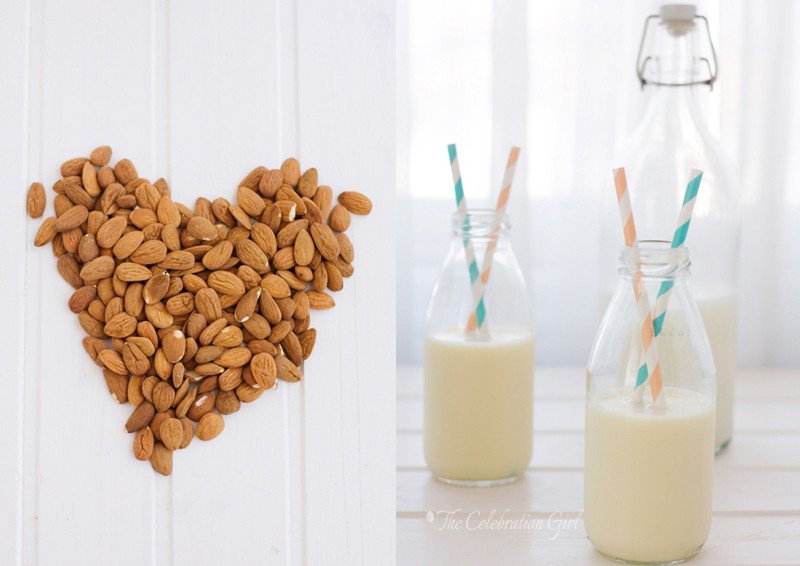
So, what do you need to make nut milk? well, nuts of course, water, a blender and a cheesecloth. If you have a mesh strainer, so much the better but if you don’t, that’s ok too.
Ready to get started? Here’s the recipe:
Almond Milk (makes 1 litre)
Ingredients: 1 cup almonds, 4 cups water.Optional: 1 tablespoon of honey/agave or other sweetener.
Preparation:
1) Soak the almonds in water for at least 4 hours (I leave them overnight)
2) Drain the almonds and put them in a small bowl. Pour boiling water over them and let them rest for 5 minutes. This will allow the peel to come off easily, just by rubbing it off the almonds.
3) Put the blanched almonds in a blender and add 4 cups of water. Blend until the almonds are not visible anymore.
4) Put a cheesecloth over a bowl and pour the milk on it. The cheesecloth will capture the pieces of nut that are too big.
5) Pour the milk in a bottle and store in the refrigerator for up to a week.
6) Put the nut pieces on a baking tray and place it in the oven at 115C until they are dry (it can take a while, just be careful not to let them brown). Store in an airtight container and use in baking!
Did you like this recipe? Had you even make nut milk at home before? Please, share in the comments below!
Con sabor latino…
Una de las preguntas que más recibo, cada vez que menciono que no consumo lacteos, es “¿con qué tomas el café?”. Y cuando respondo que hay muchas leches vegetales diferentes, como la de soja, avena, nueces y hasta dátiles, la gente suele comentar cuan caras son las mismas.
Y es cierto, las leches vegetables que venden en el supermercado son caras. Pero la buena noticia es que también son facilísimas de hacer en casa! Esta tanda de leche de almendras, por ejemplo, la hice cuando estaba preparandome para el detox de comienzos de mes y me llevó no más de 15 minutos. Mientras la hacía, se me ocurrió que a algunos de ustedes podría resultarle util esta receta, y por eso decidí escribir este post.
En esta ocasión, hice leche 100% de almendras, pero con la misma receta pueden hacer leche de avellanas, de pistachios, de nueces pacanas, de nueces comunes (walnuts), de castañas de cajú (anacardos)…cualquier nuez, la que tengan en casa y les resulte más barata! Tambien pueden incluso mezclarlas (la leche de almendras y avellanas es deliciosa) para experimentar y agregar variedad. Y ¿saben qué es lo mejor? Cuando terminen, tambien habrán hecho harina de nuez, porque los restos que quedan en en liencillo pueden secarse en el horno a temperatura baja y utilizarse luego como harina, al hornear. ¿ No es maravilloso?
Qué necesitamos para hacer leche de nuez? Nueces, claro, agua, una licuadora, un bowl y liencillo (la tela finita que se usa para hacer queso). Si tienen un colador grande, de esos que se usan para cernir, suele venir bien para sostener el lienzo, pero si no tienen no se hagan problemas!
Listos para comenzar? Aquí está la receta
Leche de almendras (rinde 1 litro)
Ingredientes: 1 taza de leche de almendras, 4 tazas de agua. Opcional: 1 cucharada de miel/agave u otro endulzante.
Preparación:
1) Coloque las almendras en un bowl, cubra con agua y deje reposar por al menos 4 horas (yo las dejo toda la noche, pero es más por costumbre que otra cosa)
2) Seque las almendras, coloquelas en un bowl seco y vierta encima de las mismas agua caliente (hirviendo). Deje reposar 5 minutos. Esto hará que sea facil pelar las almendras, verán como la piel sale entera con solo frotarlas con las manos.
3) Coloque las almendras peladas en la licuadora. Agregue 4 tazas de agua y licue todo hasta que las almendras se pulvericen.
4) Coloque liencillo sobre un bowl, dejando que sobre a los costados. Vierta la leche de almendras sobre el mismo. El liencillo atrapará los pedacitos de almendra que sean demasiado grandes.
5) Retire el liencillo y vierta la leche de almendras en una botella (yo prefiero de vidrio). Guarde en la heladera (refrigerador) hasta una semana.
6) Coloque los restos de almendras en una placa para horno(los que quedaron atrapados en el liencillo), y lleve a horno suave (115C) hasta que se sequen, teniendo cuidado que no se tornen marrones. Una vez seca la harina de almendras, guardela en un recipiente hermético y utilicela al hornear!
Les gustó esta receta? Alguna vez hicieron leche de nuez? Cuentenme en los comentarios!
by Marcela M. | Dec 16, 2012 | Blog, Christmas and NYE, Drinks, Holidays, Recipe Box, Recipes
Good morning dear friends! It’s day 16 of the advent, just 8 days left until Christmas’ eve. If you are anything like me, or most people I know, you are now looking for ways to simplify all holiday preparations because there’s just not enough time for overly complicated or expensive items anymore. So, from now on, and for the remaining days of this 2012 online advent calendar, everything (recipes, crafts, gift ideas, table settings) will get eveneasier. No complicated decorations or expensive gift ideas, or crafts that would take hours and tons of expensive materials. No, that would only add to holiday stress and we want this to be a year of holiday zen instead.
So, for today’s post, the first home made edible gift idea of this calendar, I thought about something sweet and simple that you can give to neighbors, teachers, or even as a hostess gift. A gentile pensiero, as we call it in Italian, a token of affection that says : I was thinking about you.
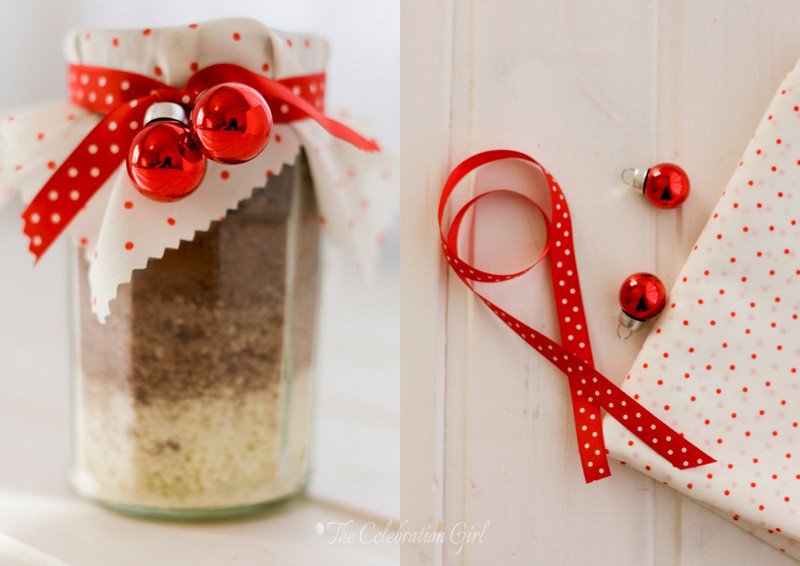
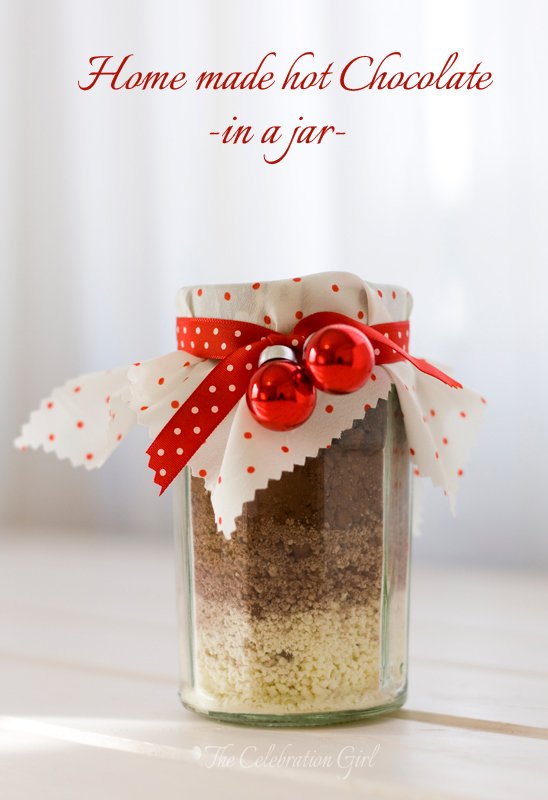
I made this jar of homemade hot chocolate with ingredients and materials that I already had at home, and that you most probably already have too: a recycled jar of marmalade, washed clean and sterilized, a white fabric with red polka dots, the same red ribbon and tiny baubles that I used for THIS table setting and, of course, the ingredients for my favorite hot cocoa recipe, which you can find here below:
Hot cocoa in a jar (serves 4 cups)
Ingredients: 1 cup powdered milk, 1/3 cup vanilla sugar, 1/2 cup cocoa, 4 teaspoons coffee creamer (coffee mate), 4 tablespoons small chocolate chips or chocolate shavings, 1 teaspoon ground cinnamon (optional)
Preparation: I like to layer the ingredients to achieve an ombré look, you here I mix the ingredients in separate bowls before adding each layer, as follows:
Layer 1: 1 cup powdered milk and sugar
Layer 2: 1/4 cup cocoa and coffee creamer
Layer 3: 1/4 cup cocoa and cinnamon
Layer 4: chocolate chips
The person that receives the jar, simply has the put the content of the jar in a jug and add 4 cups of boiling water! Delicious, creamy hot chocolate ready to relax and unwind after a long, cold day!
If the person you are giving the jar to does not eat dairy, you can replace the milk and creamer by powdered almond milk.
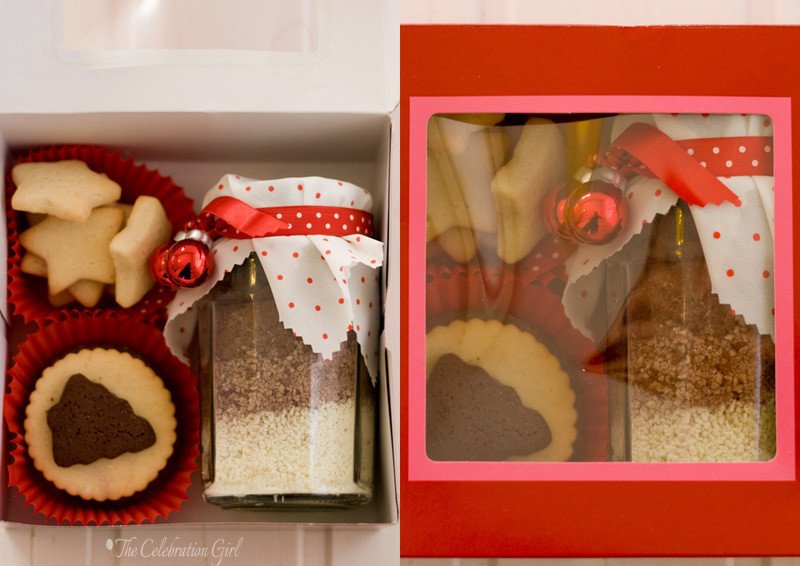
After I layered all ingredients and put the lid on, I cut a square of fabric and put it on top of the jar, securing it with an elastic band. I then added a ribbon, inserted two tiny baubles and tied it with a knot. I placed the jar inside a cookie box, and I added a few homemade cookies inside red cupcake liners, to complete the gift. It’s like a mini hot chocolate tray to go.
Do you like it? Do you generally give edible gifts or opt for something else?
Con sabor latino…
Buenos días queridos amigos! Hoy es el día 16 del adviento, y faltan apenas 8 días para la nochebuena. Si ustedes se parecen a mí y a la mayoría de las personas que conozco, a estas alturas están buscando ideas que los ayuden a simplificar todos los preparativos, porque ya no hay tiempo para nada complicado ni carísimo. Así que, con esta premisa, todas las ideas que les traeré durante éste y los próximos días (recetas, manualidades, mesas, regalos), serán aún más fáciles que las que les he traido hasta ahora. Nada de manualidades que llevan días y requieren materiales imposibles, nada de decoraciones complicadas, ni ideas de regalos para presupuestos abultados. No, eso sólo agregaría stress a estas fiestas y el objetivo es justamente lo contrario: que las fiestas de fin de año sean celebraciones zen.
Para este post, el primero en que les traigo una idea de regalo comestible, pensé en algo dulce y simple, en un regalito que puede hacerse a vecinos, maestras, compañeros de trabajo, y hasta a la persona en cuya casa celebremos las fiestas. Un gentile pensiero, como decimos en italiano, algo que dice “pensé en tí”.
Hice este frasquito de chocolate caliente con materiales e ingredientes que tenía en casa y que seguramente ustedes tambien tienen en la suya: un frasco de mermelada, reciclado, lavado y esterilizado, tela blanca con pintas rojas, la misma cinta roja de raso y las mismas bolas navideñas que usé para ESTA mesa, y los ingredientes que les detallo a continuación:
——-
Chocolate caliente en frasco (para 4 tazas)
Ingredientes: 1 taza de leche en polvo, 1/3 taza de azucar vainillada, 1/2 taza de cacao amargo, 4 cucharaditas de coffee mate, 4 cucharadas de chispas de chocolate, 1 cucharadita de canela en polvo (opcional)
Preparación: Me gusta presentar estos frasquitos de manera que los ingredientes queden en degradée, por lo que los mezclo por separado antes de agregarlos, de la siguiente manera:
1era capa: leche y azucar
2da capa: 1/4 taza de cacao y coffee mate
3era capa: 1/4 taza de cacao y canela
4ta capa: chispas de chocolate
La persona que reciba el frasquito sólo deberá agregar 4 tazas de agua y tendrá un delicioso y cremoso chocolate caliente para relajarse y disfrutar solo o en familia!
Si la persona a quien le hacen el r
egalo no consume lacteos, sólo deberán reemplazar la leche y el coffee mate por leche de almendras en polvo.
—–
Para finalizar la presentación, una vez que coloqué todos los ingredientes y cerré el frasquito, corté un cuadrado de tela con tijera de puntas, y lo coloqué sobre la tapa, asegurándolo con una banda elastica roja. Luego coloqué cinta de raso alrededor, ensarté las bolitas de navidad por los extremos y la até haciendo un nudo sencillo. Coloqué el frasco en una caja, y agregué galletitas caseras en pirotines de cupcakes de color rojo, para completar el regalo. Es como una mini bandeja de chocolate para llevar!
¿Qué me dicen, les gusta? ¿ Son de regalar cosas comestibles o suelen optar por otro tipo de detalles?
by Marcela M. | Oct 3, 2011 | Blog, Drinks, Recipe Box, Recipes, Uncategorized
Good morning dear friends! I hope you had a lovely weekend.
As I mentioned two posts ago, I recently found tropical fruits in my local supermarket, and they brought memories of days past, memories of Ivory Coast. So I bought mangos, papayas, bananas…a bit too many of them, to be honest. At first, I ate them raw, and after a few days (when we got tired!) I started thinking about what to do with them.

I then recalled a simple fruit salad that I used to eat back in Abidjan and which consisted in dices of mango, papaya and banana, tossed together with a teaspoon of honey (I like acacia) dissolved in a the juice of half a lime (to kill the sweetness) and sprinkled with a few almonds on top. Simple and nice.
So I ate my fruit salad, and I was considering what to do with the remaining fruits when I thought that I could use the same ingredients in a different way. The weather is still warm in Nicosia, and we are still wearing our summer clothes, but we also know that it won’t last much longer, so I thought that this was my last chance of making a summery smoothie until next year.

So a tropical fruits smoothie I made!
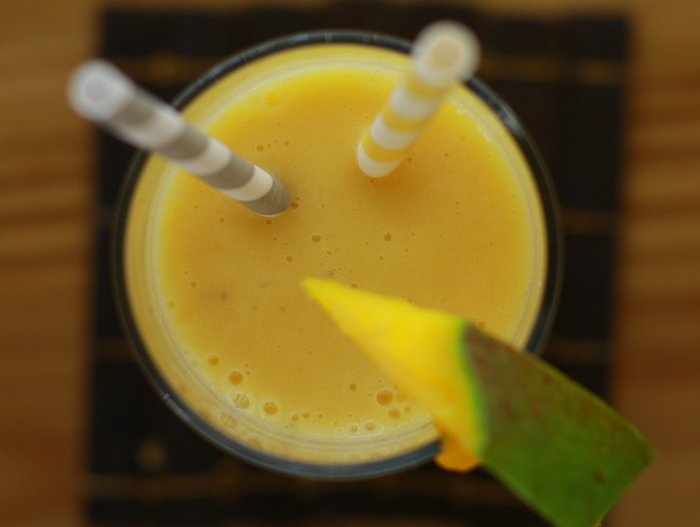
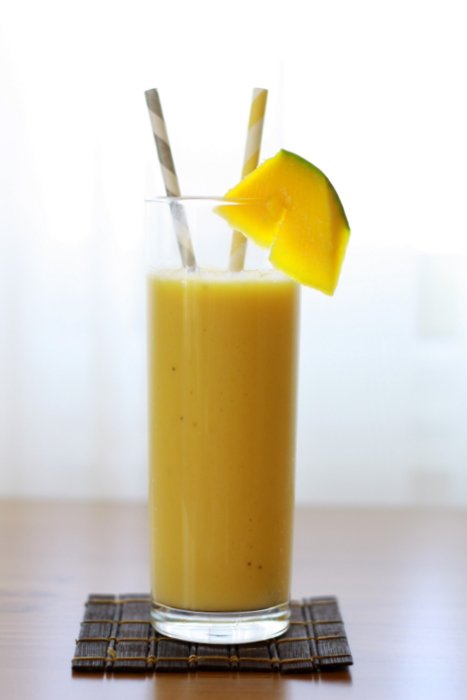
I chopped 1 mango, 1 papaya and 1 ripe banana, and I put them in the blender together with 1/2 cup of crushed ice, 2 teaspoons of acacia honey and 2 glasses of almond milk (if they don’t sell almond milk where you live,you can make your own following this recipe and instructions). I blended it all for a few minutes, until there were no more visible fruit chunks, and then I served it with a couple of straws (to make it more appealing to my children!)

It was a perfect way to say goodbye to the long days of summer, and to welcome autumn- even though there is still no sign of it.
Now may I ask something from you? My Owl cupcakes are competing in Sweetopia‘s Sweet of the week contest. Would you be so kind to vote for me, pleeeease? 🙂 Thank you! There are some really pretty confections competing this week so I’m sure you will enjoy taking a look at all entries.
Have a wonderful week!


