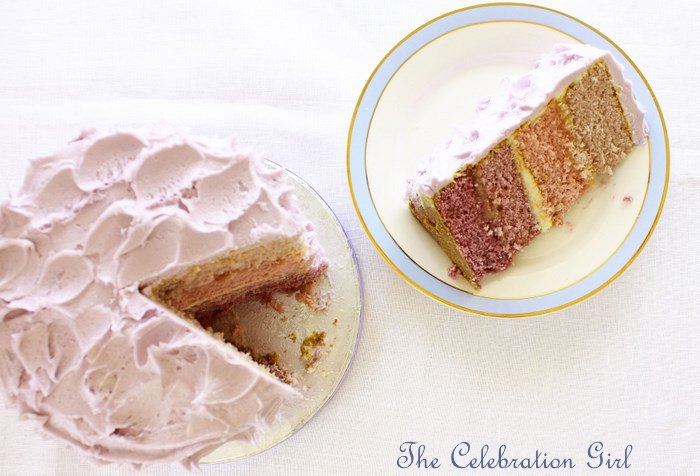
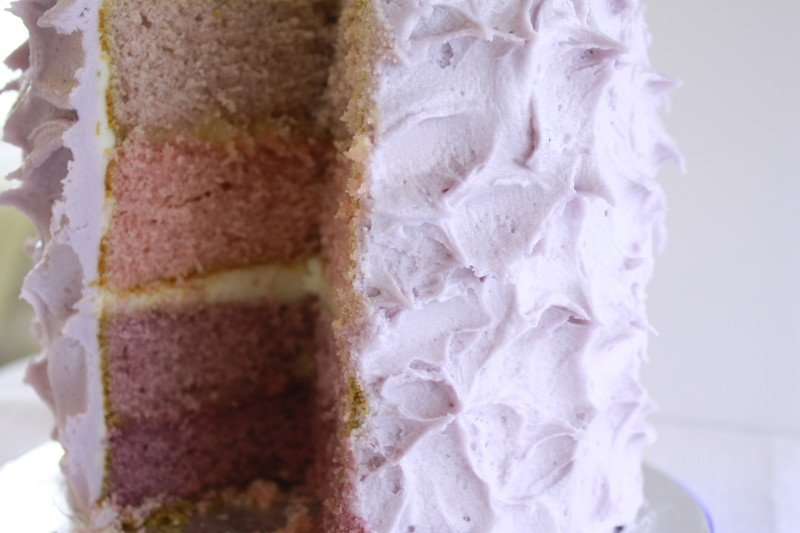
Lavender ombré cake
Since I published the pictures of the dessert table I created for my birthday, I received several questions about how I made this cake. So here go all the details!
The inspiration: I was inspired by this cake, from one of my favorite blogs, Call me cupcake, a place where food and art become one.
The recipe: For the batter, I used one of my very favorite recipes, the one for Country Living’s Lemon Blackberry Cake, which appears in the book Great Cakes (which I have listed in the amazon widget included in the right hand bar, because it has a wonderful compilation of amazing, reliable recipes). The quantities for one cake are enough for a two layer 9 inch cake or, as in this case, a 4 layer 6 inch cake. One of the beauties of this cake is that it bakes perfectly, and comes out of the even with an even top, so most of the time it is not necessary to level it.
The ombré look: I baked each layer separately, as is recommended by the recipe. I followed the recipe’s baking times but watched it carefully just in case (since my layers were smaller than the ones of the original recipe)
Since I have two 6x 2 inch Wilton cake pans , I did it in 2 sets and put the batter in the fridge in the meantime. For colouring the layers I used a toothpick (I use Wilton gel colors) and added 4,3,2, and 1 toothpick of lavender to each layer. For the softer shades, I also added just a little tiny bit of pink.
The Fillings: I filled the cake with two layers of lemon curd and one layer of vanilla buttercream. The buttercream was vegan, home- made, following this recipe (I used a combination of margarine and non-hidrogenated shortening). The lemon curd was store-bought because I was running out of time ;). When I do make my own lemon curd, I sometimes use this recipe from Country Living.
The frosting: I frosted the cake in lavender coloured vanilla buttercream. I used very little food coloring because I didn’t want the frosting to overpower the ombré layers, or to be too dominant in the whole design of the table.
I frosted the cake in 3 layers: First, I did the crumb coating, and let it sit in the fridge for 1 hour. After that, I added a thick coat, and smoothed it. I let the cake sit in the fridge for another hour and, finally, I added a 3rd thin layer of buttercream and, with the back of a teaspoon, shaped it as seen in the pictures. Very, very easy!
Would you like to bake this cake? I hope that you will and, if you do, please send me pictures!
Have a nice week!


