Decorated oreos, the easy way {Tutorial}
A few readers have asked me how I decorated the oreos I served for my birthday, so here goes the tutorial.
The truth is that I am not very good at drawing, nor do I own a copy cat projector, so piping elaborate designs becomes a challenge (and for me anything other than a circle falls under “elaborate”). But I really wanted to draw flowers on cookies for my birthday’s dessert table, so I had to find an easy and affordable way to do it.
The idea for these cookies occurred to me during a visit to my local baking supplies store, where I saw these Wilton Fondant Garden Shapes cut outs, and noticed that they were smaller than a normal round cookie. So I bought them and came out with the following super easy method for decorating chocolate dipped oreos (which is probably already used by somebody else too, because it is really, really simple). I did the transfer with royal icing and not with chocolate or candy melts because I must confess that I haven’t yet mastered either, but it could also be used with them too, if you prefer.
With regards to royal icing consistency, I follow Sweet Sugar Belle’s 20 second rule, because it allows me to use only one piping bag per color- as opposed to two (1 for outlining, 1 for flooding). It is also great for achieving the 3D look of the first and last row of cookies. As with most recipes, it is a matter of personal preference, this is just what works for me.
For decorating the oreos as I did you will need:
1- Chocolate dipped oreos
2- fondant cut outs/small cookie cutters of any shape you want
3- Piping bags filled with as many colors of royal icing as you wish to use in your design
4- I used number 2 piping tips, but I believe a number 3 may also work. If you want to outline the cookies with a fine line, use a number 1 tip.
Here is what I did to guide my not-really-skillfull piping:
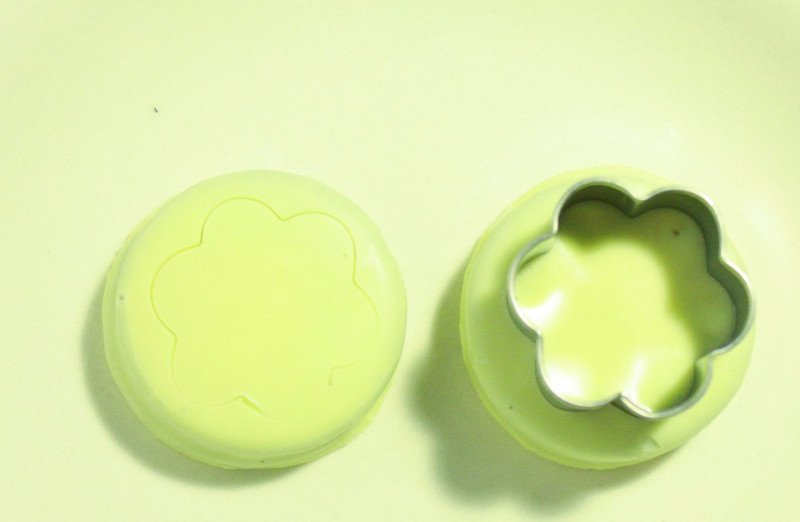
1) In the picture below you can see the chocolate dipped oreos and the fondant cutters. I used the ones I mentioned above, from Wilton, but you can use any which fits inside the shape of the cookie you want to decorate.
2) I pressed the cutters, firmly but softly, on top of the cookies. The pressure has to be enough so that it will leave a mark, but not that much that it will break the cookie!
Here you can see how the cutter left a shape in the cookie:
Now the method changes according to how you want to decorate your cookies.
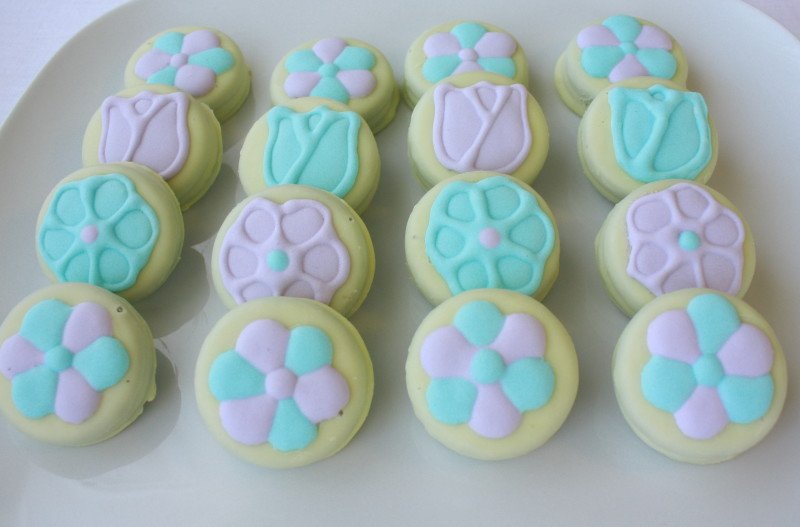
3) a- If you want to decorate them as in the 2nd and 3rd rows, follow the next steps.
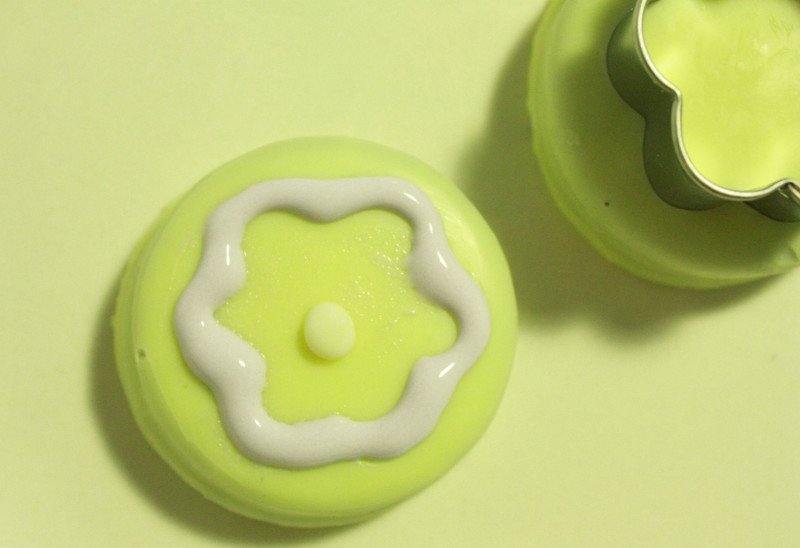
a1- Using a piping tip number 2 or 3, pipe around the shape left by the cutter. You may use a toothpick to guide the royal icing into the carving left by the cutter, and to make sure that the shape is respected:
a2- Flood the inside of the cookie immediately. Pipe a dot in the middle of the daisies immediately after flooding. When you are finished they will look like this:
a3- Let dry for at least 2 hours. After that, outline the cookies with the same color.
3) b- If you want to give the decoration a 3D feeling (as the daisies of the 1st and 4th row), do as follows:
b1- Using a piping tip number 2/3, pipe a dot in the center of the daisies (as in the bottom right cookie). Let dry for 30 minutes.
b2- Pipe half of the petals, leaving always a blank one in between , as shown above. Let dry for 30 minutes.
b3- Pipe the remaining petals. Let dry completely.
And that’s all! Easy, isn’t it?
It is very important that you allow the piping to dry for 30 minutes between each step, in order to ensure that the different colors don’t mix. If you don’t, your cookies may end up looking like this:

Here is another picture of the finished cookies.
You can use this method with any shape of cutter, you can use different colors, add shimmer or disco dust, etc. There are so many possibilities and decorating cookies is so much fun!
What is your favourite method for decorating cookies?


