How to make dulce de leche, the Argentinian way
Happy Tuesday dear Friends! I hope you had a wonderful start of the week.
In this past post I talked to you about dulce de leche, and I mentioned that this milk jam is the traditional filling for cornstarch cookies or alfajores de maizena. After the post, a few friends asked me how they could make dulce de leche, because they don’t live in countries where one can simply go and buy one jar at the supermarket.
So here I am, showing you three easy ways of making your own, the Argentinian way. Why the Argentinian way? Because you can find different versions of the same product pretty much all around Latin America, but if you read the components you will notice slight differences in the ingredients. For example, while in Argentina dulce de leche is made 100% with cow’s milk, traditional mexican dulce de cajeta is made with goat’s milk; and in Uruguay it generally includes cornstarch (which makes it thicker). It is also possible to find it outside of Latin America, for example in France (where it is called confiture de lait), in Israel (ribat jalav) and, I am told, even in India.
So how can one make dulce de leche, when it is not readily available for purchase?
There are three ways I know of, but only two of which I have tried:
I- By submerging a can of sweetened condensed milk in a pan full of water, and letting it boil for about 3 hours (in a normal pan) or 45 minutes (in a pressure cooker). If you use this method, you should remember that:
a) The can has to be completely covered in water at all times, otherwise any part that remains uncovered will not mutate into dulce de leche (as in the picture below)
b) Once the 3 hours have passed, make sure that the can is COMPLETELY cooled before opening it. If you open it when it’s still hot, the content will burst and there is a serious risk that you may burn yourself. So wait. Put in the fridge for faster cooling if necessary. But do not open it immediately!
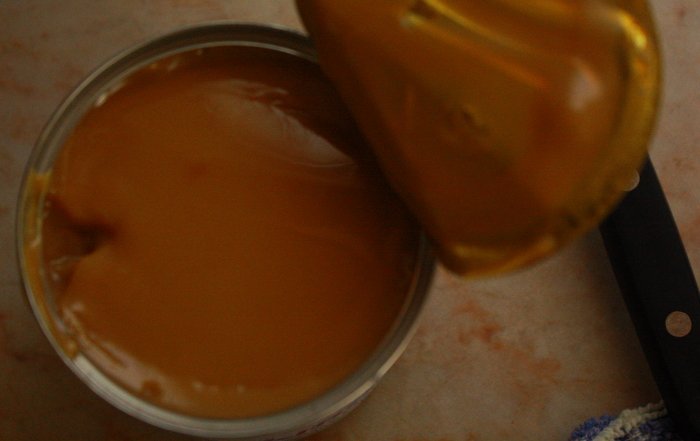
This is what will be waiting for you when you open the can:
II- If the possibility of burning yourself scares you a lot, you can try Chef David Lebovitz’s method, which consists of baking sweetened condensed milk au bain marie, covered in aluminum foil. I haven’t tried it, but it does look like a safer option, and it takes less time than the original can version.
III- Make dulce de leche from scratch. It is not difficult to do so, and, though it is a bit time consuming because you need to watch it carefully, it is worth it. I must admit that, when I lived in Argentina, I didn’t do it very often, because there are so many good brands available that I didn’t see the point. But one day, when I was 21 years old, my father (who loved to cook) suggested that we tried, so we asked around for a recipe and we made our first batch of dulce de leche. This is the recipe I will share with you today.
To make 1 kilo of dulce de leche, you will need
– 5 litres of milk
– 1 kilo of sugar
– 1 vanilla pod (if you don’t have vanilla pods, you can use 1 tablespoon of vanilla extract)
– 1 tablespoon of bicarbonate of soda
– 1 big pan
– 1 wooden spoon
The preparation is very simple.
1- Put the milk in the pan. Make sure the size of the pan is twice as big as the amount of milk, because the preparation will rise once you add the bicarbonate of soda and, if it is too small, you run the risk of it overflowing the pan and making a big mess. In order to prevent this, I am told that one should put in the pan a few small glass balls (like the ones children play with), because this will prevent the preparation from rising too much.
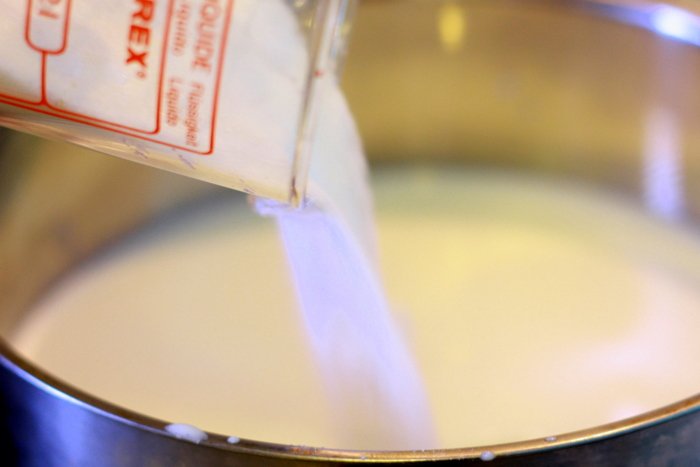
2- Add sugar, all at once.
3- Stir the preparation and bring to the boil. Let it boil for 5 minutes, stirring constantly
4- Bring heat to the minimum, and add the vanilla pod and the bicarbonate of soda (I added 1 teaspoon because I was making half the preparation only)
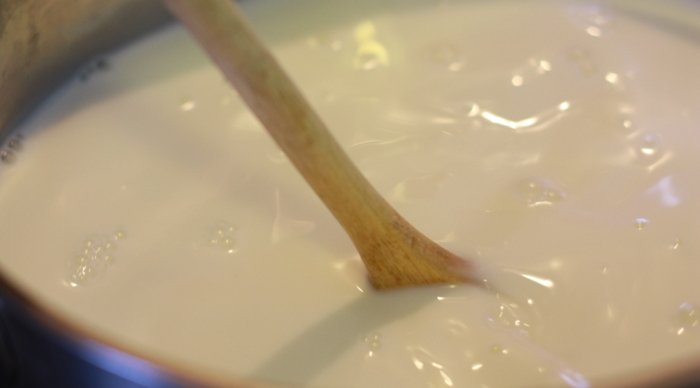
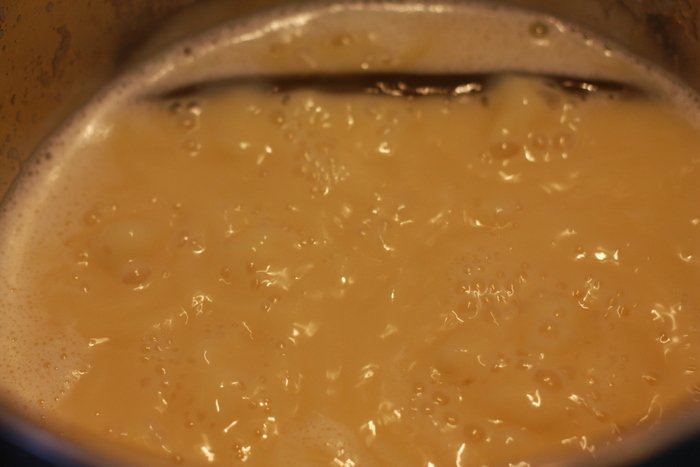
5- Let the preparation boil at minimum heat, stirring every 10-15 minutes. It should look as in the picture below:
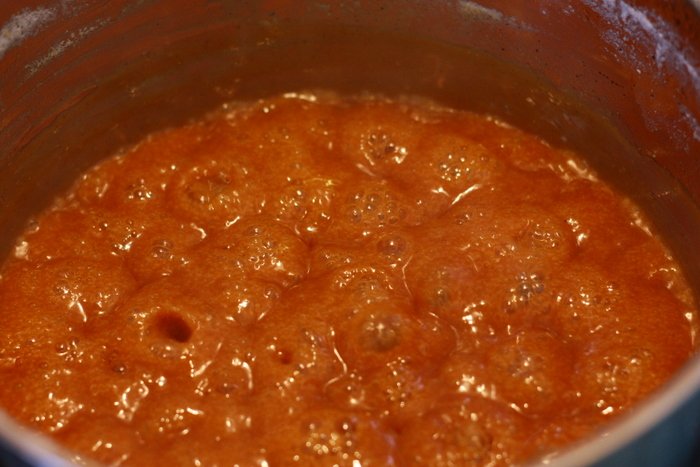
6- After about 1 hour, the milk will start to brown, and will look like this:
7-After another hour, it will become even darker, like this:
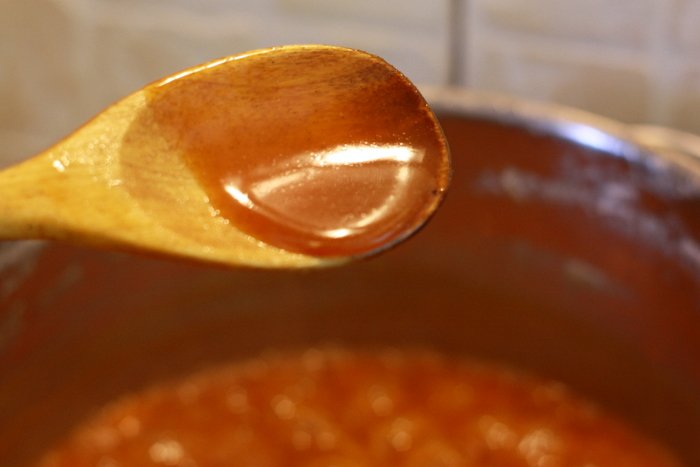
8- After around 1/2 hour, it will be thicker and darker and it will have considerably reduced. When it reaches this point, start stirring constantly for about 15 minutes.
This is the consistency it had at that point. It doesn’t look like it’s ready but, trust me, it almost is.
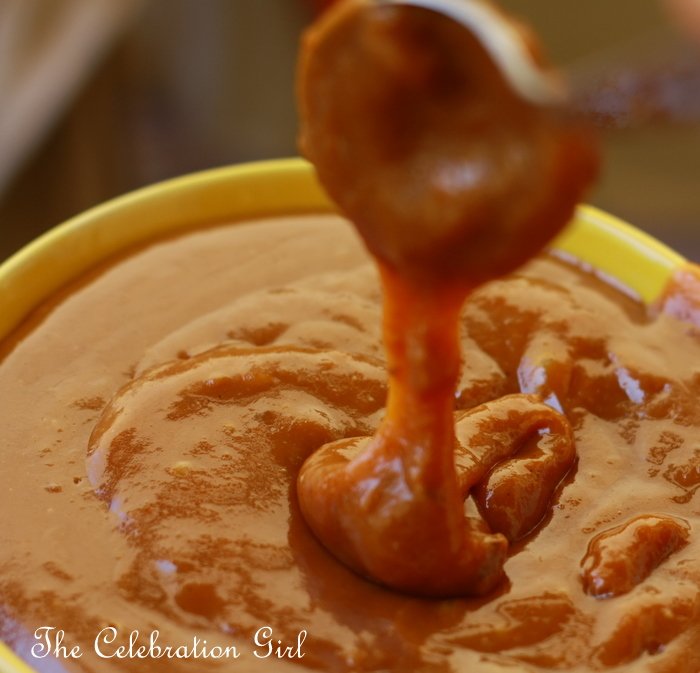
9- After 15 minutes, turn off the heat and continue stirring for another 5-10 minutes. What I like to do then is to transfer it to another pan (it cools faster). This is how it looked right after I transferred it:
As you can see, it still looks quite liquid, like a caramel sauce.
But all it needs is to cool down completely to reach the appropriate consistency.
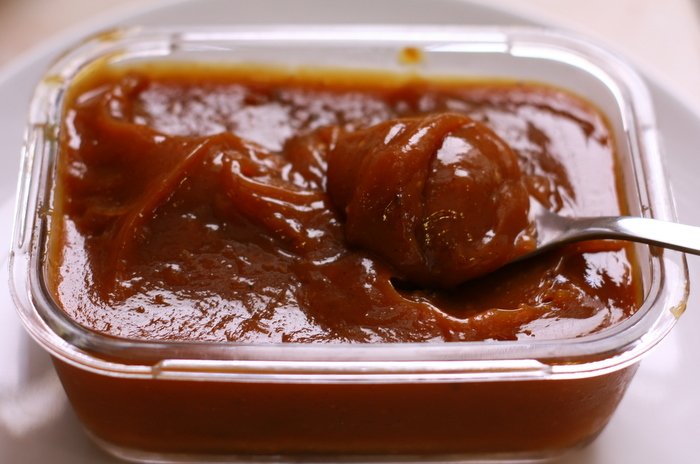
10-Once it has cooled down, transfer it to a glass container and keep it in the fridge. This is how it will look after 3 hours in it:
Ready to eat and to add to preparations such as cookies, cakes, brownies, ice-creams, puddings, and so many more!
I hope that you will like it if you decide to make it.
Have a wonderful week!
If you want to know how to make dulce de leche repostero (baking dulce de leche), check this post

