Good morning friends! Day 13 of the advent and the last of this year’s post about cookie decorating! I know some of you were expecting tutorials on royal icing, but I decided to leave those for next year, when we can dedicate several posts to different techniques. For those of you who would like to decorate cookies with royal icing and would like to know where to start, you may check THIS and THIS post, where I list links and resources as well.
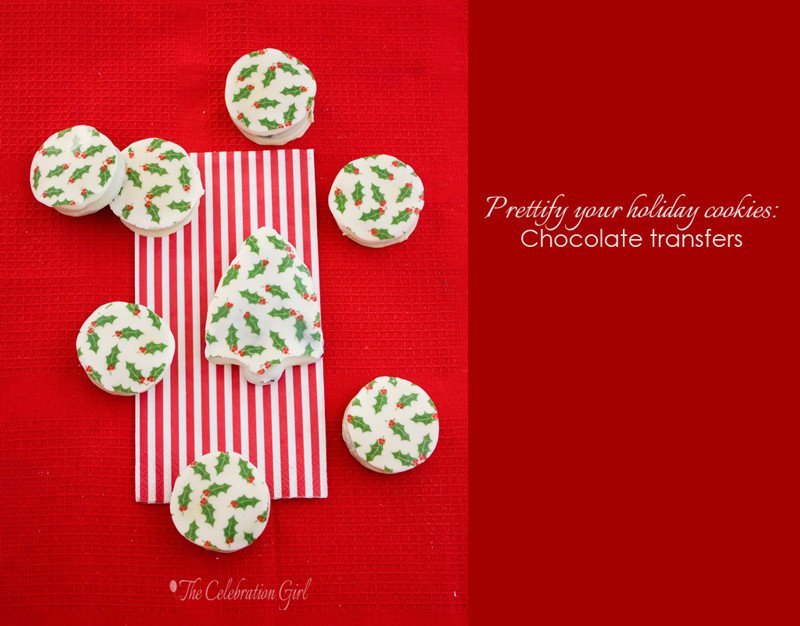
Today’s technique is one that I had been curious about for quite a while, but had never tried before. When browsing party websites, I used to see those beautiful designer oreo cookies, and wondered how they made them, until I discovered that chocolate transfer sheets existed, and that I could buy them in Cyprus (tip for Cyprus residents: I got these at Sprinkles and Sparkles*). This is the first time I used one, so there’s definitely a lot of room for improvement, but they are really easy to use! I love how fast it is to decorate cookies with them, how pretty they look once finished, and also the fact that they represent and alternative to royal icing (which not everyone likes).
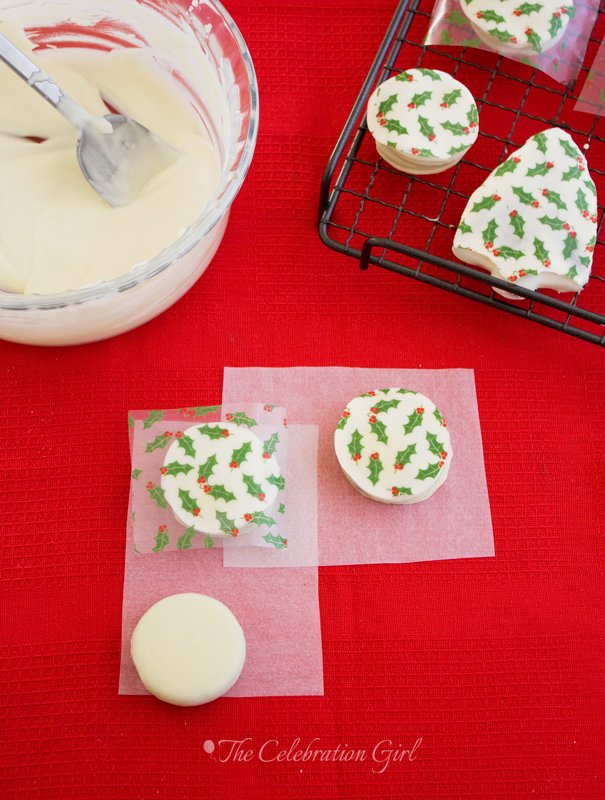
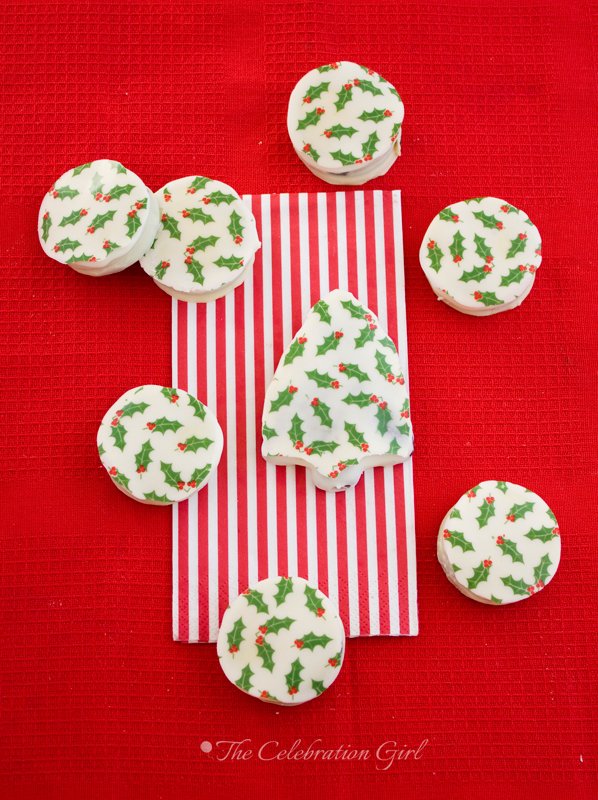
I dipped two types of cookies, for experimentation purposes: chocolate covered oreos and a pine tree chocolate cookie. Bird, from Bird’s party, made a tutorial showing how to create a really perfect finish for oreos that are not already covered in chocolate and which you can check HERE. The method I use is more appropriate for cookies that have a shape other than circular.
Here it is:
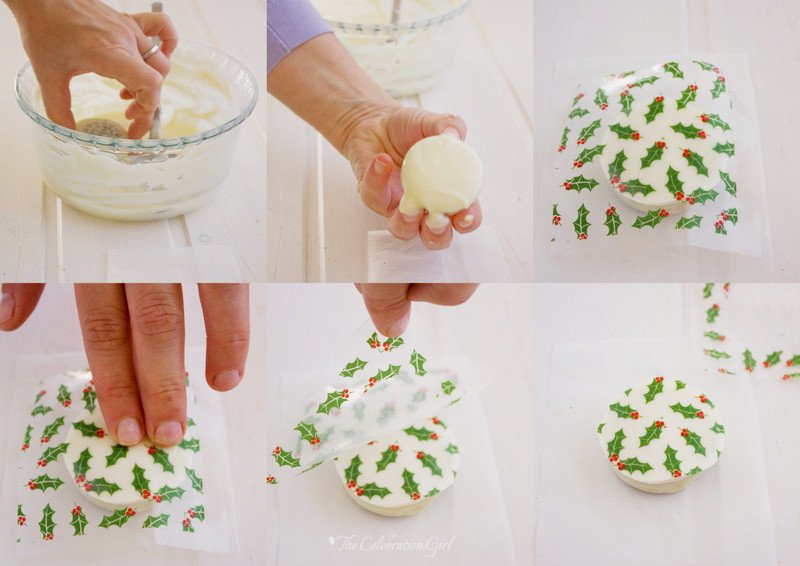
1) Melt the chocolate and cut the transfer sheet (which comes in A4 size) to match the size of the cookies. I cut stripes and the cut those stripes into small squares.
2) Holding the cookie in your hand, invert it and dip it in the chocolate, front-side down. Dip it well.
3) Lift the cookie, invert it so that the excess chocolate drips, and tap your hand against the counter a couple of times, so that the surface becomes smooth and even.
4) Put the cookie on a wire rack or parchment paper and place the transfer sheet on top of it.
5) Using your fingers, smooth the sheet, especially the sides, so as to make sure that it adheres properly to the chocolate, and to get rid of any air bubbles.Let the chocolate set and harden (about an hour. You can also accelerate the process by putting then in the refrigerator)
6) Carefully, lift the transfer sheet to reveal the design. Smooth the sides, if necessary.
That is all it takes! Isn’t it wonderful? Beautifully decorated cookies in virtually no time!
Have you used this method before? Would you like to try it?
Con sabor latino…
Buenos días queridos amigos! Día 13 del adviento, y hoy nos toca el último tutorial sobre cómo decorar galletitas para las fiestas. Sé que varios de ustedes estaban esperando tutoriales acerca de cómo decorar galletitas con glacé real, pero decidí dejar los mismos para el año que viene, cuando pueda dedicar varios posts a mostrarles diferentes técnicas. Para aquellos que quieran decorar galletitas de esa forma en estos días, pueden ver ESTE y ESTE post, donde además de enseñar técnicas básicas, adjunto links y recursos que pueden encontrar online.
La tecnica de hoy es una que tenía ganas de probar desde hacía tiempo. Cuando miraba páginas dedicadas a fiestas siempre veía esas oreos preciosas, con diseños complicados y me preguntaba cómo los lograban. Luego, un día, aprendí que existían las llamadas láminas de transferencia de chocolate y que hasta podía conseguirlas en Chipre! Esta es la primera vez que uso una, así que se imaginarán que hay mucho que mejorar, pero me han resultado super faciles y me encanta el resultado tan bonito y tan rápido que dan, así como que sean una alternativa al glacé que, convengamos, no le gusta a todo el mundo.
Yo hice la impresión en dos tipos de galletitas; oreos ya bañadas en chocolate blanco (compradas), y unas cookies de chocolate con forma de pino de navidad. Bird, de Bird’s party, hizo un tutorial muy bueno hace unos días acerca de cómo bañar oreos comunes y hacer la impresión al mismo tiempo, para que queden perfectas. Pueden ver ese tutorial AQUI. La tecnica que yo usé es más apropiada cuando queremos hacer la transferencia en una galletita de forma diferente o tamaño más grande.
Para hacerlas, sigan estos pasos:
1) Derritan el chocolate. Corten la hoja de transferencia (que viene en tamaño A4) del tamaño de las galletitas. Yo la corté en tiras horizontales, que luego dividí en pequeños cuadrados.
2) Tomen la galletita con la mano, inviertanla y sumerjanla cara abajo en el chocolate. Asegurense que quede bien impregnada.
3) Con la galletita aun en su mano, inviertanla para que el exceso de chocolate comience a deslizarse por el borde y golpeteen el canto de la mano contra la mesa, para que se empareje y alise.
4) Coloquen la galletita sobre una rejilla o papel manteca y pongan la hoja de transferencia sobre la misma.
5) Usando la yema de los dedos, alisen la hoja de transferencia, especialmente en los bordes, para asegurarse que ésta se adhiera correctamente al chocolate, y que no queden burbujas de aire. Dejen que el chocolate se enfríe y endurezca (aproximadamente una hora, o pueden acelerar el proceso colocando las galletitas en la heladera)
6) Una vez que el chocolate haya endurecido y con mucho cuidado, despeguen la hoja de transferencia, levantandola por un costado. Emparejen los costados, de ser necesario.
Y listo, nada más, eso es todo lo que lleva hacerlas! No es maravilloso? Galletitas decoradas de manera bonita y en nada de tiempo!
Han usado este método antes? Les gustaría probarlo?
*I have no affiliation whatsoever to Sprinkles and Sparkles. The reason I mentioned where I got the transfer sheets is as a service to my readers, and only because people have asked me before where to buy them. You may also get them online from HERE


