Good morning dear friends! Only 2 days left until Christmas! Time has really passed by so quickly, don’t you think?
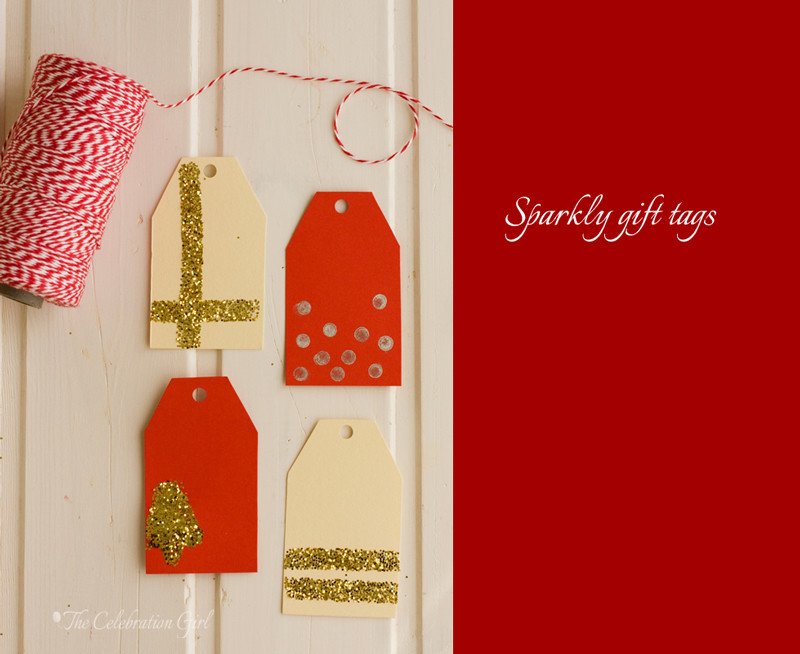
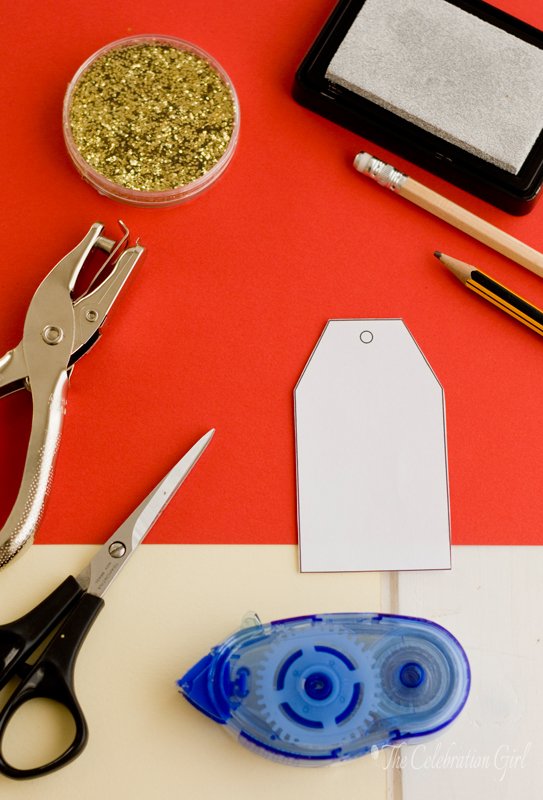
Today we will continue beautifying our presents, this time with super easy but very sparkly gift tags. All you will need is cardboard in the color of your choice, glitter, double sided tape, a rubber pencil and a stamp pad or ink (I chose to use a silver inked stamp pad, because that’s what I had at home, but you may use tempera or other types of paint). I also used a small circle punch and a pencil, to trace the template onto the cardboard.
I cut the gift tags using a template that I downloaded from HERE. You will see that they have several different ones, so you have many options. You could also use a tag punch, if you have one.
These are the two methods I used:
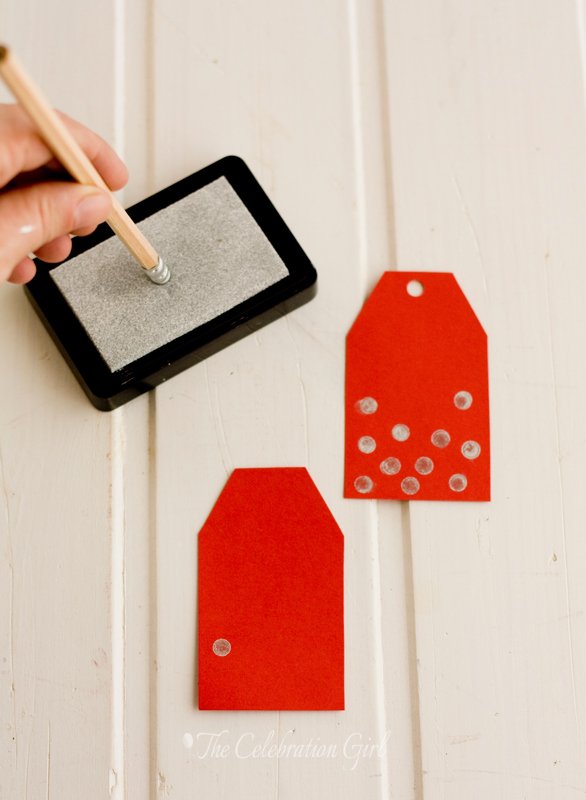
1) Rubber stamped gift tag: I had seen this method on pinterest some time ago, and I really wanted to try it. It is so simple and versatile. All you have to do is to press the rubber side of a rubber pencil against the ink pad, to dip it in ink, and then press with it onto the tag, to stamp it, as in the picture below. I used a red tag and silver ink, but you could also different colors, to make it look like confetti. I have also done this with tempera, with my kids and it’s a lot of fun.
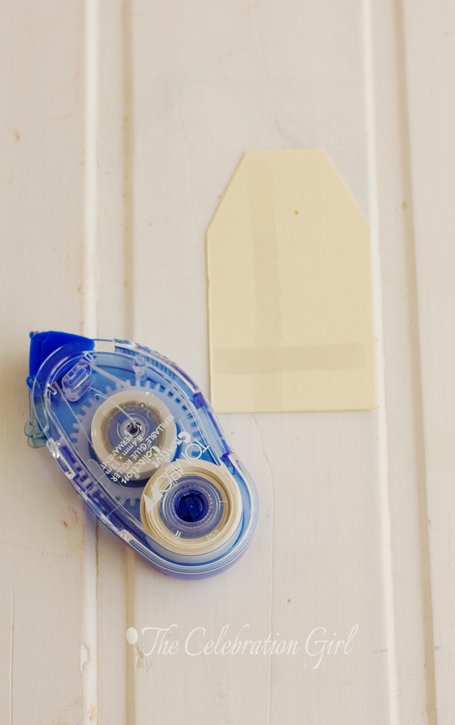
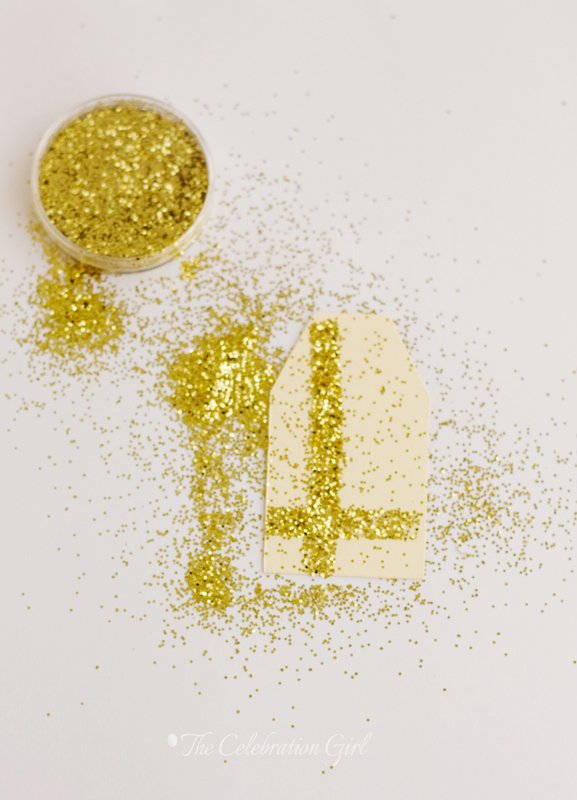
2) Glittered tags: Another very easy, affordable way to add some sparkle. Put your gift tag on top of a sheet of paper (glitter is very sticky and a pain to remove, so you want to make sure that you work on a surface that will minimize the mess). Place double sided tape along the gift tag, wherever you want the glitter to go, and sprinkle it on top. Let it sit and then lift the tag to remove the excess. If there’s glitter somewhere you don’t want it to be, dust it slowly with a brush.
You may also use a glue pen glue to draw shapes, as I did with the little pine tree that can be seen in the picture below, or even a glitter pen.
When you are done applying glitter to all your tags, lift the paper holding it by both sides and put the remaining glitter back in its container or discard.
Happy wrapping!
Con sabor latino…
Buenos días queridos amigos! Sólo faltan 2 días para la navidad ¿pueden creerlo? El tiempo ha volado este mes de diciembre ¿no les parece?
En el post de hoy seguimos embelleciendo nuestros paquetes de regalo, esta vez con etiquetas brillantes, luminosas y facilísimas. Lo único que necesitan es cartulina, brillantina o givré, cinta doble faz, tinta y almohadilla para sellos (o tempera) y un lapiz con goma. Yo usé tambien tijera, un lapiz para trazar el molde de la etiqueta y un troquel de circulo individual para hacer el huequito por el cual pasar la cinta para atar las etiquetas.
Corté las etiquetas usando un modelo que descargué de ESTA PAGINA. Como pueden ver, allí hay 6 diferentes, así que tienen variedad para elegir el que más les guste.
Aquí estan los dos métodos que yo usé para hacer mis etiquetas:
1) Etiqueta estampada con goma de borrar: Había visto esta idea en pinterest pero utilizada para otra cosa, y tenía muchas ganas de probarla. Y es tan simple y versatil! Todo lo que hay que hacer es presionar la goma del lapiz en la almohada para sellos, que habremos embebido antes con la tinta qué más nos guste, y luego presionamos con la misma goma en el papel, para dejar el sello. Yo usé tarjeta colorada y tinta plateada, pero puede usarse cualquier color, y hasta hacer sellos multicolores , como si fuera confetti, usando nada más que tempera u otra tinta que tengamos a mano. Es genial para hacer con niños, ya que ellos se divierten como locos estampando en todas partes.
2) Etiqueta abrillantada: Otra técnica facilísima y super barata para agregar brillo a sus etiquetas. Antes de comenzar, eso sí, coloquen la etiqueta sobre una hoja de papel, porque la brillantina es super pegajosa y dificil de sacar, así que asegurense de trabajar prolijamente y de manera a evitar el enchastre. Coloquen cinta doble faz sobre la etiqueta, en los lugares donde quieran que se vea brillante luego. Inmediatamente despues, tiren brillantina arriba y dejen que se adhiera, apenas un ratito. Levanten la etiqueta y sacudanla un poco para sacar el exceso. Si queda algo de brillantina en lugares donde no les gusta, saquenla usando un pincelito limpio. Tambien puede usarse una lapicera de pegamento para dibujar formas, como yo hice con el pinito que ven en la primera y en la última foto, o una lapicera con brillo (pero con estas ultimas queda menos uniforme).
Cuando terminen de aplicar brillantina, levanten la hoja de papel de ambos lados y vuelvan a colocar el sobrante en el recipiente, o descarten.
Espero que se diviertan mucho envolviendo regalitos!

